
Brinsea incubators are key for farmers aiming for high hatch rates and healthy chicks. Their various models, like the Ovation and OvaEasy series, offer user-friendly features such as automatic egg turning, precise temperature control, and humidity management. By ensuring optimal conditions and proper maintenance, you can enhance your hatching success. Remember to monitor your eggs and manage post-hatch care to raise thriving chicks. There's plenty more to explore about maximizing your incubation experience.
Key Takeaways
- Choose the right Brinsea incubator model, like Ovation or Mini Series, based on your hatching scale and specific needs.
- Maintain optimal temperature between 37°C and 38°C for poultry to ensure healthy embryo development and hatch rates.
- Control humidity levels at 40-50% during incubation, adjusting as needed for different species to prevent deformities.
- Utilize automatic egg turning and induced dual airflow systems for consistent conditions throughout the incubation period.
- Ensure proper post-hatch care with controlled environments, nutritious feed, and monitoring for signs of distress in chicks.
Top picks for "brinsea incubator farmer"
Open Amazon search results for this keyword.
As an affiliate, we earn on qualifying purchases.
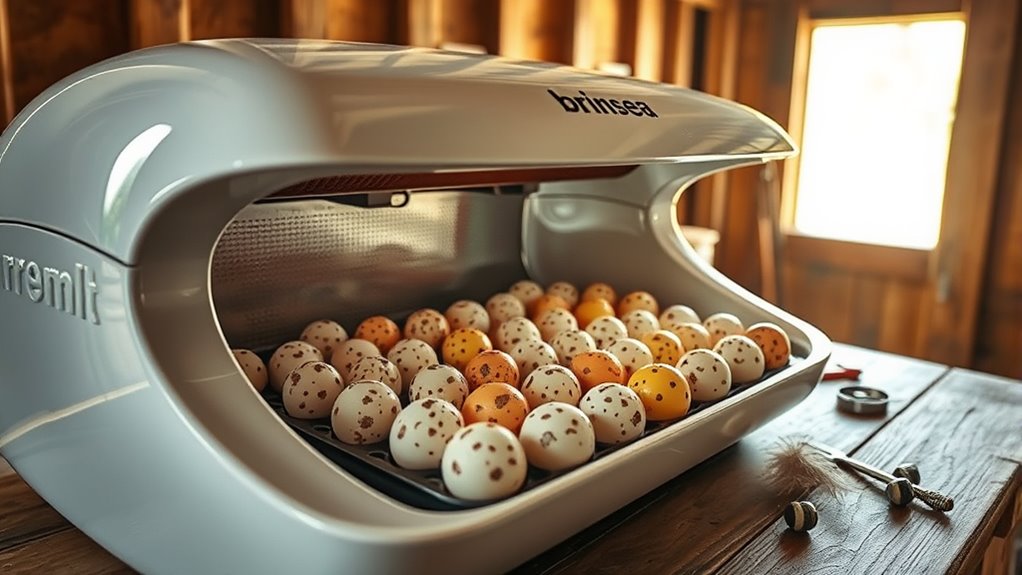
Understanding Brinsea Incubator Models
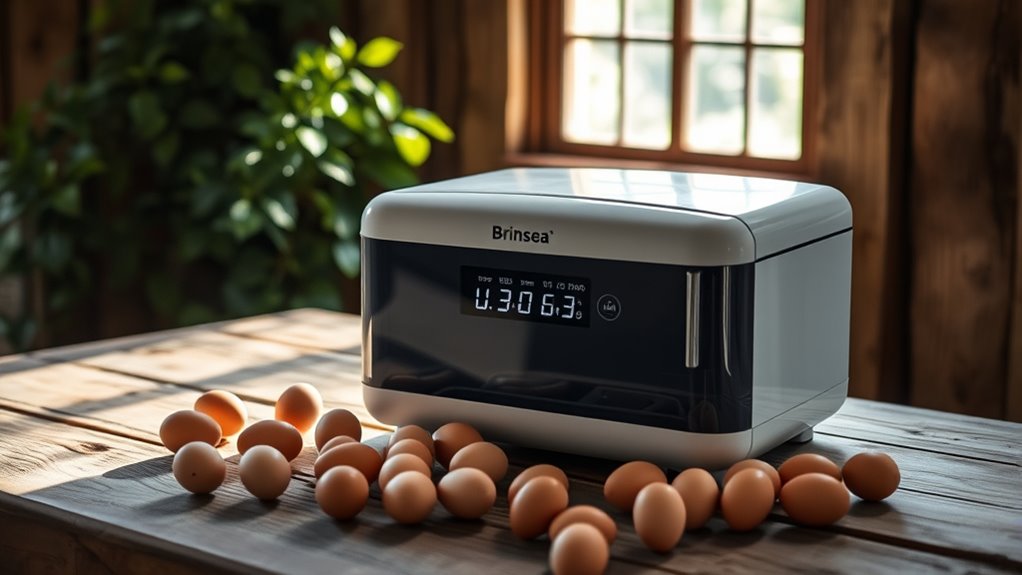
Understanding the different Brinsea incubator models is crucial for any farmer looking to optimize their hatching process.
The Ovation Series, like the Ovation 28 and 56, offers user-friendly designs with high hatch rates.
The Ovation Series, featuring models like the Ovation 28 and 56, combines ease of use with impressive hatch rates.
If you're managing larger operations, the OvaEasy Series, including models such as the OvaEasy 100 and 580, features durable construction and excellent thermal insulation.
For small-scale hatching, the Mini Series, including the Mini II EX, is perfect for up to 7 eggs.
If you're into exotic birds, check out the Zoologica models available in the Ovation sizes.
With capacities ranging from small to extra-large, Brinsea provides options tailored to your specific needs, ensuring you find the right incubator for your farm.
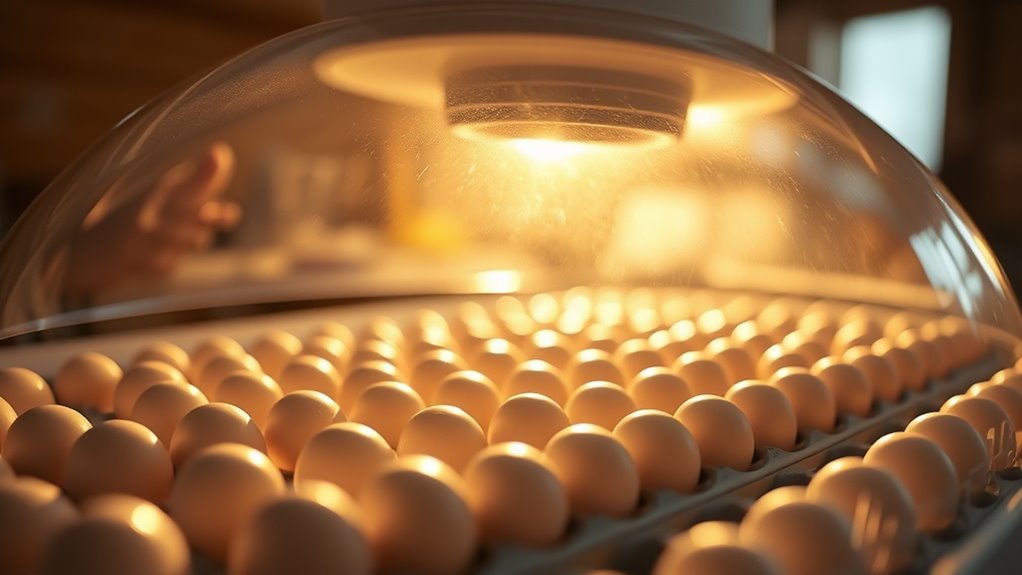
Key Features That Enhance Hatching Success

When selecting a Brinsea incubator, you'll quickly notice the key features that enhance hatching success. One standout is the use of Polygiene Biomaster antimicrobial plastics, which reduce bacterial growth by an impressive 99.99%.
Automatic egg turning promotes even development, while integral humidity control in models like the Ovation EX ensures precise conditions throughout incubation.
The Induced Dual Airflow system enhances temperature consistency, creating an optimal environment for your eggs.
With digital controls and simple menu navigation, adjusting settings like temperature becomes a breeze.
These features not only facilitate successful hatches but also prioritize biosecurity, making Brinsea incubators a reliable choice for any farmer dedicated to hatching excellence.
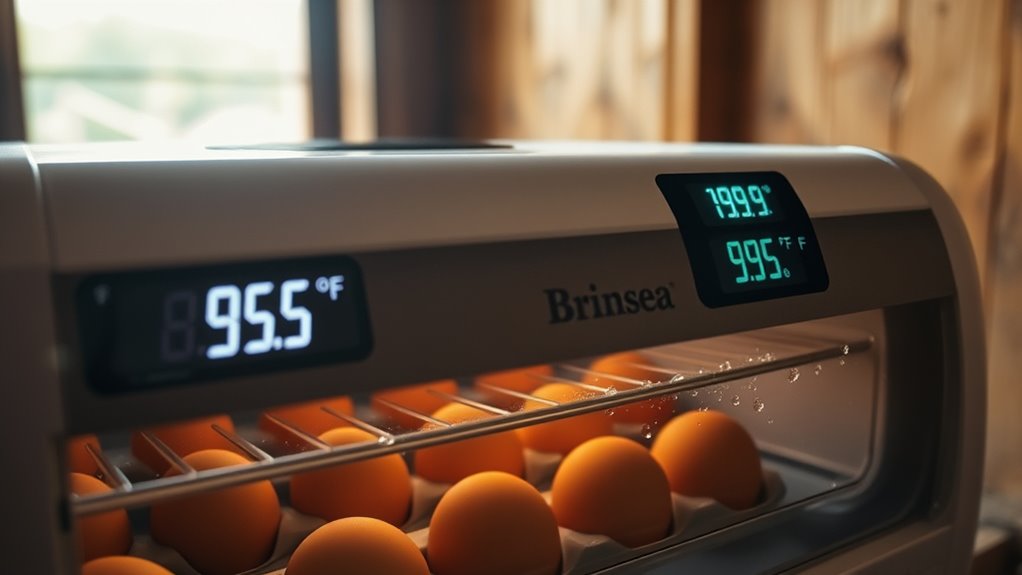
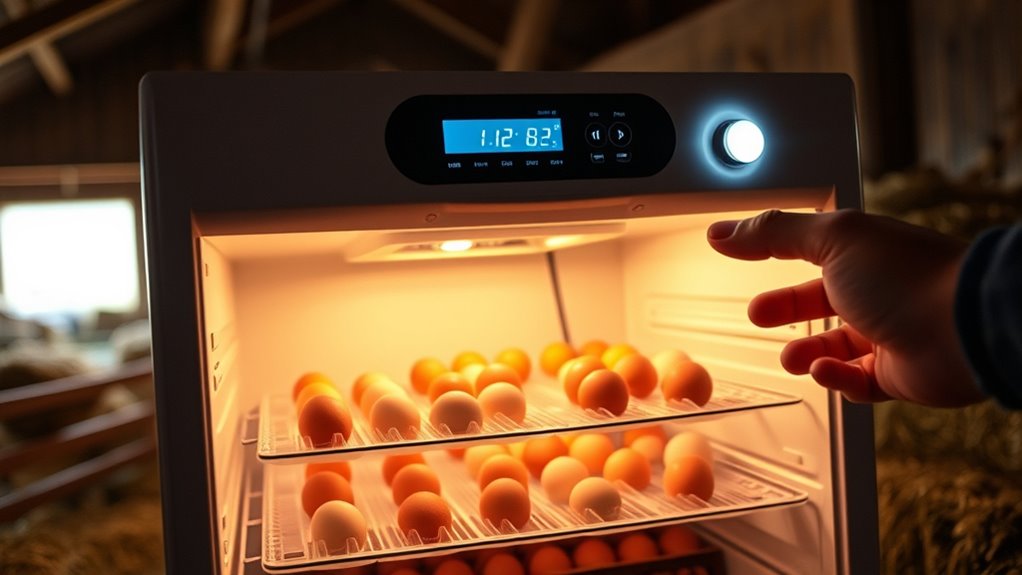
The Importance of Temperature Control
Temperature control plays a crucial role in successful hatching, as even slight deviations can lead to significant developmental issues.
Effective temperature management is essential for successful hatching, as even minor fluctuations can cause serious developmental problems.
The optimal incubation temperature for poultry falls between 37°C and 38°C. If temperatures stray from this range, you may face reduced hatch rates or deformities in the chicks.
Using a Brinsea incubator with precise digital temperature control ensures consistency, while multiple fans distribute heat evenly. Always position your thermometer close to the eggs and monitor the conditions regularly.
Remember, keeping the incubator in a room between 20°C and 25°C helps maintain stability.
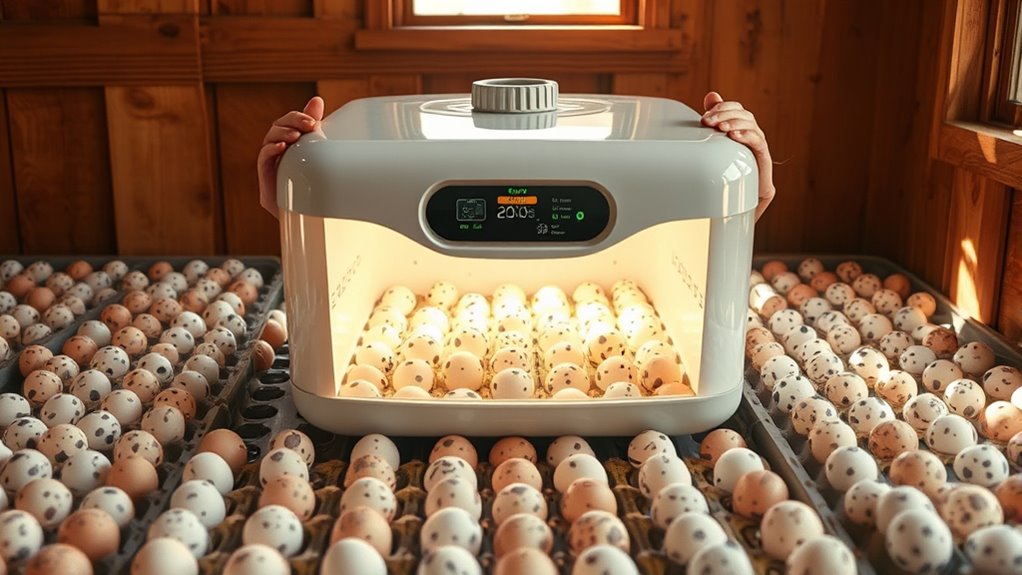
Managing Humidity for Optimal Conditions
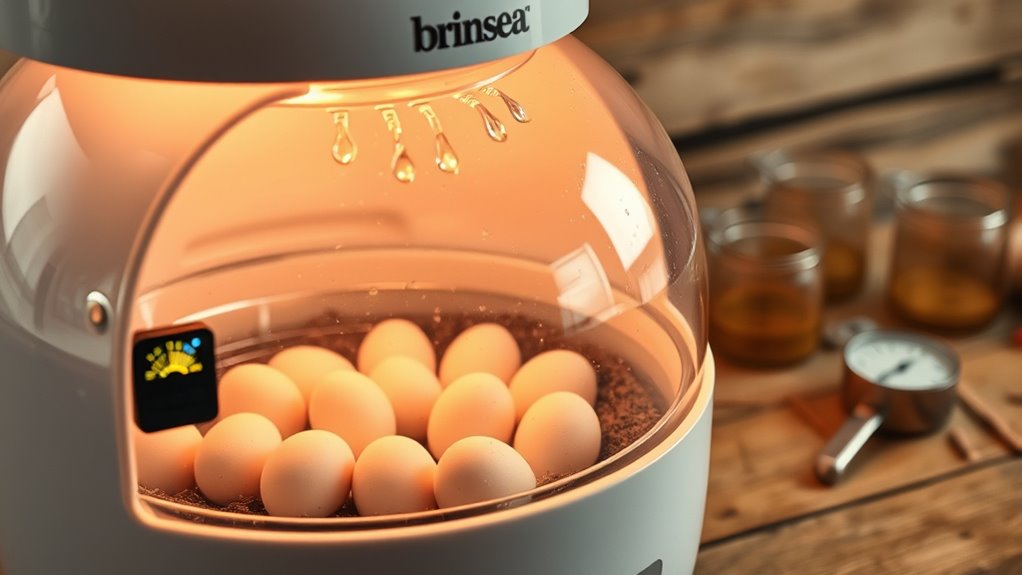
Managing humidity during incubation is crucial for ensuring your eggs develop properly and hatch successfully. Humidity is one of the four primary factors in incubation, and incorrect levels can lead to poor hatching rates.
Aim for 40-50% relative humidity during incubation, adjusting based on your specific species. Use reliable hygrometers or incubators with digital displays to measure humidity accurately.
Increase water surface area to raise humidity or adjust ventilation for balance. Regularly monitor conditions, and avoid frequent lid openings, especially during hatching when you need at least 60% humidity.
Weighing eggs can help track moisture loss, while candling can guide adjustments. Following these best practices will help you maintain optimal humidity for better hatching success.
The Role of Egg Turning in Development
Egg turning plays a vital role in the development of embryos, ensuring they receive the necessary nutrients and oxygen throughout the incubation process.
Frequent turning is critical, especially in the early days, to prevent embryos from sticking to the shell membrane. Ideally, you should turn the eggs at least six times a day, with angles of over 45° for optimal hatchability. This mimics natural behavior, as mother hens turn their eggs multiple times daily.
Proper turning promotes nutrient transfer from the yolk and albumen, supports the development of extra-embryonic membranes, and positions embryos correctly for hatching.
Without adequate turning, you risk early embryo death, malposition, and poor hatch rates, so be diligent with this essential practice.
Monitoring and Alarms for Peace of Mind
While you're focused on ensuring the best conditions for your hatching eggs, Brinsea incubators offer advanced monitoring features that provide peace of mind.
The Brinsea Connect app gives you real-time data on temperature, humidity, and egg turning cycles, all crucial for successful hatching. With automatic humidity control and precise temperature settings in both Celsius and Fahrenheit, you can create optimal conditions for various species.
Temperature and humidity alarms alert you to any deviations, while power outage notifications keep you informed. You can monitor and adjust settings remotely via Wi-Fi, ensuring you're always in control.
Plus, the incubator operates continuously, even if the internet goes down, allowing you to hatch with confidence. Additionally, the air quality monitoring features can help ensure a healthier environment for both the incubator and the hatching eggs.
Best Practices for Egg Storage and Incubation
To achieve successful hatching, understanding best practices for egg storage and incubation is essential.
First, store your eggs between 53-59°F to stop premature development, and maintain humidity levels between 75-85% to prevent drying out. Ideally, don't store eggs for more than 7 days. Make sure to turn them daily by 45° to keep the yolk from sticking.
Store eggs at 53-59°F with 75-85% humidity, turning daily for optimal hatching success.
When you're ready to incubate, set up your incubator a week in advance, cleaning it thoroughly with a bleach solution. Stabilize the temperature at 99.5°F and adjust humidity based on conditions.
Regularly check temperature and humidity levels throughout incubation, turning your eggs diligently. With these practices, you'll set the stage for a successful hatch.
Troubleshooting Common Incubation Issues
When you encounter issues during incubation, it's crucial to address them promptly to ensure a successful hatch.
Start by monitoring temperature, keeping it consistently around 99.5°F (37.5°C). If you notice fluctuations, check your incubator settings and ensure it's well-insulated.
For humidity, aim for 40-50% and adjust as needed, raising it to 65-75% in the final days before hatching. Verify that your hygrometer is functioning properly.
Turning eggs is essential, so make sure they're rotated at least twice daily. If you're using automatic turning, ensure it's working as intended.
Finally, inspect unhatched eggs to identify any potential issues that could inform your future incubation practices. Additionally, consider the importance of omega-3 content in your diet, as it can support overall health during the incubation process.
Addressing these factors can greatly improve your hatch success.
Cleaning and Maintenance for Longevity
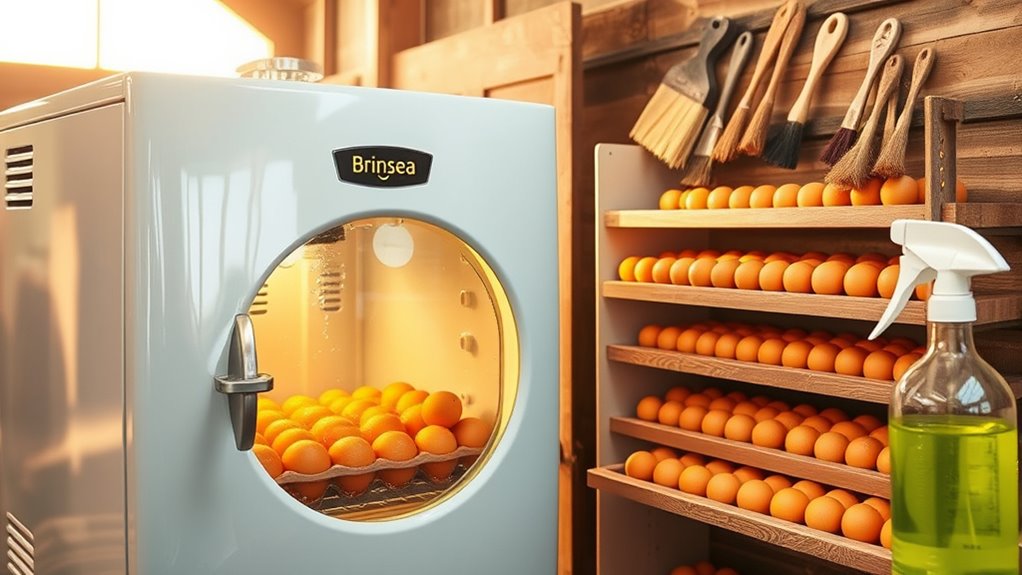
Proper cleaning and maintenance are key to ensuring your incubator lasts for years and performs at its best.
Proper cleaning and maintenance ensure your incubator remains durable and performs optimally for successful hatching.
Start by using a correctly diluted disinfectant to clean the inner parts, like the lid and egg turning motor. For non-electrical components, a bleach solution of one part bleach to 100 parts water works wonders.
Avoid alcohol-based cleaners, as they can deteriorate plastic. Always disconnect the power before cleaning electrical components, and use a soft brush or compressed air to clean the fan.
Remember to dry all parts completely before storage. Keep your incubator in a cool, dry place and regularly check for worn-out parts.
With these practices, you'll maintain optimal conditions for successful hatching.
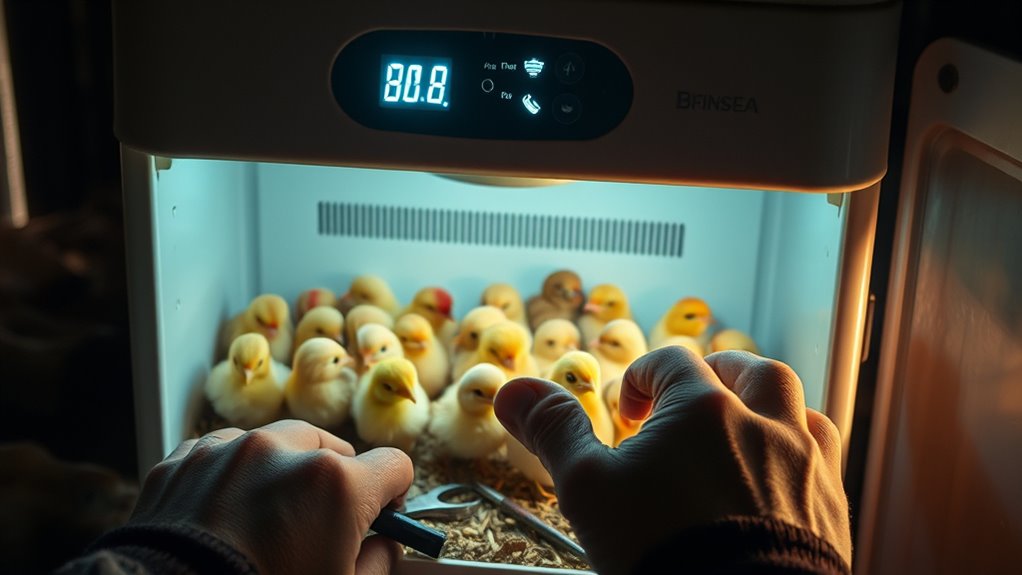
Post-Hatch Care and Chick Management
Post-hatch care is crucial for ensuring your chicks thrive in their new environment. Start by maintaining a controlled temperature and proper humidity levels to keep them comfortable.
Ensure good ventilation to promote fresh air and reduce bacteria. Gentle lighting helps them adapt, while a quiet space minimizes stress.
Regularly observe your chicks for signs of illness or distress, and watch for excessive weight loss or lethargy.
Once they're settled, provide nutritious starter feed and easy access to clean water. Set up a warm, well-ventilated brooder with ample space and appropriate bedding.
Handle them gently and allow for socialization, helping them become familiar with their surroundings and each other. This care lays the foundation for healthy growth and development.
Frequently Asked Questions
What Are the Energy Requirements for Brinsea Incubators?
Brinsea incubators typically require between 12 and 100 watts, depending on the model, with larger units consuming up to 200 watts.
They're designed for energy efficiency, helping you save on operational costs.
You can use them with both 110V and 230V power supplies, making them versatile for different regions.
It's smart to have a backup power source, like a generator, to ensure continuous operation during outages.
Can Brinsea Incubators Be Used for Species Other Than Poultry?
You can certainly think outside the box when it comes to using Brinsea incubators!
They're not just for poultry; you can hatch various species, from parrots to birds of prey.
With adjustable settings for temperature and humidity, you can tailor the environment to meet the needs of different eggs.
Their design also allows for easy cleaning, ensuring a hygienic space for all types of hatchlings.
How Do I Calibrate My Brinsea Incubator?
To calibrate your Brinsea incubator, start by letting it stabilize for an hour.
Use a reliable external thermometer to check the temperature, then access the calibration menu by pressing all three buttons simultaneously.
Adjust the incubator's temperature using the + or – buttons until it matches the external reading.
Save your changes, allow for stabilization, and recheck the temperature to ensure accuracy.
Finally, document your calibration process for future reference.
What Is the Lifespan of Brinsea Incubators With Proper Maintenance?
With proper maintenance, Brinsea incubators can last for many years.
You'll need to regularly clean and dry the incubator to prevent bacterial growth, and check parts like wicking tubes to ensure optimal performance.
By maintaining temperature and humidity levels, you enhance their lifespan.
Following the manufacturer's guidelines is crucial, as it helps you avoid issues that could affect longevity.
With care, you can enjoy consistent hatch rates for an extended period.
Are There Any Specific Accessories Available for Brinsea Incubators?
Yes, there are several accessories available for Brinsea incubators that can enhance your hatching experience.
You can find humidity pumps, thermometers, and hygrometers to help manage temperature and humidity levels effectively.
For egg handling, options like the OvaScope and OvaView candler rings make monitoring easier.
Additionally, you'll discover spare parts to keep your incubator running smoothly.
These accessories ensure you've got everything you need for successful incubation.
Conclusion
With your Brinsea incubator, you hold the key to a world of new life, like a gardener tending to seeds in fertile soil. By mastering temperature, humidity, and egg care, you're nurturing dreams into reality. Each successful hatch is a vibrant bloom, a testament to your dedication and skill. As you embark on this journey, remember that every chirp and flutter is a reminder of the magic you've nurtured, turning your farm into a symphony of life.