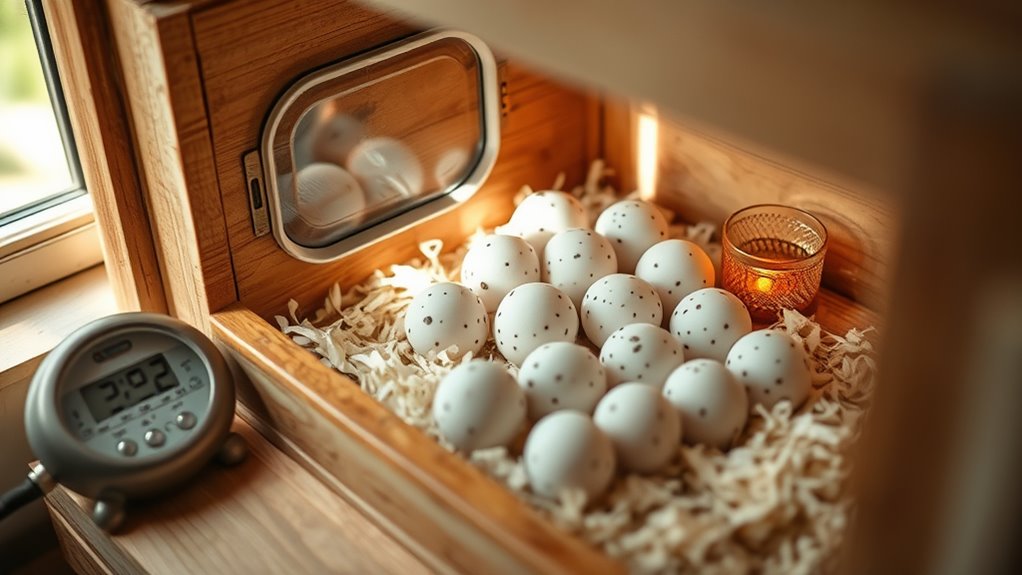

To incubate and hatch chicken eggs at home, keep the temperature steady around 99.5°F and monitor humidity levels between 50-55%. Turn the eggs gently 3-5 times daily and avoid turning during the last three days before hatch. Candling eggs around days 7 and 14 helps ensure they’re developing properly. Maintaining stable conditions and proper egg handling increases your chances of a successful hatch—keep going to learn all the essential tips and tricks.
Key Takeaways
- Maintain a consistent temperature of around 99.5°F (37.5°C) using a reliable incubator thermometer.
- Keep humidity at 50-55% during incubation, increasing to 65-70% during the last days before hatch.
- Turn eggs 3-5 times daily until day 18 to prevent embryo sticking and promote even development.
- Candle eggs around days 7 and 14 to check for embryo development and remove non-viable eggs promptly.
- Ensure proper ventilation and stable environmental conditions to support healthy embryo growth and successful hatching.
Incubating and hatching chicken eggs requires careful attention to temperature, humidity, and turning to guarantee healthy development. One key step in monitoring the progress of your eggs is egg candling. This process involves shining a bright light through the shell to observe the embryo’s development without opening the incubator. By candling your eggs around day 7 and again at day 14, you can identify which eggs are viable and which ones aren’t developing properly. During candling, look for a network of blood vessels and a visible embryo; eggs that remain dark or show no signs of movement are likely infertile or dead. Regular candling helps you remove non-viable eggs early, preventing spoilage and maintaining a healthy environment for the developing chicks. Additionally, maintaining stable temperature and humidity levels promotes consistent development and improves hatch rates. Ensuring proper ventilation inside the incubator also helps prevent the buildup of carbon dioxide and maintain oxygen levels necessary for embryo growth.
Maintaining the proper incubation temperature is essential for successful hatching. Most chicken eggs hatch best at a steady temperature of around 99.5°F (37.5°C). Fluctuctions can lead to developmental issues or embryo mortality, so use a reliable thermometer placed inside your incubator to monitor the environment continuously. If the temperature rises above 100°F (38°C), you risk cooking the embryo, while temperatures below 98°F (36.5°C) can slow development or cause it to stop altogether. It’s crucial to keep the temperature consistent, adjusting the incubator’s heat source as needed. Some incubators have automatic thermostats that make temperature control easier, but if yours doesn’t, check it multiple times daily to ensure stability.
In addition to temperature, humidity plays a vital role in incubation. During the first 18 days, aim for humidity levels around 50-55%. Higher humidity during the last few days of incubation, around 65-70%, helps keep the eggs from losing too much moisture, which is critical for hatching success. Use a hygrometer to measure humidity accurately and add water to the incubator’s tray as needed. Proper turning of the eggs—about three to five times a day—is equally crucial, as it prevents the embryo from sticking to the shell and promotes even development. Be gentle when turning the eggs, and avoid turning them during the last three days before hatch, when the chicks position themselves for hatching. Fostering a productivity-focused environment can further improve hatch success by reducing stress and providing optimal conditions. Maintaining consistent humidity levels throughout incubation ensures the best chances for healthy hatchlings.
A stable temperature environment also reduces the risk of deformities and increases the likelihood of a successful hatch.
Frequently Asked Questions
What Are the Best Egg Turning Techniques for Hatching Success?
To improve hatching success, you should focus on proper egg rotation techniques. Aim for gentle, consistent egg rotation, turning the eggs at least three to five times daily. Keep the turning frequency regular to prevent the embryo from sticking to the shell. Avoid over-rotation, and always turn eggs until just before incubation ends. This helps guarantee healthy development and increases your chances of a successful hatch.
How Do You Determine if an Egg Is Fertilized?
Determining if an egg is fertilized is like reading a secret code. You can spot fertilization indicators through egg fertility tests or candling. During candling, hold the egg to a bright light to see veins or a dark spot, confirming fertilization. Fertilized eggs often show these signs within a few days, helping you select the best eggs for incubation. Trust your observations to improve hatch success.
What Is the Ideal Humidity Level During Incubation?
During incubation, you want to maintain ideal humidity levels for moisture management. The best humidity control is typically around 50-55% for the first 18 days and increases to about 65-70% during the hatch. This helps prevent the eggs from losing too much moisture or becoming overly moist. Keep a hygrometer handy to monitor humidity levels, and adjust ventilation or add water to the incubator as needed for consistent moisture control.
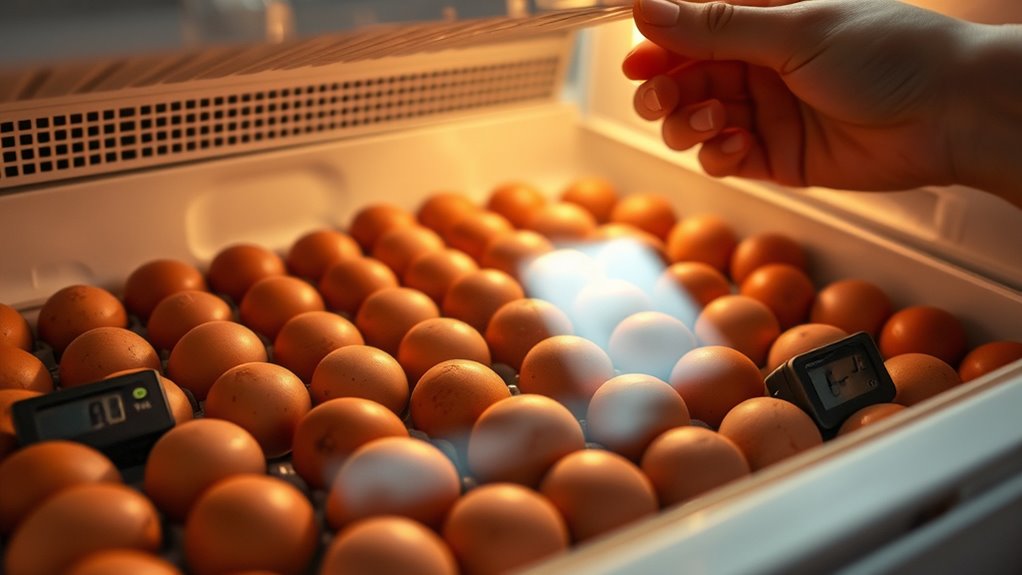
How Long Can Eggs Be Stored Before Incubation?
You can store eggs for up to 7-10 days before incubation without considerably affecting hatchability. During this period, focus on Egg storage duration and Egg freshness testing to ensure viability. Keep eggs in a cool, humid place, ideally at 55°F, with the pointed end down. Remember, eggs lose about 1% of their hatch potential daily after 7 days, so fresher eggs increase your chances of success.
What Are Common Signs of a Failed Hatch?
You’ll notice signs of a failed hatch during egg candling, where you see no movement or blood vessels, indicating embryo death. Also, if eggs don’t pip or crack after the expected hatch date, it’s a sign of failure. Assess your hatch rate to determine overall success. If many eggs show these signs, it may be time to review your incubation conditions to improve future hatch rates.
Conclusion
Now that you know the basics of incubating and hatching chicken eggs at home, you’re ready to start your own little farm. Do you imagine the excitement of watching tiny chicks hatch and grow under your care? With patience and attention, you can turn your home into a mini hatchery, witnessing the miracle of life firsthand. So, why not give it a try and see those eggs transform into adorable, chirping new friends?