To make spring planting easier, start with soil testing to understand pH and nutrient levels. Use compost to enrich your soil and improve drainage. Clear debris, weeds, and old plant material, then loosen compacted soil with a garden fork or tiller, taking care not to disturb the soil structure. Add necessary amendments based on your test results, water thoroughly, and keep moisture consistent. Continue to explore simple steps that will give your garden a strong start.

Get garden gear delivered free — and shop member deals
- Fast, free delivery on millions of items
- Access to Prime Big Deal Days deals on October 6–7
- Prime Video, Amazon Music and more included
Key Takeaways
- Conduct soil testing to determine pH and nutrient levels for targeted amendments.
- Incorporate compost to improve soil structure, moisture retention, and microbial health.
- Clear debris and weeds, then loosen soil without disturbing its natural structure.
- Add fertilizers and organic amendments based on soil test results to boost fertility.
- Water thoroughly after bed preparation to settle amendments and ensure consistent moisture.

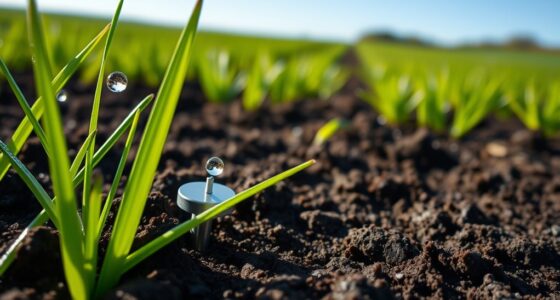
Are you ready to give your garden beds a fresh start for spring planting? It’s the perfect time to prepare your soil so your plants can thrive all season long. The key to a successful planting season begins with a solid bed prep routine, starting with soil testing. By testing your soil, you’ll discover its pH level and nutrient content, giving you the information needed to amend it properly. You can pick up a soil testing kit from your local garden center or send a sample to a lab. Once you get the results, you’ll know whether your soil needs lime to raise pH or sulfur to lower it, and which nutrients are lacking. This step ensures you don’t waste time adding unnecessary amendments and helps you create an ideal environment for your plants.
Testing your soil helps you amend it properly for a thriving garden.
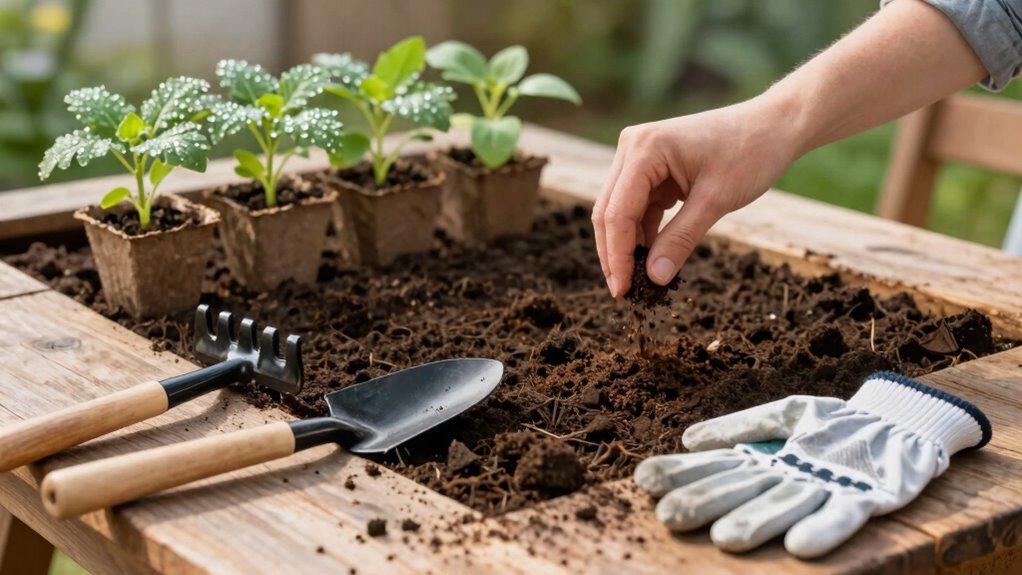
Next, focus on compost application. Adding compost enriches your soil with organic matter, improves drainage, and promotes healthy microbial life. Spread a generous layer of quality compost over your beds, about 2 to 3 inches thick. Use a rake to work it into the topsoil, mixing it well to ensure even distribution. Compost acts as a natural fertilizer, providing a slow release of nutrients that your plants will appreciate. It also helps in suppressing weeds and retaining moisture, making your beds more resilient and easier to maintain throughout the growing season. Soil health is fundamental to thriving gardens, which is why composting plays such a vital role.
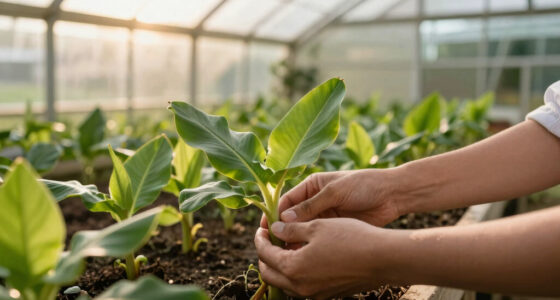
After composting, clear away any debris, weeds, or old plant material from last year’s garden. Break up compacted soil with a garden fork or tiller, but avoid turning it too deep, as this can disrupt soil structure. Ensure your beds are level and free from obstructions so your seedlings can grow uniformly. If your soil test indicated deficiencies or imbalances, now is the time to add specific amendments like fertilizer, bone meal, or other organic nutrients as recommended.
Finally, water your prepared beds thoroughly. Moist soil is much easier for roots to penetrate, and consistent moisture helps your soil amendments settle in. Keep an eye on weather forecasts, and if rain isn’t expected soon, consider watering lightly to keep everything moist but not waterlogged. With these steps—soil testing, compost application, clearing, and proper watering—you set a strong foundation for a bountiful spring garden. Your plants will thank you, and you’ll find it much easier to care for your garden beds throughout the season. Proper bed prep isn’t just about making things look tidy; it’s about creating an optimal environment for healthy growth from the very first planting.
As an affiliate, we earn on qualifying purchases.
Frequently Asked Questions
When Is the Best Time to Start Bed Preparation in Spring?
You should start bed preparation as soon as the soil warms up and is workable, typically in early spring. Begin by planning your garden layout, ensuring proper spacing for plants. Incorporate compost application to enrich the soil and improve drainage. This proactive approach makes planting easier later, giving your plants a healthy start. By getting your beds ready early, you’ll enjoy a more productive and less stressful spring planting season.
How Do I Test My Soil’s Health Before Planting?
Think of your soil as a health report card. To test its health, use simple soil testing methods like kit tests or send samples to a lab. Check for nutrient deficiency indicators such as yellowing leaves or poor growth. These signs reveal what your soil needs. By understanding these clues, you can amend your soil effectively, ensuring your garden starts strong and thrives all season long.
What Tools Are Essential for Bed Preparation?
You’ll need vital tools like a garden fork or broadfork for soil aeration, helping loosen compacted soil. A shovel or spade is essential for turning and mixing in compost application, enriching your beds. Rakes help level the soil surface, and a hoe can break up clumps. These tools guarantee your soil is well-aerated and nutrient-rich, setting a solid foundation for healthy spring planting.
Can I Prepare My Beds in Rainy Spring Weather?
While the rainy season might seem like a challenge, you can still prepare your beds if you manage soil moisture carefully. Avoid working when the soil is overly wet to prevent compaction and damage. Instead, wait for a period of lighter rain or dry spells, then work quickly. Properly preparing beds during moist conditions can lead to healthier soil, making planting easier and more successful once the weather clears.
How Do I Prevent Weeds During Bed Preparation?
To prevent weeds during bed preparation, start with effective mulching techniques like applying a thick layer of organic mulch such as straw, wood chips, or compost. This blocks weed seeds from germinating and retains soil moisture. Additionally, use organic weed control methods like hand pulling or smothering weeds with cardboard before mulching. Regularly inspect your beds and maintain mulch layers to keep weeds at bay and promote healthy plant growth.
Conclusion
Now that you’ve completed your bed prep routine, you’re almost ready to plant. But wait—there’s one final step that could make all the difference. Will you choose to add a special fertilizer, or perhaps cover your bed with mulch? Each decision could open healthier plants and richer harvests. The secret to a thriving garden lies just ahead. Are you prepared to take that next vital step? The success of your spring planting depends on it.
Fall yard work Picks
leaf blowers
As an affiliate, we earn on qualifying purchases.