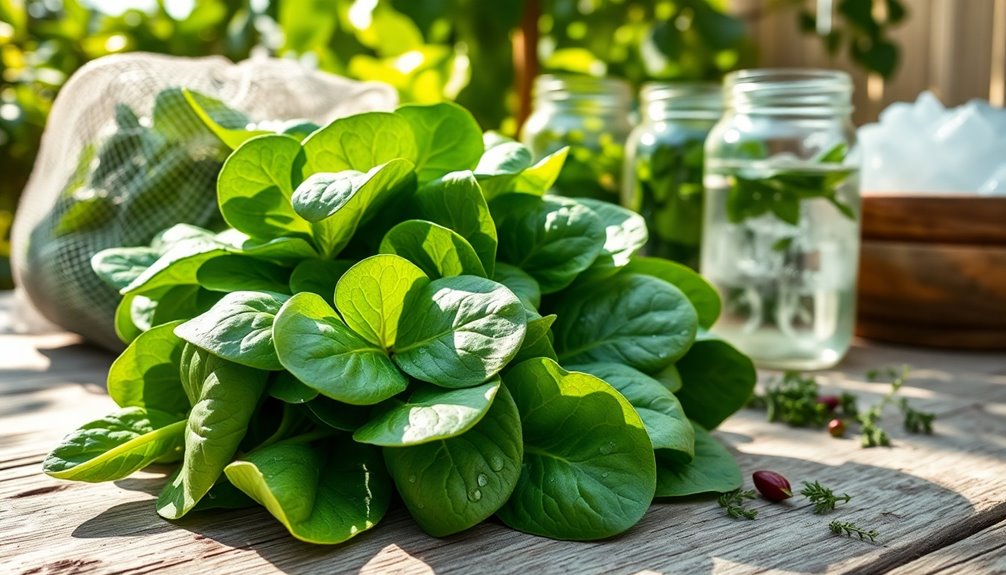

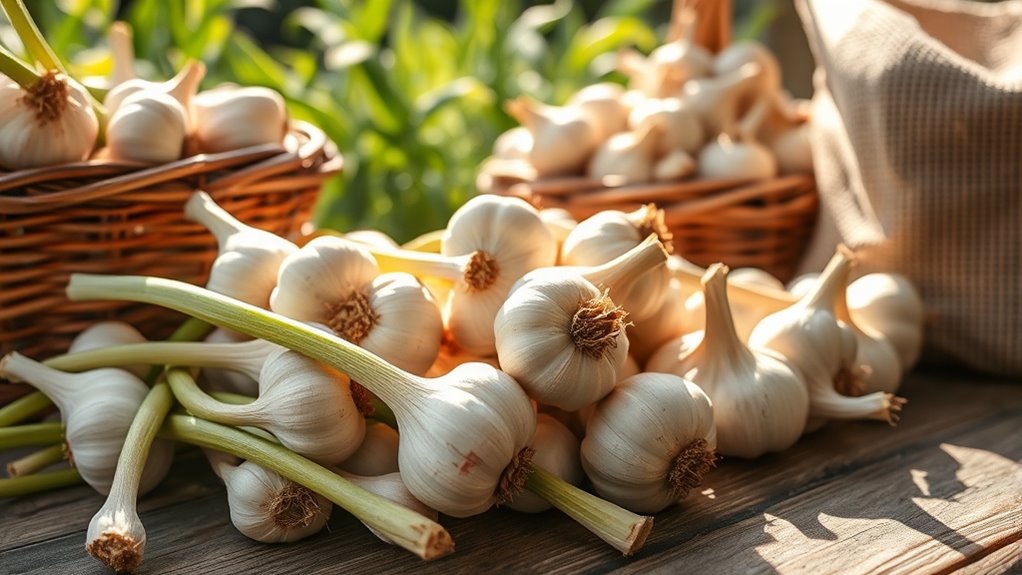
Growing garlic is easy if you follow a few key steps. Start with loose, well-drained soil enriched with organic matter, like compost. Choose between hardneck or softneck varieties based on your climate, then plant the bulbs a few weeks after the first frost. Water regularly, and be sure to monitor for pests. Harvest when leaves are yellowing, cure, and store properly to maintain freshness. There's more to explore about caring for your garlic and ensuring a great yield.
Key Takeaways
- Prepare loose, fertile, well-drained soil enriched with organic matter and maintain a pH between 6.0 to 7.0 for optimal garlic growth.
- Choose between hardneck or softneck garlic varieties based on your climate and harvest timing for best results.
- Plant garlic bulbs 1-2 weeks after the first killing frost, ensuring 4-6 weeks for root development before winter dormancy.
- Water garlic consistently to provide around 1 inch of moisture weekly and monitor for pests and diseases to maintain plant health.
- Harvest when 5-6 green leaves remain, cure garlic properly in a dark, ventilated area, and store in a cool, dry place.
Garlic Growing Basics and Soil Preparation
When you're ready to grow garlic, it's important to start with the right soil and preparation. Garlic needs loose, fertile, well-drained soil enriched with 2-3 inches of organic matter, like compost or aged manure. Aim for a soil pH between 6.0 to 7.0; conducting a soil test can help identify any necessary amendments.
For successful planting garlic, prepare your bed by loosening the soil to a depth of 10 to 12 inches and creating shallow furrows 6 inches apart. Make sure your garlic bulbs receive full sun exposure, needing about 6 to 8 hours of sunlight each day.
Finally, avoid planting garlic in the same spot for two consecutive years to minimize disease risks and promote healthy garlic leaves.
Choosing Garlic Varieties
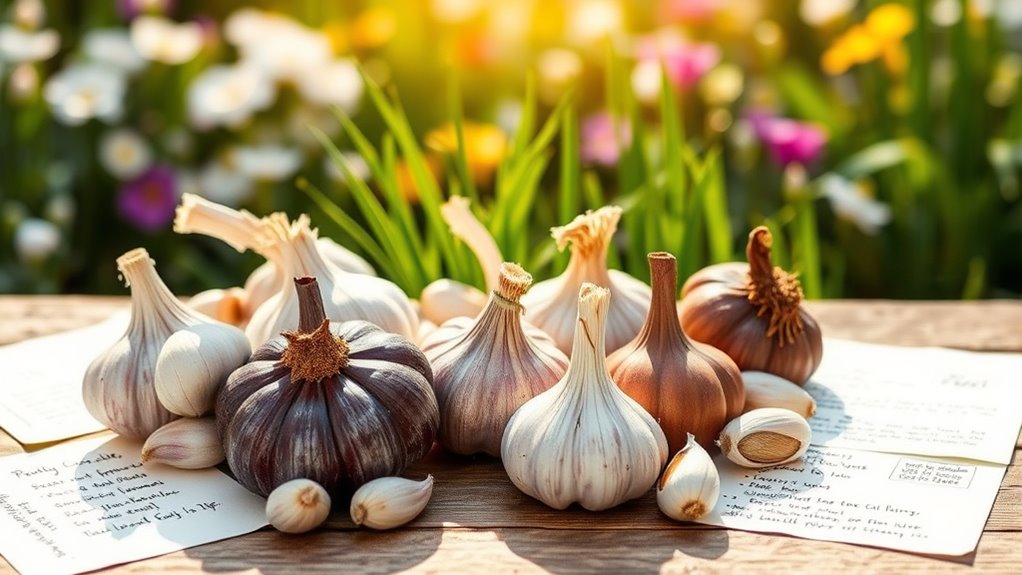
When choosing garlic varieties, you'll primarily decide between hardneck and softneck types.
Hardneck garlic tends to have a stronger flavor and offers edible scapes, while softneck varieties are better for long-term storage.
Understanding these differences will help you select the best garlic for your garden's needs.
Hardneck vs. Softneck
Choosing between hardneck and softneck garlic varieties can greatly impact your gardening success and culinary experiences. Hardneck garlic, ideal for colder climates, features a central seed stalk and produces fewer but larger cloves. In contrast, softneck garlic, better suited for warmer areas, lacks a hard stalk and yields more cloves per bulb. When you plant garlic, consider your local climate and desired flavor profile.
| Type | Cloves per Bulb | Storage Life |
|---|---|---|
| Hardneck | Fewer, Larger | About 3 months |
| Softneck | More, Smaller | 6 months or longer |
Understanding these differences will help you choose the right variety for your garden.
Flavor Profiles Comparison
While exploring garlic varieties, you'll discover distinct flavor profiles that can elevate your cooking.
Hardneck garlic often offers a robust and complex taste, making it perfect for those who prefer a stronger flavor in their dishes. Varieties like 'Music' are renowned for their rich taste.
On the other hand, softneck garlic typically presents a sweeter and more pungent flavor, such as 'California Early,' known for its mild flavor.
Choosing between these types depends on your taste preferences and local climate; hardneck garlic thrives in colder regions, while softneck garlic is ideal for warmer areas.
Storage and Longevity
The flavor profiles of garlic varieties directly influence how you should store them to maximize their longevity.
Hardneck garlic, with its stronger flavor, typically lasts about three months in storage. On the other hand, softneck garlic has a milder taste and can last six months or more, making it a better option if you want extended storage.
When selecting garlic for planting, always choose the largest cloves from the healthiest bulbs, ensuring quality.
Consider your climate, too; hardneck garlic thrives in colder regions, while softneck garlic prefers warmer areas.
Regardless of the type, keep your garlic in a cool, dark, and dry place at around 55°F (13°C) for ideal storage conditions until your next planting season.
Timing Your Garlic Planting
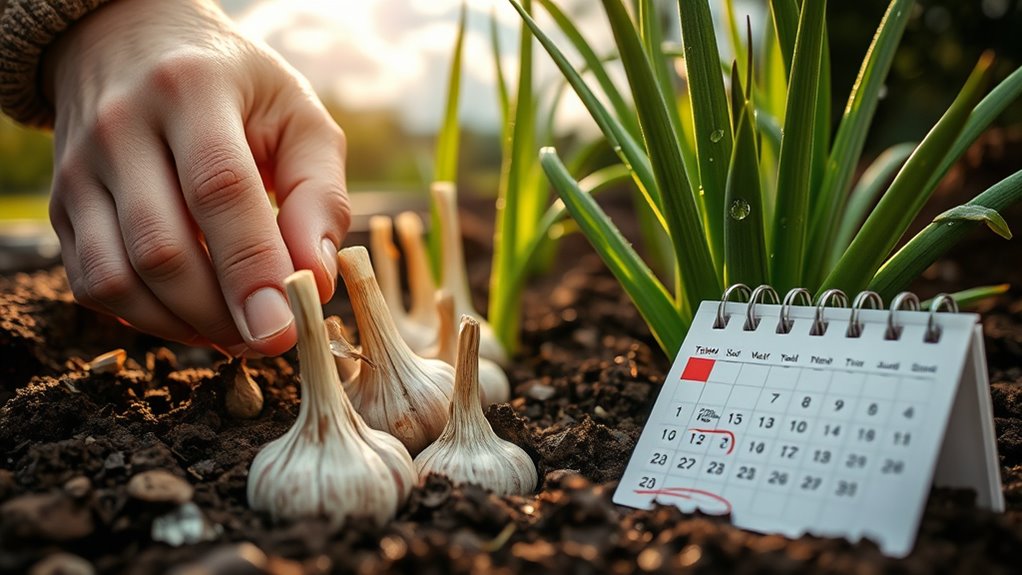
To guarantee your garlic thrives, timing your planting is essential. Aim to plant your garlic bulbs 1 to 2 weeks after the first killing frost in late fall. This timing allows the bulbs to develop roots before winter dormancy sets in.
Ideally, you should plant garlic 4 to 6 weeks before the ground freezes, ensuring that roots establish and green shoots might emerge in the fall. In milder climates, you can plant as late as February or March, but that often results in smaller bulbs.
For the best results, check with local county extension agents for average frost dates in your area to pinpoint the perfect timing for your garlic plantings.
Preparing Garlic Planting Beds

Creating the perfect garlic planting bed is essential for a successful harvest. Follow these steps to guarantee your garlic thrives:
- Choose a sunny planting area with at least 6 to 8 hours of sunlight daily.
- Enhance soil fertility by adding a 3- to 4-inch layer of organic matter, like compost or aged manure.
- Test your soil for a near-neutral pH of 6.0 to 7.0, which is ideal for garlic growth.
- Loosen the soil to a depth of 10 to 12 inches, ensuring it's well-drained and free from large clumps.
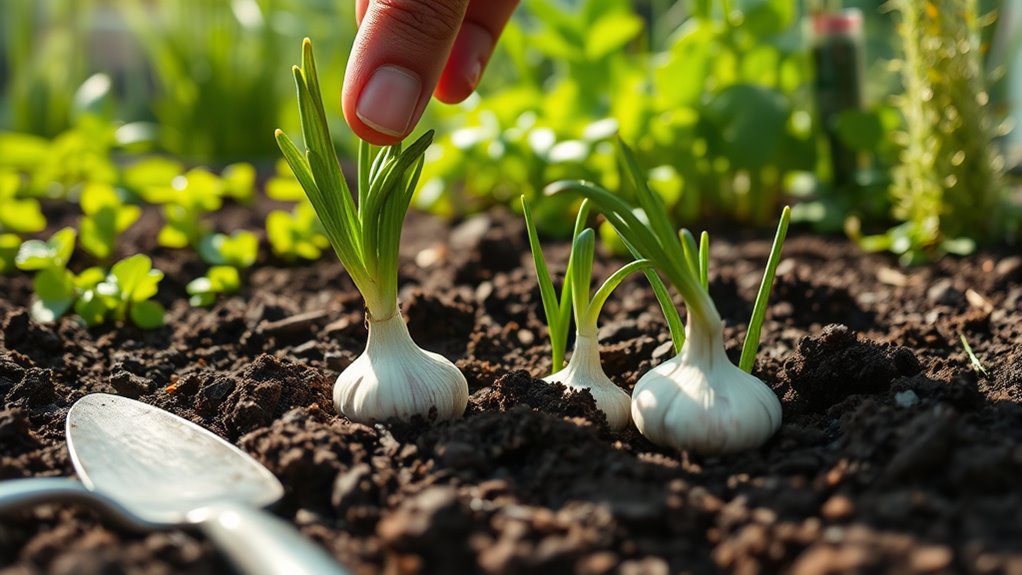
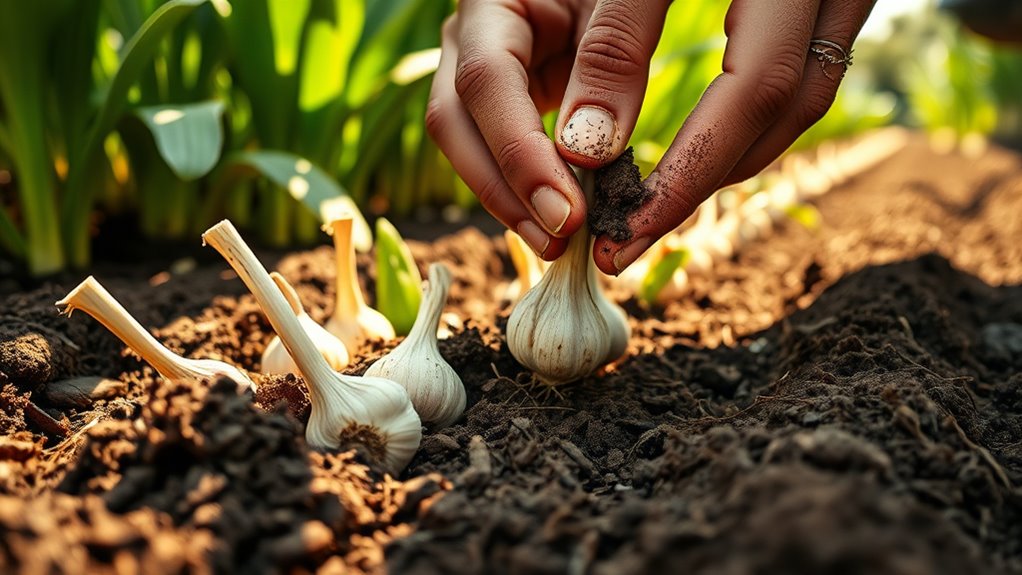
Planting Your Garlic
Now that you've prepared your planting beds, it's time to get those garlic cloves in the ground. The ideal planting time is late fall, about 1-2 weeks after the first killing frost. Plant each garlic clove 1-2 inches deep, pointed end up, and space them 4-6 inches apart in well-drained soil enriched with organic matter. Remember, fall plantings generally yield larger and more flavorful bulbs. In warmer climates, you can plant as late as February or March, but try to avoid planting in the same spot for two consecutive years. After planting, mulch with 4-6 inches of weed-free material to regulate soil temperature and moisture.
| Planting Aspect | Details |
|---|---|
| Depth | 1-2 inches deep |
| Spacing | 4-6 inches apart |
| Soil Requirements | Well-drained, organic matter |
| Ideal Planting Time | Late fall |
| Mulching | 4-6 inches of weed-free mulch |
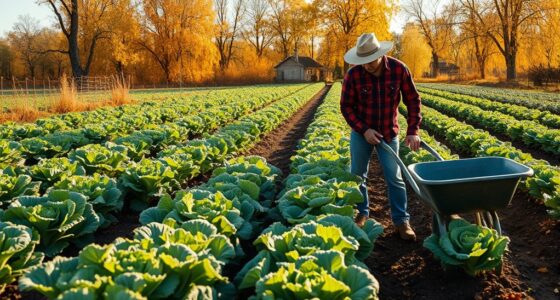
Caring for Garlic as It Grows

As your garlic plants begin to sprout, giving them the right care is crucial for healthy growth and a bountiful harvest. Here are some key steps to follow:
- Water garlic plants to guarantee they receive about 1 inch of moisture weekly, checking that the soil is dry an inch below the surface before watering.
- Remove mulch in early spring to let sunlight reach the plants and promote growth.
- Add compost and fertilizer when the garlic leaves are about 6 inches tall to support bulb development.
- Cut off hardneck scapes in early summer to redirect energy toward larger bulbs.
Don't forget to monitor for pests and diseases to keep your garlic healthy and thriving as it grows!
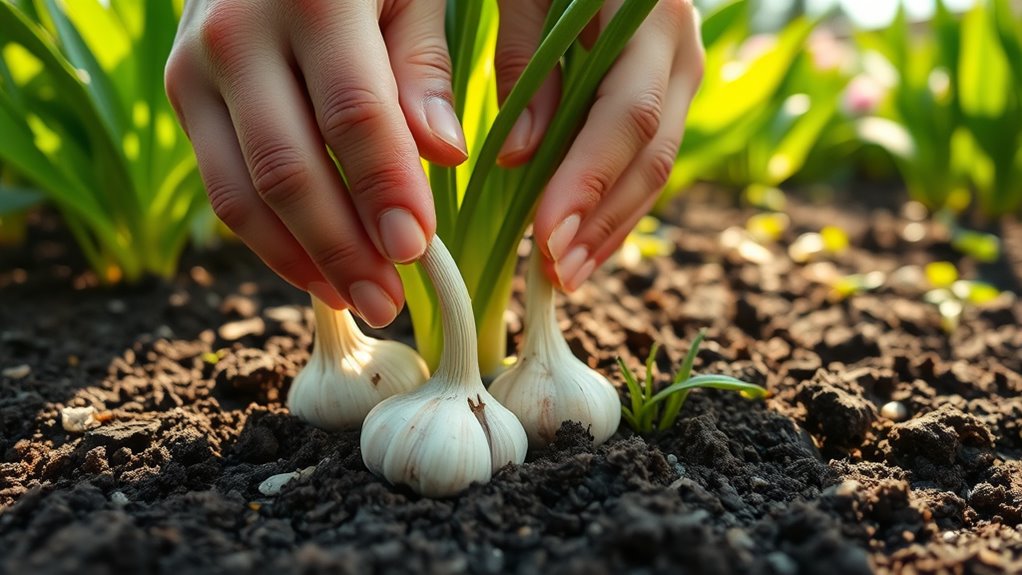
Harvesting Your Garlic

Once your garlic plants have matured, it's time to focus on harvesting. You'll know they're ready to harvest when 5-6 green leaves remain, with only a few browning. Each green leaf acts as a wrapper for the garlic heads, so don't wait too long.
Use a garden fork to carefully pry up the bulbs, ensuring the soil is dry to avoid excess moisture. Harvesting before complete dryness prevents thin bulb wrapping while delaying too long can cause splitting and expose your garlic to diseases.
After you harvest, you'll need to cure the garlic, hanging it or spreading it out in a well-ventilated, dark location for about two weeks to dry the wrappers thoroughly before you store garlic.
Curing and Storing Garlic
Curing garlic is essential to guarantee its longevity and flavor after harvest. To properly cure and store your garlic, follow these steps:
- Hang garlic in bunches or spread it out in a well-ventilated, dark location for about two weeks until the wrappers are dry and papery.
- After curing, trim the roots to ¼ inch and cut the tops to 1-2 inches.
- Store cured garlic bulbs in a cool (ideally around 55°F / 13°C), dark, and dry place. Avoid humid areas like basements or refrigerators to prevent sprouting.
- Check periodically for signs of spoilage, removing any affected bulbs to maintain overall quality.
With proper care, your stored garlic can last until the next harvest!
Dealing With Pests and Diseases
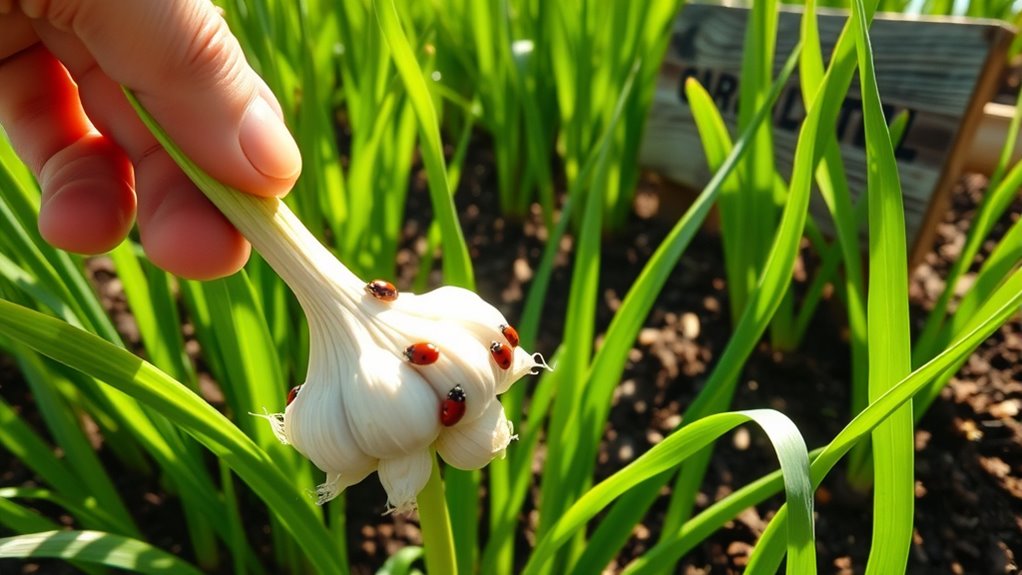
As you grow garlic, it's important to keep an eye out for common pests like onion thrips and aphids.
Implementing preventative measures, such as crop rotation and proper watering, can help protect your plants from diseases.
If you do spot any issues, treatment options like insecticidal soap or neem oil can effectively tackle infestations.
Common Garlic Pests
While garlic is generally resilient to pests, you might still encounter a few challenges in your garden. It's important to monitor your garlic plants regularly for signs of trouble.
Here are some common pests and diseases to watch out for:
- Onion thrips: Look for silver streaks on leaves and stunted growth. Insecticidal soap can help manage them.
- White rot: This disease shows a white fungal growth at the plant's base. Avoid planting in infected soil.
- Rust: Orange pustules on leaves indicate rust. Maintain good air circulation and spacing.
- Companion planting: Pair garlic with other crops to deter pests naturally.
Proper storage after harvesting is vital to prevent mold and decay, guaranteeing healthy bulbs for future planting.
Preventative Measures
To keep your garlic healthy and thriving, it's essential to implement preventative measures against pests and diseases. Regularly monitor your plants for common pests like onion maggots and aphids that can harm growth and bulb quality.
Utilize organic pest control methods, such as neem oil or insecticidal soap, to manage any infestations without harming beneficial insects. Guarantee good air circulation by spacing your garlic properly and avoiding overhead watering, as damp conditions can lead to fungal diseases like white rot and downy mildew.
Additionally, practice crop rotation to reduce the risk of soil-borne diseases and pest buildup. Incorporate companion planting with carrots to deter pests affecting garlic, enhancing your garden's overall health and productivity.
Treatment Options
When you notice signs of pests or diseases on your garlic plants, taking swift action is essential to preserving their health and yield. You should regularly monitor for issues like onion maggots and downy mildew.
Here are some effective treatment options:
- Cut off garlic scapes when they begin to curl to promote bulb growth and reduce disease risk.
- Maintain healthy soil with good drainage and compost to prevent root rot.
- Rotate your garlic crops every two years to minimize disease buildup and prevent pest infestations.
- Consider using organic options such as neem oil or insecticidal soap for managing outbreaks.
Community Engagement and Sharing Experiences
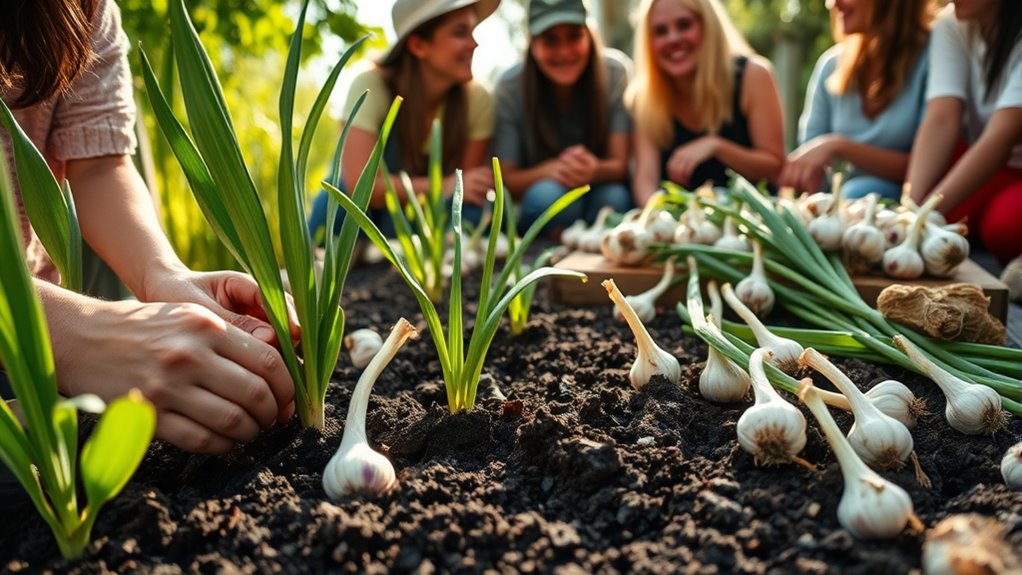
Engaging with gardening communities not only enhances your garlic-growing experience but also builds connections with fellow enthusiasts. By sharing harvest results, you can learn from others and refine your techniques. Participating in local gardening events allows you to exchange seed garlic and discover regionally suited varieties.
Here's a table to help you track your community engagement activities:
| Activity | Benefits | Example |
|---|---|---|
| Sharing harvest results | Fosters connection and learning | Post on social media |
| Attending local events | Access to disease-free seed garlic | Join a garlic festival |
| Online forums | Real-time advice from experienced growers | Engage in Q&A sessions |
| Blogging your experience | Inspire others and build a knowledge base | Create a personal blog |
| Documenting techniques | Contribute to collective garlic cultivation | Share on gardening forums |
Frequently Asked Questions
How Do You Grow Garlic for Beginners?
To grow garlic, start by selecting high-quality seed garlic from local sources.
Plant the cloves in well-draining soil, about 2-4 inches deep, with the pointed end facing up. Choose a sunny spot that gets 6-8 hours of sunlight daily, and enrich the soil with compost.
Water weekly, keeping the soil moist until mid-June.
Harvest when 5-6 leaves yellow, usually between late June and August, then cure the bulbs for storage.
What Is the Best Month to Plant Garlic?
The best month to plant garlic is usually late fall, around 1-2 weeks after the first hard frost. This timing helps guarantee the cloves develop strong roots before winter sets in.
If you live in a milder climate, you can plant as late as February or March, but fall planting generally produces larger bulbs.
Always check your local frost dates to pinpoint the perfect time for your region. Happy planting!
What Should You Not Plant Next to Garlic?
When planting garlic, you should avoid putting it next to beans, peas, onions, sage, and other alliums like leeks and chives.
These plants either compete for nutrients or attract pests that could harm your garlic. By keeping garlic away from these neighbors, you enhance its growth potential and reduce the risk of disease.
Prioritize its well-being by choosing companions wisely, ensuring a thriving and robust garlic crop.
How Many Garlic Will Grow From One Clove?
When you plant one garlic clove, it typically grows into one bulb, which can contain multiple cloves.
Depending on the variety you choose, hardneck garlic might give you around 4 to 12 larger cloves, while softneck varieties can produce up to 40 smaller ones.
The growing conditions and care you provide will also influence the size and number of cloves, so make sure to nurture your garlic properly for the best results.
Conclusion
Growing garlic is like nurturing a secret ingredient that transforms your culinary creations. By following these steps, you'll cultivate a garden of flavor that bursts with potential. With a little patience and care, you'll harvest not just bulbs, but a rewarding experience that connects you to the earth. So, roll up your sleeves, dig in, and let your garlic journey unfold—each clove a promise of delicious meals and cherished memories waiting to be made.