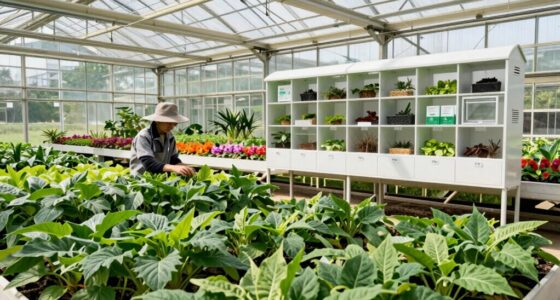
Building a budget-friendly compost bin is simple and cost-effective. Start by sourcing materials like wooden pallets, old plastic containers, or wire fencing. Guarantee good airflow by drilling holes and layer carbon-rich browns, like dry leaves, with nitrogen-rich greens, like kitchen scraps. Remember to turn your compost regularly to aerate it and keep an eye on moisture levels. If you want to troubleshoot common issues or enhance your composting, there's more helpful information ahead.
Key Takeaways
- Source inexpensive materials like wooden pallets, old containers, or wire fencing from local businesses or online classifieds.
- Choose a sunny, accessible location for your compost bin to enhance decomposition.
- Ensure proper airflow by drilling holes or slats in the sides and bottom of the bin.
- Layer carbon-rich browns and nitrogen-rich greens to maintain a balanced compost mixture.
- Turn the compost every 2-4 weeks to aerate and monitor moisture levels for optimal decomposition.
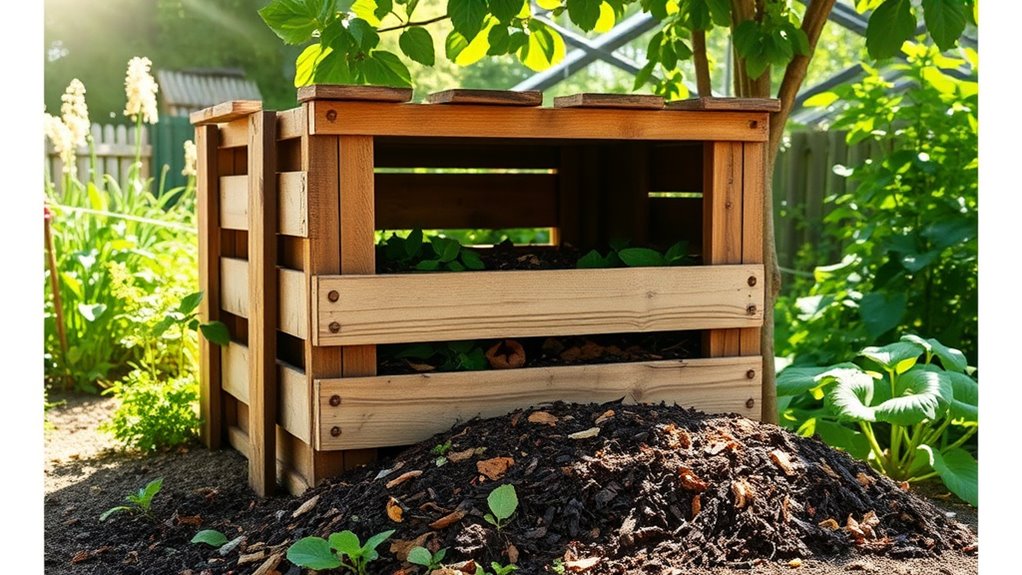
Selecting Affordable Materials for Your Compost Bin
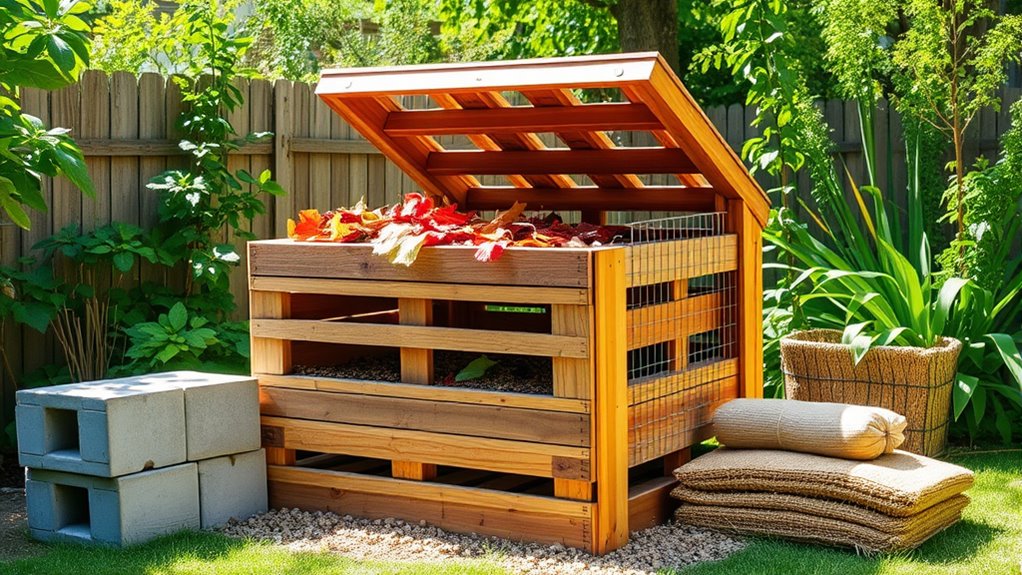
Building a compost bin doesn't have to be expensive; in fact, you can create one using materials that are often free or very low-cost.
Start by looking for wooden pallets at local businesses or warehouses, which can form a sturdy base. If you have old plastic containers or trash bins, repurpose them by drilling holes for ventilation.
Explore local businesses for wooden pallets and give old plastic containers a new life by adding ventilation holes.
For an affordable enclosure, consider using wire fencing or chicken wire, which allows for good airflow. Check online classifieds for second-hand materials like compost bins or other items people are giving away.
Don't forget to utilize natural materials from your yard, like branches, logs, or straw bales, which can enhance your compost bin while keeping costs low. Additionally, incorporating natural materials can contribute to a successful composting process.
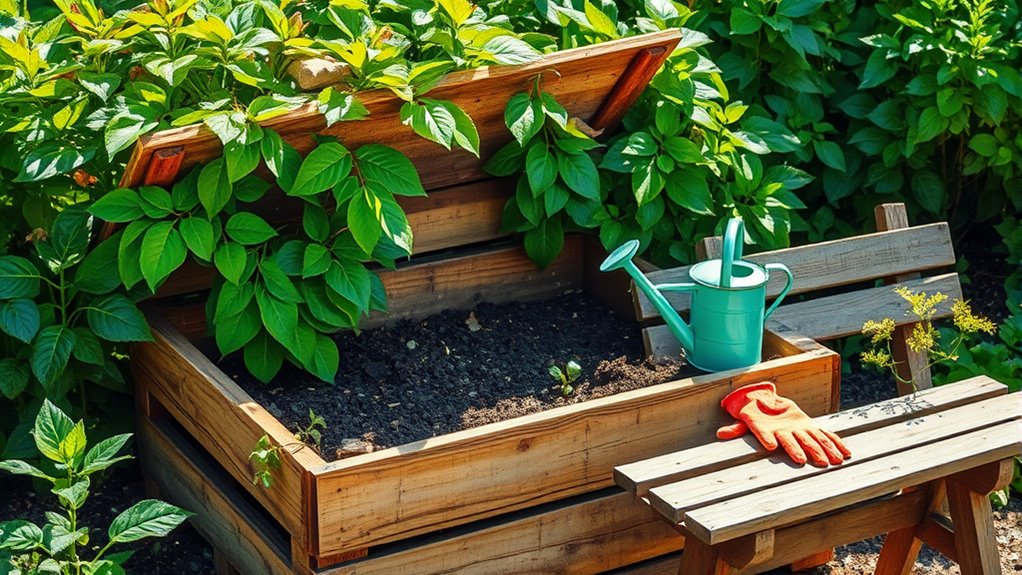
Step-by-Step Guide to Building Your Compost Bin
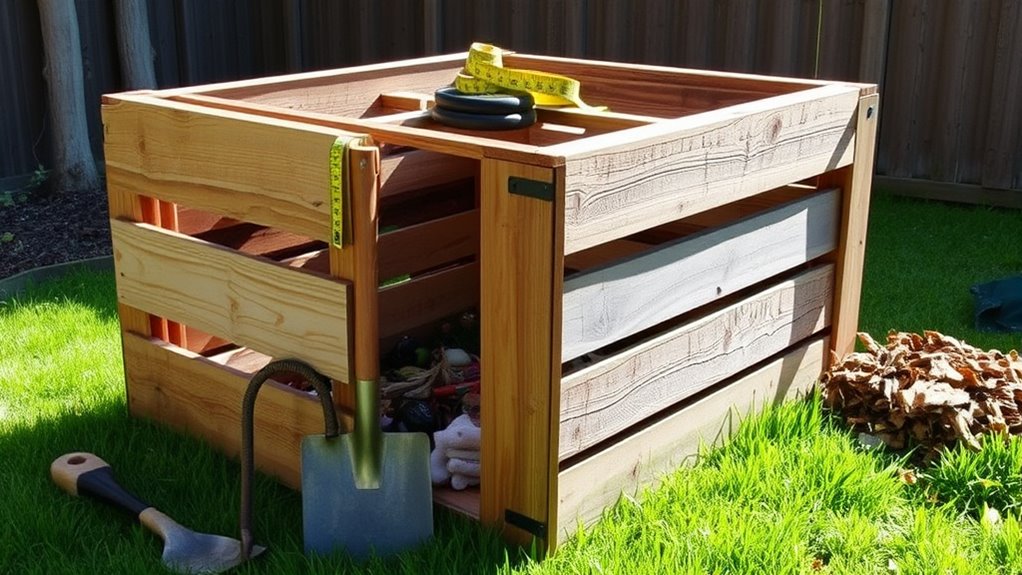
Creating your compost bin can be a straightforward project when you follow these simple steps.
Start by selecting a suitable location that's easily accessible and gets enough sunlight. Use affordable materials like old pallets or a repurposed garbage can to build your compost bin.
Don't forget to drill holes in the sides and bottom for ventilation, which helps aerate the composting process.
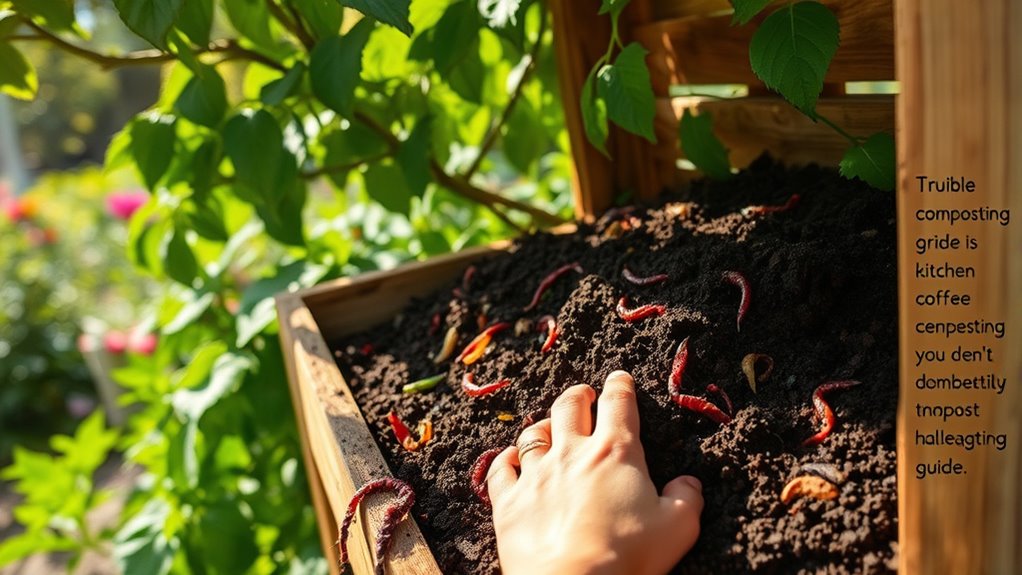
Layer your composting materials by alternating carbon-rich browns, such as dry leaves, with nitrogen-rich greens like kitchen scraps. This balance promotes decomposition.
Regularly turn the compost to maintain moisture levels akin to a damp sponge, ensuring your organic waste breaks down efficiently and avoids unpleasant odors. Additionally, consider how lighting control can enhance the composting process by preventing excess moisture and promoting a balanced environment.
Happy composting!
Essential Features for Effective Composting
An effective compost bin incorporates several vital features that enhance the composting process.
First, guarantee it's made from durable materials like untreated wood or wire fencing to withstand the elements. Aim for a size of at least 30 gallons, allowing for proper layering and mixing of compostable materials.
Adequate ventilation is critical for aerobic decomposition, so include drilled holes or slats for airflow. Your design should also facilitate easy access for adding materials and turning the compost, which can be improved with hinged lids or removable panels.
Finally, proper drainage is important to prevent excess moisture buildup. You can achieve this by adding holes at the bottom or using a base layer of dry materials like leaves or straw.
Maintaining Your Budget-Friendly Compost Bin
While maintaining your budget-friendly compost bin might seem challenging, it's actually quite straightforward with a few key practices.
Regularly turn the pile every 2-4 weeks to guarantee proper aeration and speed up the composting process. Balance your organic material by layering green materials, like vegetable scraps, with brown materials, such as shredded paper or dry leaves.
Keep an eye on moisture levels; your compost should be damp but not soggy. If it's too wet, add more browns to absorb excess moisture. A tight-fitting lid can help deter pests while retaining essential moisture.
Finally, watch for any unpleasant odors, and if they arise, adjust your materials balance or turn the compost for improved aeration. Additionally, a well-maintained compost bin can promote a healthier lifestyle by recycling organic waste and reducing landfill contributions.
Troubleshooting Common Composting Issues
When you encounter issues with your compost pile, addressing them promptly can keep your composting efforts on track.
If it isn't decomposing, add organic nitrogen-rich materials like food scraps or grass clippings.
An unpleasant odor signals anaerobic conditions; turn the pile to introduce oxygen and mix in more brown materials, like dried leaves, to absorb excess moisture.
An unpleasant odor indicates anaerobic conditions; turn your compost and add brown materials to improve oxygen flow and reduce moisture.
To deter fruit flies, keep it closed tightly and bury food scraps deep within the pile.
If you find high moisture content, add dry materials like shredded cardboard to improve drainage.
Conversely, if your compost pile is too dry, moisten it with lukewarm water and regularly turn the pile to enhance aeration and speed up decomposition.
Frequently Asked Questions
How Can I Make an Inexpensive Compost Bin?
You can make an inexpensive compost bin by using materials you already have or can find cheaply.
Try using wooden pallets to create a simple open bin; just secure them with screws for stability.
Alternatively, repurpose a plastic storage bin by drilling holes for airflow.
If you have wire fencing, form a circular design for a flexible option.
Get creative with what you have, and you'll have a functional compost bin in no time!
What Are Two Mistakes That We Should Avoid When We Prepare Compost?
Have you ever opened a compost bin and been hit with a foul smell? To avoid that, steer clear of two major mistakes.
First, don't skip balancing green and brown materials; an imbalance can lead to odors and slow decomposition.
Second, keep your compost loose—compacting materials restricts airflow, slowing the aerobic process.
Monitor moisture too; it shouldn't be soggy, like a wet sponge, or you'll invite unpleasant odors.
Happy composting!
What Is the Cheapest Method of Composting?
The cheapest method of composting is in-ground composting. You simply dig a hole in your yard, bury kitchen scraps, and yard waste, letting nature do the rest.
It doesn't cost anything for materials, and it's an effortless way to recycle organic matter.
You can also try using a homemade compost bin from repurposed materials like wooden pallets or an old trash can, which keeps your expenses low while you compost effectively.
How Long Does It Take to Compost in a 5 Gallon Bucket?
Imagine waiting for a cake to bake; you check it often, but patience is key.
Composting in a 5-gallon bucket usually takes about 4 to 8 weeks. To speed things up, turn the contents every few days and keep a good balance of browns and greens.
If you manage moisture and drainage well, you'll end up with dark, crumbly compost that's perfect for your garden, just like that delicious cake you've been waiting for!
Conclusion
Building your budget-friendly compost bin isn't just about saving money; it's like planting seeds for a greener future. Just like a garden flourishes with care, your compost will thrive with the right materials and maintenance. Remember, every kitchen scrap you toss in is a step toward reducing waste and enriching your soil. So roll up your sleeves and embrace the process—your efforts will bloom into a sustainable backyard ecosystem, nourishing both plants and pride in your work.