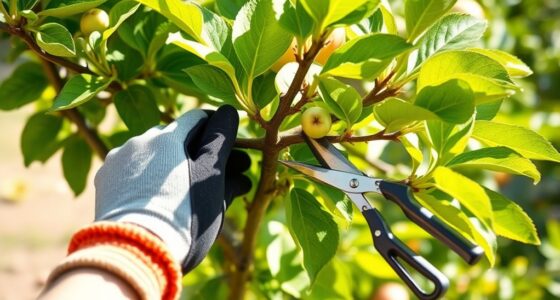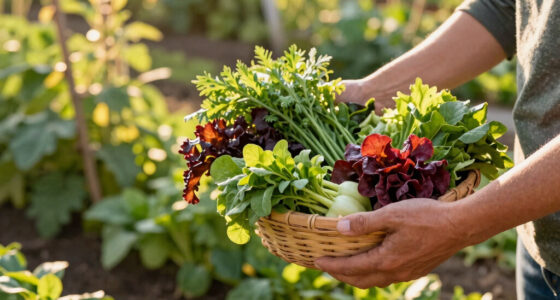
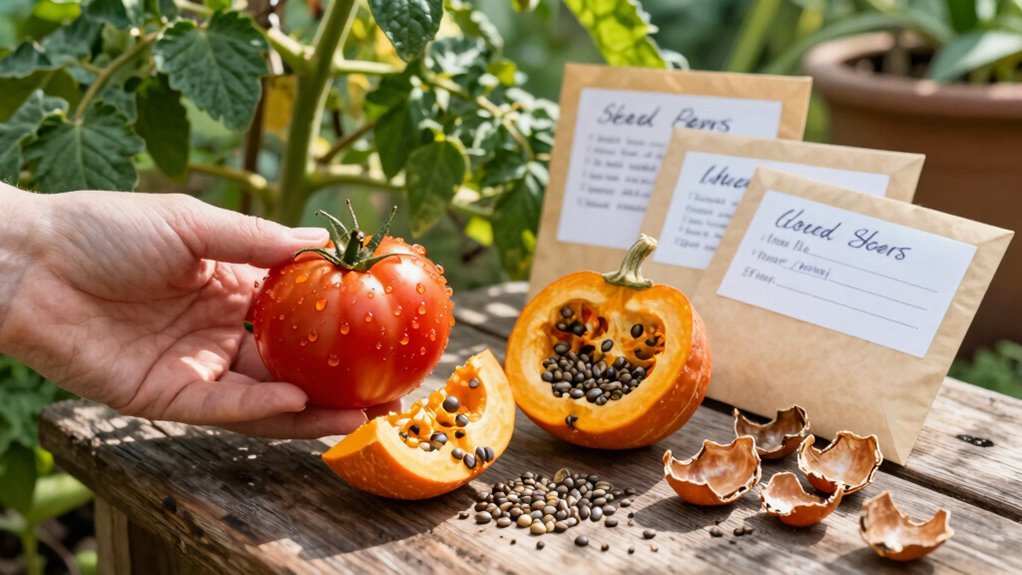

To save more seeds without keeping the wrong ones, focus on selecting healthy, mature plants for seed collection. Harvest seeds at the right time when they’re fully developed and check for signs of disease or damage. Clean and dry seeds thoroughly before storing them in airtight, moisture-resistant containers in a cool, dark place. Regularly monitor your stored seeds for pests, mold, or damage, and you’ll improve your seed saving success. Learn more to refine your seed-saving skills.
Open a free Amazon Business account
Business pricing, bulk buying and tax-exempt orders.
As an affiliate, we earn on qualifying purchases.
Key Takeaways
- Identify and select only healthy, mature plants to ensure viable seed collection.
- Properly label and organize seeds by variety to prevent mix-ups.
- Use seed separation techniques, such as screening or hand-picking, to remove unwanted seeds.
- Conduct germination tests on a sample of seeds before storage to confirm viability.
- Regularly inspect stored seeds and discard any showing mold, pests, or poor quality.
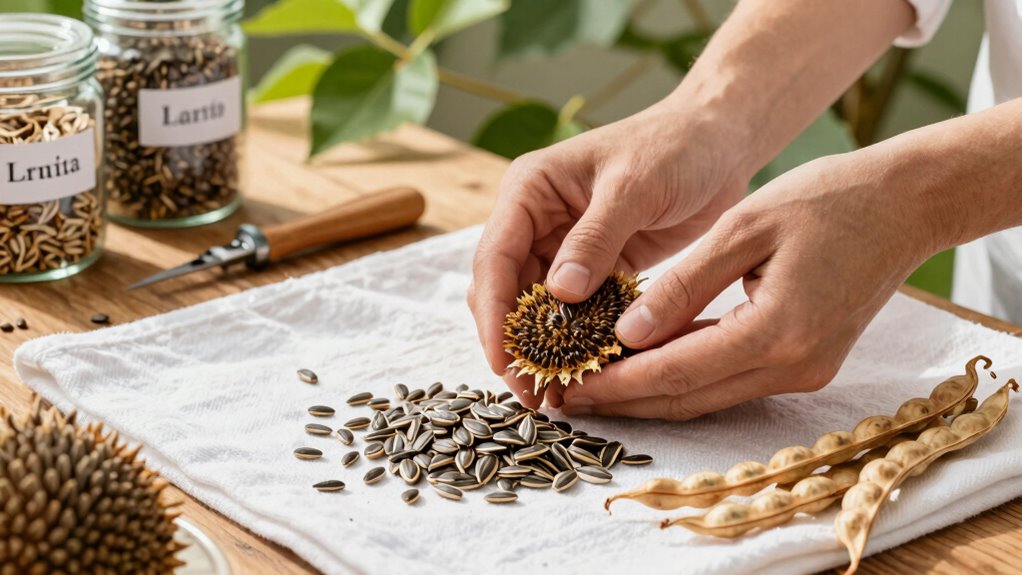
Saving seeds is a simple way to preserve your favorite plants and grow them again next season. When you save seeds properly, you’re not only saving money, but you’re also guaranteeing you have healthy, resilient plants in the future. To do this effectively, understanding seed storage and seed viability is essential. Proper seed storage helps maintain the quality of your seeds, preventing them from losing their ability to germinate over time. If seeds are stored in the wrong conditions, they can become moldy, lose their viability, or sprout prematurely, which defeats the purpose of saving them in the first place.
Saving seeds ensures healthy plants and saves money when stored properly in ideal conditions.
To maximize seed viability, start by selecting healthy, mature plants. Seeds from underdeveloped or diseased plants tend to have lower germination rates. Once you harvest your seeds, clean and dry them thoroughly. Moisture is the enemy of seed storage because it can cause mold and rot, so make sure they’re completely dry before storing. Use airtight containers like glass jars or sealed plastic bags to keep out humidity and pests. Label each container with the plant variety and the date of harvest so you can track how long they’ve been stored. Proper labeling also prevents mixing different seed types, which can lead to planting the wrong seeds.
Temperature and light conditions are equally important. Store your seeds in a cool, dark place—think a pantry, cellar, or refrigerator. Consistent, cool temperatures slow down seed deterioration and prolong seed viability. Avoid places with fluctuating temperatures or direct sunlight, as these can accelerate seed aging. If you’re storing multiple types of seeds, keep them separate and organized to avoid confusion later on. Using desiccants like silica gel packets can help absorb excess moisture, further protecting your seeds. Additionally, understanding seed viability and how it declines over time can help you better plan your planting schedule. Proper storage techniques can significantly extend the lifespan of your seeds, especially when combined with good seed quality practices. Regularly checking the seed maturity before harvesting can also improve your success rate, since harvesting too early may result in immature seeds with lower viability.
In addition, it’s helpful to store seeds in appropriate containers that are both airtight and moisture-resistant. Regularly check your stored seeds for any signs of mold, pests, or moisture build-up. If you notice any issues, remove affected seeds immediately to prevent contamination. It’s also helpful to keep an inventory of your seed collection to monitor what you have and what needs to be replenished in future seasons. When you’re ready to plant, perform a simple germination test by placing a few seeds on a damp paper towel to see if they sprout within a week or two. This test helps you gauge seed viability before planting large quantities. Remember that not all seeds last forever; most have a shelf life of one to five years, depending on the species and storage conditions. By paying attention to seed storage techniques and monitoring seed viability, you’ll improve your chances of successful germination and a bountiful garden season after season.
seed storage containers airtight
As an affiliate, we earn on qualifying purchases.
As an affiliate, we earn on qualifying purchases.
Frequently Asked Questions
How Do I Identify Viable Seeds From Damaged Ones?
To identify viable seeds from damaged ones, start with seed cleaning to remove debris and broken seeds. Then, perform a germination test by placing some seeds on a damp paper towel in a warm spot. If they sprout within a week or two, they’re viable. Discard seeds that don’t sprout or look shriveled, as these are likely damaged or non-viable. This process helps you save the best seeds for planting.
Can I Save Seeds From Hybrid Plants?
Coincidentally, saving seeds from hybrid plants isn’t ideal since seed saving techniques often lead to unpredictable results. Hybrid seed selection produces plants with specific qualities, but their seeds usually don’t reproduce true to the parent. If you choose to save hybrid seeds, expect variability. For consistent results, focus on saving seeds from open-pollinated or heirloom plants. This way, you guarantee better plant traits and healthier crops over time.
How Long Can Seeds Be Stored Effectively?
You can store seeds effectively for 1 to 5 years, depending on the plant type. To maximize seed germination, keep them in airtight storage containers, like glass jars or sealed bags, in a cool, dark, and dry place. Proper storage prevents moisture and temperature fluctuations, which can reduce seed viability. Regularly check your seeds for signs of mold or damage, ensuring they stay viable for future planting.
What Are Common Mistakes When Saving Seeds?
A common mistake when saving seeds is neglecting proper seed cleaning, which can lead to mold or disease. You might also use improper storage containers that aren’t airtight, causing seeds to spoil or lose viability. To avoid these errors, thoroughly clean seeds before storing and choose airtight containers like glass jars. Proper cleaning and storage help guarantee your seeds stay healthy and viable for planting later.
Do I Need to Dry Seeds Before Storing?
Think of seed saving like packing a delicate gift; you want it perfectly prepared. Yes, you need to dry seeds before storing to prevent mold or rot. Use seed cleaning to remove debris, then dry them thoroughly until they’re crisp. Store seeds in airtight storage containers in a cool, dark place. Proper drying guarantees your seeds stay viable longer, like a well-packed gift ready for future planting adventures.
Conclusion
Saving seeds is like tending a delicate garden—you must nurture the right ones to guarantee a bountiful harvest. By carefully selecting, labeling, and storing your seeds, you prevent your efforts from going to waste. Remember, every seed you save is a promise to future seasons. With patience and attention, you’ll cultivate not just plants, but a legacy that grows stronger with each passing year. Keep your garden thriving by choosing wisely—your future harvest depends on it.
NFL season / tailgating Picks
team gear
As an affiliate, we earn on qualifying purchases.