To make DIY apple cider vinegar for food preservation, start by selecting fresh, organic apples, wash and chop them, then allow natural yeasts to ferment in a clean jar at a stable, warm spot. Add a teaspoon of starter vinegar to jump-start fermentation, monitor the process for a few weeks, and once it’s tangy and cloudy, strain and bottle your vinegar. Store it in a cool, dark place to extend its shelf life. Want to learn the full process?
Key Takeaways
- Select fresh, organic apples and prepare them by washing, coring, and chopping to promote fermentation.
- Use clean, breathable fermentation vessels and maintain a warm, stable environment between 60-80°F.
- Add a starter culture like raw apple cider vinegar to jumpstart fermentation and monitor pH levels regularly.
- Strain out solids after fermentation and bottle the vinegar with optional flavorings for preservation.
- Store in a cool, dark place and use for pickling, dressings, or cleaning to maximize food preservation benefits.
Gathering Your Ingredients and Supplies
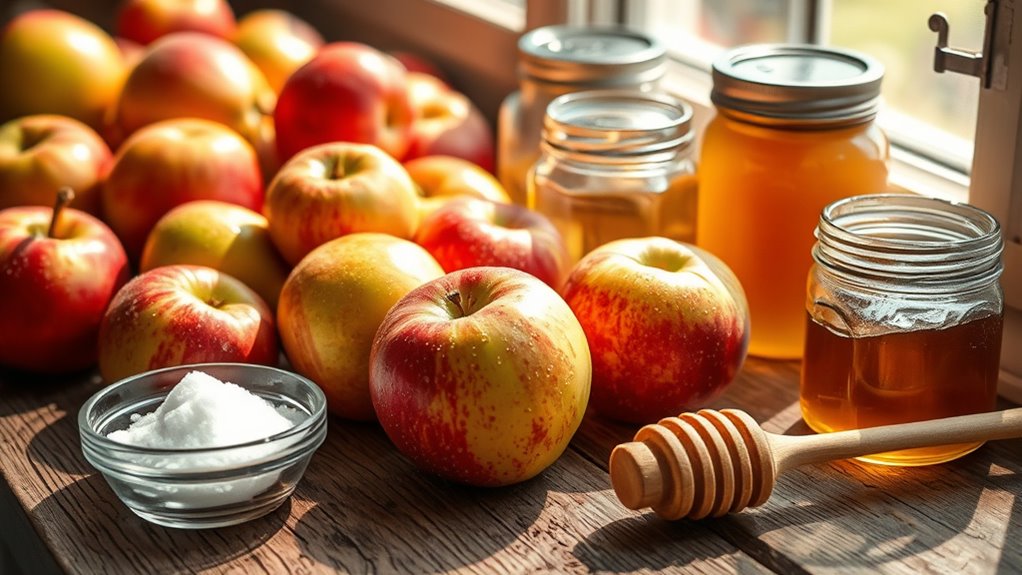
Before you begin, make sure you have all the necessary ingredients and supplies. Start by choosing the right apple variety; organic, unwaxed apples like Fuji or Honeycrisp are ideal because they have better flavor and fewer chemicals. High ingredient quality is essential for a successful fermentation, so select fresh, firm apples free from bruises or mold. Gather clean jars or fermentation vessels, a fine mesh strainer, and a cloth cover. You’ll also need sugar or honey if you want to speed up fermentation or boost acidity. Ascertain everything is thoroughly washed to prevent contamination. Spiritual energy can influence your mindset and intention during the fermentation process, so creating a peaceful environment may enhance your results. Having quality ingredients and the right supplies on hand sets a solid foundation for your homemade apple cider vinegar, leading to a better-tasting, more effective final product. Additionally, using high-pressure equipment can improve the fermentation process by ensuring even and thorough conversion of alcohol to acetic acid. Proper environmental conditions, such as temperature and cleanliness, are also crucial for optimal fermentation success. Maintaining a calm and mindful atmosphere during preparation can also positively influence the fermentation process. Furthermore, understanding the automation involved in modern fermentation techniques can help you better control and monitor your process for consistent results.
Preparing the Apple Base
Start by choosing apples that are fresh and ripe for the best flavor. Wash them thoroughly and chop them into small pieces to encourage fermentation. Then, find a clean space where your apples can ferment safely without contamination. To promote healthy fermentation, ensure the apples are free from pesticides and chemicals, which can interfere with the process organic cultivation. Additionally, selecting apples from a reputable source can help ensure your cider vinegar develops a rich and authentic flavor retail hours today list. Proper sanitation and food safety practices are essential for a successful fermentation process and a high-quality final product. Maintaining a controlled environment can also help optimize fermentation conditions and prevent spoilage water quality standards. Remember, a father’s guidance can be invaluable in maintaining the right environment for your fermentation process.
Selecting Apples Carefully
Have you considered how the type of apples you choose can impact the quality of your homemade vinegar? Selecting the right apple varieties is essential for a flavorful, well-balanced cider vinegar. Use picking criteria like sweetness, tartness, and freshness to guide your choices. Apples like Fuji or Gala add sweetness, while Granny Smith offers tartness, creating a balanced profile. Avoid bruised or moldy fruit, as it can spoil your vinegar. Here’s a quick guide:
| Apple Varieties | Picking Criteria |
|---|---|
| Fuji | Sweet, firm, fresh |
| Granny Smith | Tart, crisp, ripe |
| Gala | Mild, sweet, firm |
| Honeycrisp | Juicy, tart-sweet |
| McIntosh | Soft, aromatic |
Choosing apples based on flavor profile and the overall ripeness can greatly influence the fermentation process and final flavor. Additionally, selecting fresh, high-quality fruit can greatly influence the fermentation process and final flavor. Proper harvesting techniques also play a significant role in ensuring your apples are suitable for fermentation and can help prevent spoilage.
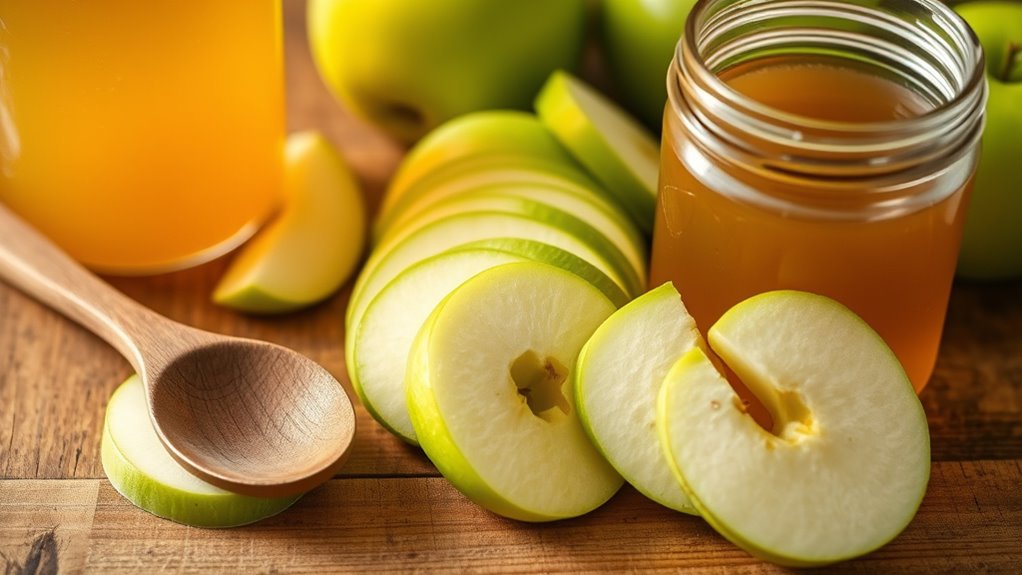
Washing and Chopping
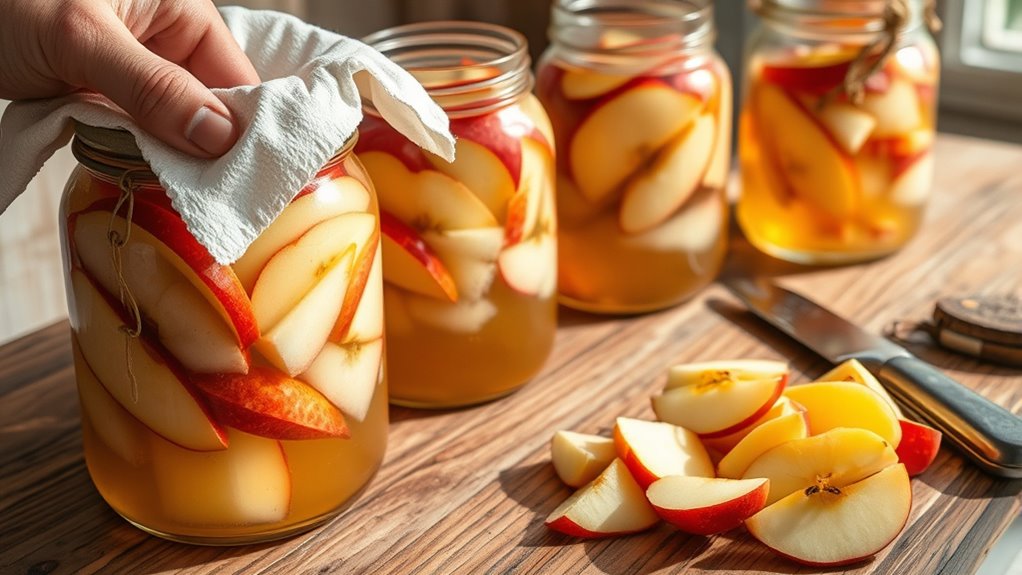
Once you’ve selected the perfect apples for your vinegar, it’s time to prepare them for fermentation. Start with thorough fruit washing to remove dirt and residues. Use cool water and gently scrub the apples, especially around the stems and any blemishes. Proper washing is essential to prevent unwanted bacteria from affecting your fermentation process. After washing, core and chop the apples into small pieces; this increases surface area, encouraging better fermentation. Keep the apple chunks uniform for consistent results. Remember, peeling is optional—leave the skin on for added flavor and nutrients, but make sure they’re clean. Proper washing and chopping set the foundation for a successful vinegar batch. Additionally, choosing diverse designs for your fermentation setup or storage can add a creative touch to your process. Take your time to ensure each apple is clean and cut evenly, which helps the fermentation process go smoothly and yields a flavorful, high-quality homemade vinegar. Incorporating insulation techniques can help maintain stable temperatures during fermentation, promoting optimal activity of beneficial bacteria and yeasts.
Creating a Fermentation Space
How do you create the ideal environment for fermentation? First, choose a clean, stable spot with good air circulation to prevent mold growth. Proper air circulation helps keep the environment fresh and reduces stagnant air, which can hinder fermentation. Next, maintain a consistent temperature between 60-80°F (15-27°C); too hot or cold can slow or stop the process. Use a thermometer to monitor temperature and adjust your space if needed, perhaps by relocating your jar away from direct sunlight or drafts. Keep the apple base covered with a breathable cloth to allow airflow while shielding it from dust and insects. Additionally, understanding the impact of contrast ratio on image quality can help you optimize your fermentation environment for better results. Maintaining proper hygiene practices is essential to prevent unwanted bacteria and ensure a successful fermentation. By controlling air circulation and temperature, you set the stage for a successful fermentation, ensuring your apple cider vinegar develops rich flavor and beneficial acidity.
Initiating the Fermentation Process
To start the fermentation, you need to pick the right apples—preferably organic and unwashed to keep natural yeasts alive. Next, add a starter culture like raw, unfiltered apple cider vinegar to kickstart the process. This combination will set the stage for your apple cider vinegar to develop properly. Using essential oils such as lemon or ginger in small amounts can also enhance the flavor during fermentation, if desired.
Choosing the Right Fruit
Choosing the right fruit is vital for creating high-quality apple cider vinegar. The fruit variety you select impacts flavor and fermentation success. Opt for fresh, organic apples with intact skins, free of bruises or mold. Ripeness selection is essential; wait until the fruit is fully ripe for maximum sugar content and natural yeasts. Additionally, selecting fruit with a natural, rustic appearance can help ensure a more authentic fermentation process, as it may carry beneficial wild yeasts and bacteria. To improve your chances of a successful fermentation, consider sourcing fruit from local growers, ensuring freshness and quality. Recognizing the importance of natural fermentation agents can also greatly influence the development of complex flavors in your vinegar. Incorporating proper sanitation practices can further enhance fermentation success and prevent unwanted mold or bacteria growth.
Adding Starter Culture
Once you’ve selected the right apples, the next step is to add a starter culture to kick off fermentation. The starter culture benefits include speeding up the fermentation process and ensuring a consistent, healthy vinegar. You can source starter cultures from unfiltered, raw apple cider vinegar or natural fermentation supplies from health stores. Add a small amount—about a teaspoon—of starter to your apple mash or juice. Mix thoroughly to distribute the culture evenly. This introduces beneficial bacteria that convert alcohol into acetic acid, essential for vinegar. Using a reliable starter culture source helps maintain quality and promotes successful fermentation. Once added, cover the mixture with a cloth and let it ferment at room temperature, monitoring progress over the coming weeks.
Monitoring and Maintaining Fermentation
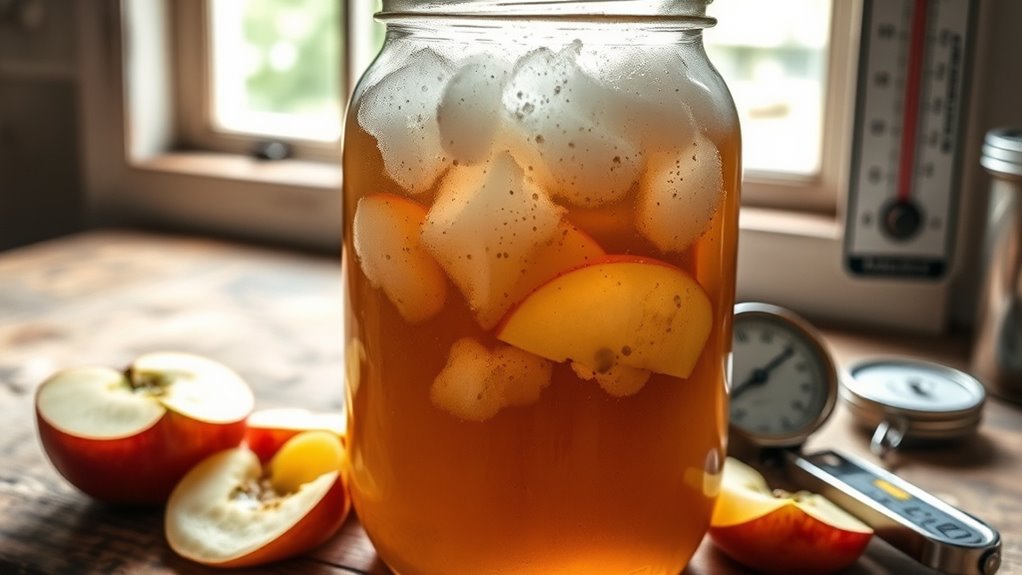
Monitoring and maintaining fermentation is essential to guarantee your homemade apple cider vinegar develops properly. You need to keep an eye on pH levels and fermentation temperature to ensure the process stays on track. Regular pH monitoring helps you determine when the acidity reaches the desired level. Maintaining a steady fermentation temperature, ideally between 60-80°F, promotes healthy bacterial activity.
- Check pH levels every few days to track acidity changes
- Keep the fermentation vessel in a warm, consistent environment
- Use a thermometer to monitor fermentation temperature
- Adjust location if temperature fluctuations occur
Consistent monitoring prevents spoilage and ensures your vinegar develops a balanced flavor. Staying attentive guarantees a successful fermentation process and high-quality apple cider vinegar.
Straining and Bottling Your Vinegar
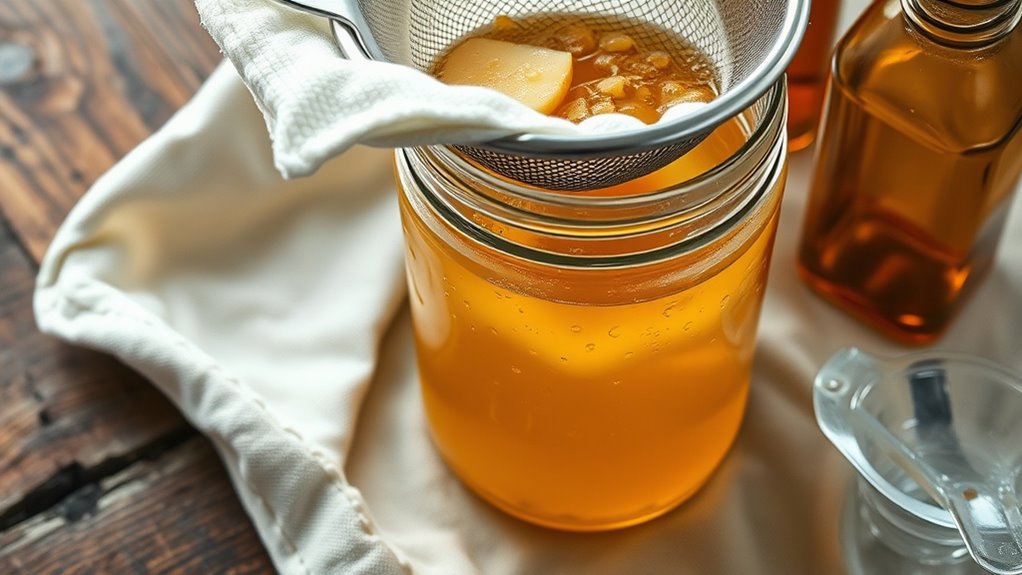
After your fermentation has reached the desired acidity and flavor, it’s time to carefully strain your vinegar to remove solid residues and sediment. Use a fine-mesh strainer or cheesecloth to guarantee clarity. Proper straining prevents sediment buildup in your bottles and helps preserve the vinegar’s quality. Once strained, choose appropriate bottles, preferably glass with airtight lids, to store your vinegar. When bottling, consider bottling techniques that minimize air exposure, which can affect flavor and shelf life. If you want to add a flavor infusion, this is the perfect moment—add herbs, spices, or fruit infusions directly into the bottles before sealing. Ensure bottles are clean and dry, and fill them carefully to avoid spillage. Seal tightly, label, and store in a cool, dark place.
Using and Storing Your Homemade ACV
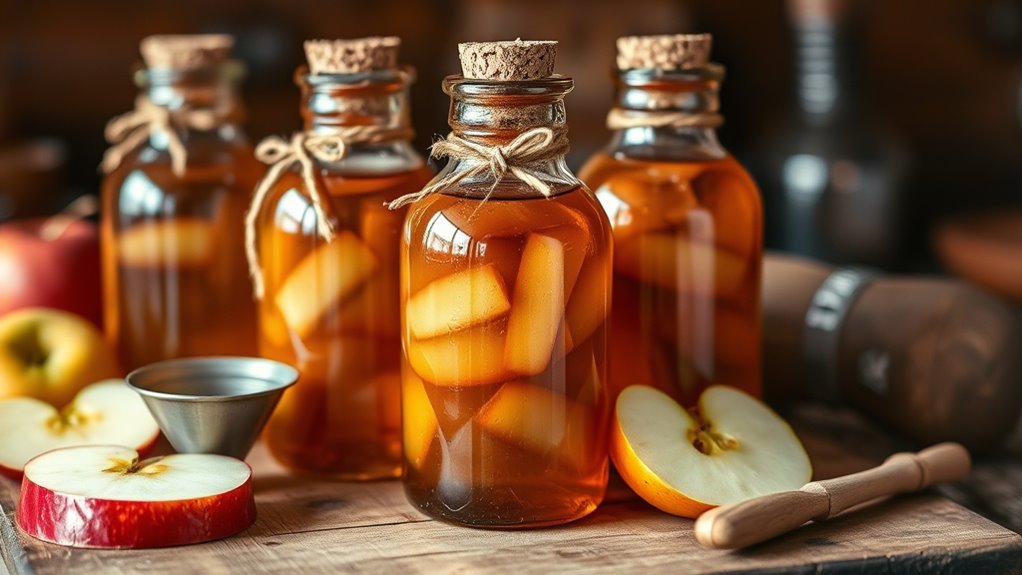
You can start using your homemade apple cider vinegar immediately, but for best results, incorporate it gradually into your daily routines. Proper storage guarantees it stays fresh and potent. Keep your ACV in a cool, dark place, away from direct sunlight, in a sealed glass container to prevent contamination. Use it for a variety of purposes, from salad dressings to cleaning solutions. Here are some usage ideas:
- Add a splash to smoothies or teas for health benefits
- Use as a natural preservative in pickling vegetables
- Mix with water for a gentle, all-natural cleaner
- Incorporate into marinades for tenderizing meat
Following these storage tips and usage ideas helps maximize your homemade vinegar’s lifespan and versatility.
Frequently Asked Questions
How Long Does Homemade Apple Cider Vinegar Typically Last?
Homemade apple cider vinegar usually lasts about 6 months to a year when stored properly. You should check for spoilage indicators like strange smells, mold, or cloudiness, which signal it’s no longer good. Keep it in a sealed container in a cool, dark place to extend its storage longevity. Proper storage helps preserve its quality, flavor, and acidity, ensuring you can use it safely for longer periods.
Can I Use Organic Apples for Better Fermentation?
Think of organic apples as the secret storytellers in your fermentation adventure. Using organic apples enhances fermentation quality because they’re free from pesticides and chemicals that could hinder the process. Their natural sugars and yeasts boost the transformation into apple cider vinegar, making it richer and more authentic. Yes, choosing organic apples gives your homemade vinegar a better foundation, ensuring a flavorful, pure product that truly captures the essence of fresh apples.
What Are Common Signs of Fermentation Failure?
When you’re checking for fermentation failure, look out for spoilage indicators like mold, foul odors, or slimy textures. If your apple cider vinegar doesn’t develop a tangy smell or shows unusual colors, it might be troubleshooting signs of fermentation issues. Trust your senses—if it smells off or tastes strange, discard it. Proper sanitation and temperature control help prevent these problems, ensuring successful fermentation and safe preservation.
Is It Safe to Consume Vinegar After the Fermentation Process?
Think of your vinegar as a balanced tightrope walker; if it maintains pH stability, it’s safe to consume. Once fermentation completes and the pH stays low, it’s unlikely to harbor harmful bacteria or mold. As long as you see no mold or off smells, and the acidity remains steady, your vinegar is safe to use. Trust your senses and proper pH levels to make certain of safe consumption.
How Can I Speed up the Fermentation Process?
To speed up fermentation time, you can add starter cultures to your apple cider. These beneficial bacteria jumpstart the process, reducing the overall fermentation period. Keep the mixture at a warmer temperature, around 60-75°F, as heat accelerates fermentation. Stir the mixture regularly to distribute the cultures evenly. By using starter cultures and maintaining a warm environment, you help your vinegar ferment faster and more efficiently.
Conclusion
Just like the ancient alchemists turned simple ingredients into gold, your homemade apple cider vinegar transforms humble apples into a treasured kitchen staple. With patience and care, you create more than just vinegar—you craft tradition, history, and a touch of magic. Every drop echoes the timeless dance of nature and craftsmanship, reminding you that the simplest things often hold the deepest worth. Your journey ends here, but your homemade ACV’s story is just beginning.