
To build a solar dehydrator for preserving summer produce, start by selecting weather-resistant materials like treated wood or metal for the frame, ensuring durability. Install a dark absorber panel at an ideal angle and cover it with UV-protected acrylic for sunlight exposure. Include vents or solar-powered fans for airflow, and organize internal racks for even drying. Seal all joints for weatherproofing. For detailed steps, you’ll find easy tips to perfect your design and improve efficiency.
Key Takeaways
- Use weather-resistant materials like treated wood, aluminum, or galvanized steel for durability against outdoor conditions.
- Install a solar absorber panel with thermal insulation and sealed edges to maximize heat retention and efficiency.
- Incorporate adjustable vents and solar-powered fans to ensure proper airflow and moisture control inside the dehydrator.
- Use UV-protected, durable acrylic or polycarbonate panels for the transparent cover to optimize sunlight while protecting produce.
- Organize internal racks with proper spacing, secure the structure, and include automation to maintain consistent dehydration conditions.
Gathering Materials and Tools

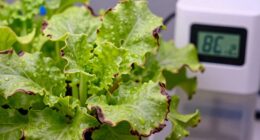
Before you begin building your solar dehydrator, gather all the necessary materials and tools. First, choose a suitable location for solar panel integration; you’ll need a reliable, weather-resistant solar panel to power any fans or components. Collect basic tools like a screwdriver, scissors, and a drill. You’ll also need materials such as plywood or reclaimed wood for the structure, mesh screens for airflow, and insulation to improve moisture control inside the dehydrator. Consider including a hygrometer to monitor humidity levels, ensuring proper moisture control during drying. Making sure to select components aligned with energy-efficient designs can help you optimize performance and conserve power during operation. Ensuring proper ventilation is crucial for effective drying and preventing mold growth inside your dehydrator. Incorporating passive solar principles can further enhance energy efficiency by maximizing heat absorption and distribution. Make sure to have wiring supplies and a power switch if you plan to connect electrical components. Planning for reliable operation can help you acquire supplies efficiently; preparing these materials beforehand helps streamline the build process and guarantees your dehydrator functions efficiently, harnessing solar energy effectively.
Designing Your Dehydrator Structure
Designing the structure of your solar dehydrator sets the foundation for efficient drying and durability. Start by planning how you’ll incorporate solar panel integration seamlessly into the design, ensuring maximum sun exposure without obstruction. Consider the overall shape and orientation to optimize sunlight capture throughout the day. Insulation techniques are also essential; use materials that resist heat loss, such as foam board or reflective insulation, to keep the internal temperature consistent. Proper insulation not only speeds up drying times but also protects your dehydrator from weather-related wear. Focus on creating a sturdy, lightweight structure that can withstand outdoor conditions while maintaining accessibility for maintenance and airflow. A well-designed, insulated frame with integrated solar panels ensures your dehydrator operates efficiently and lasts for years. Utilizing user-friendly interfaces in your design can also facilitate easier monitoring and adjustments during operation. Additionally, incorporating effective ventilation is crucial for maintaining optimal airflow and consistent drying results. Incorporating natural techniques such as proper airflow management and strategic positioning can further enhance drying efficiency and product quality.
Building the Frame and Base

To construct a sturdy frame and base, you need to choose durable materials that can withstand weather and regular use. Once you’ve selected the right supplies, assemble the structure carefully to guarantee stability and safety. This step sets the foundation for an effective and long-lasting solar dehydrator. Ensuring the structural integrity of your dehydrator will help it endure over time and provide consistent dehydration performance. Additionally, paying attention to weather resistance can further protect your dehydrator from environmental damage. Incorporating proper ventilation during construction can also enhance the efficiency and longevity of your dehydrator, especially in areas with high tourist traffic or varying weather conditions.
Selecting Durable Materials
Choosing the right materials for the frame and base is crucial to guarantee your solar dehydrator is sturdy and long-lasting. You should prioritize weather resistant materials that can withstand outdoor conditions without deteriorating. Look for options like treated wood, aluminum, or galvanized steel, which resist moisture and exposure to sunlight. Incorporate corrosion proof components, such as stainless steel screws or bolts, to prevent rust and structural weakening over time. Avoid using untreated wood or low-quality plastics, as these can warp or degrade quickly. Selecting durable, weatherproof materials ensures your dehydrator remains stable through seasons and harsh weather. This choice not only prolongs the lifespan but also maintains safety and efficiency during dehydration processes by preventing corrosion and structural damage. Additionally, considering the compatibility of materials with solar heat absorption can enhance overall efficiency.
Assembling the Structure
Begin by laying out the foundation for your solar dehydrator, guaranteeing the frame and base are level and stable. This creates a solid platform for your build. Next, follow these steps:
- Construct the frame using durable materials, making sure it’s sturdy enough to support solar panel integration.
- Attach the base securely, incorporating insulation techniques like foam board or reflective insulation to improve heat retention.
- Mount the solar panel on the frame, ensuring it’s angled correctly for maximum sunlight exposure.
- Reinforce joints and connections to prevent movement, which helps maintain stability and efficient heat circulation.
- Remember to check the operating hours of supportive facilities or resources that may assist during the building process, ensuring you can access help when needed. Additionally, considering sustainable building materials can enhance the overall eco-friendliness of your dehydrator. Incorporating solar energy efficiency principles can further optimize your dehydrator’s performance.
- Selecting appropriate materials for weatherproofing can extend the lifespan of your dehydrator and improve its overall durability.
This careful assembly ensures your dehydrator is both functional and durable, optimizing solar energy use for effective drying.
Creating the Solar Absorber Panel
Have you ever wondered how to craft an efficient solar absorber panel? To maximize heat absorption, start by choosing a dark, matte surface that captures sunlight effectively. Attach this surface to a sturdy backing, ensuring it’s securely sealed with weatherproof seals to prevent moisture from entering. Incorporate thermal insulation behind the panel to retain heat and improve efficiency. Use materials like foam or reflective insulation to minimize heat loss. Make sure the edges are tightly sealed, avoiding gaps that could reduce performance. The goal is to create a panel that absorbs maximum sunlight while staying protected from weather elements. Proper weatherproofing and insulation are key to ensuring your solar absorber panel performs well over time. Additionally, selecting materials that complement your rustic farmhouse design can enhance both functionality and aesthetic appeal over the long term.
Constructing the Drying Chamber
Constructing the drying chamber involves selecting a suitable enclosure that maintains consistent airflow and temperature. To optimize efficiency, focus on these key steps:
- Choose a weather-resistant box or frame that’s easy to seal and access.
- Integrate your solar panel to power any fans or sensors, enhancing control.
- Apply insulation techniques, such as foam panels or reflective barriers, to retain heat.
- Seal all joints tightly to prevent drafts and ensure steady airflow.
- Incorporate automation technologies to monitor and adjust the environment for optimal drying conditions. Additionally, utilizing digital platforms for coordinating your build or seeking advice can streamline the process and improve results. Incorporating environmental controls can further optimize drying efficiency and consistency. Ensuring proper ventilation is also essential to prevent moisture buildup and promote even drying.
Installing Ventilation and Airflow Systems
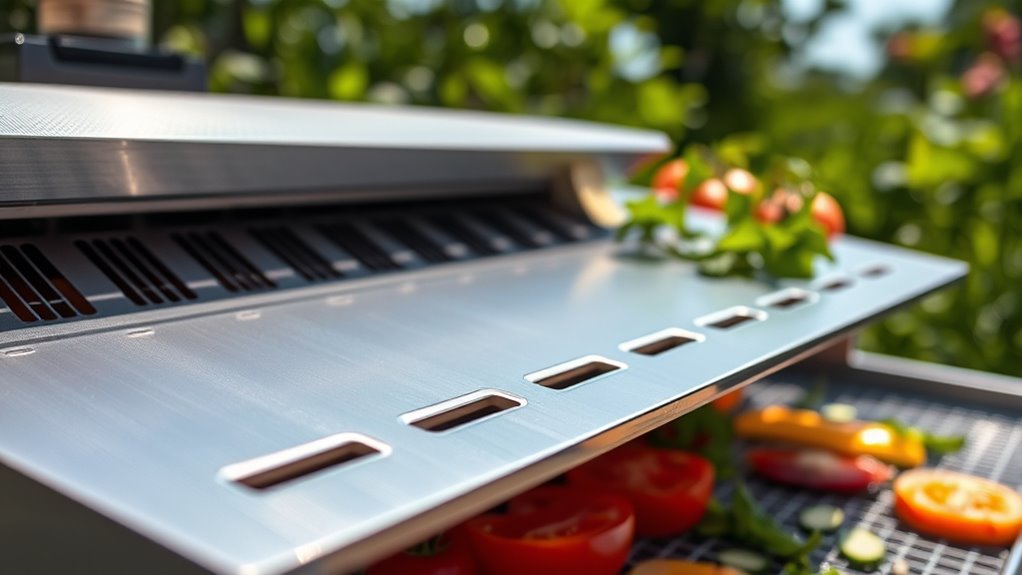
Installing proper ventilation and airflow systems is essential to maintaining consistent drying conditions inside your solar dehydrator. You should position ventilation fans strategically to promote even airflow throughout the chamber, preventing moisture buildup and mold growth. Use airflow vents on opposite sides to facilitate natural convection, allowing fresh air to enter and moist air to escape. Ensure vents are adjustable so you can control airflow depending on humidity and temperature levels. Installing reliable ventilation fans will help circulate air efficiently, speeding up dehydration and preserving quality. Proper placement of vents and fans creates a steady environment, reducing drying time and guaranteeing your produce dries evenly. Regularly check and clean these components to keep airflow ideal and your dehydrator functioning effectively.
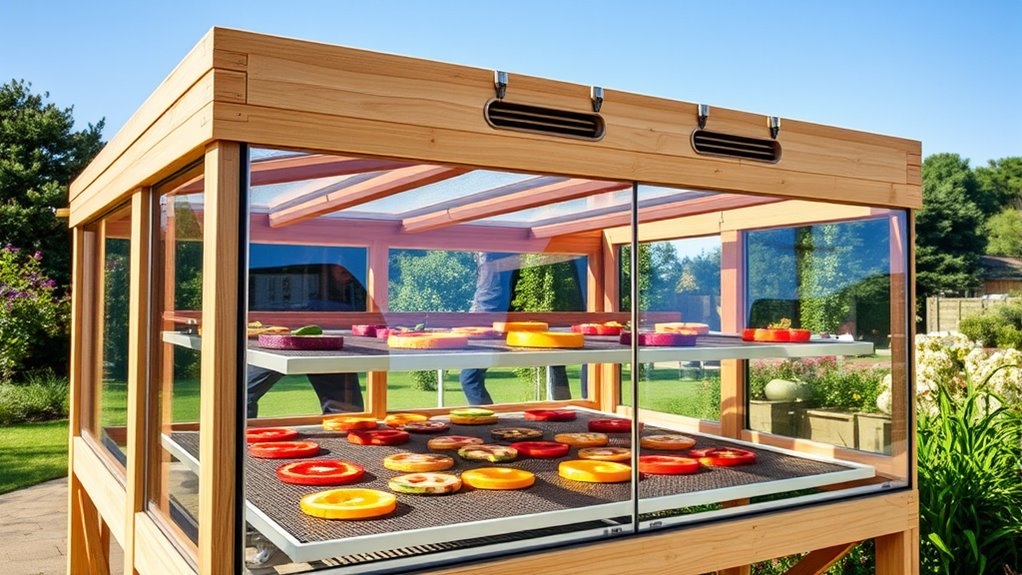
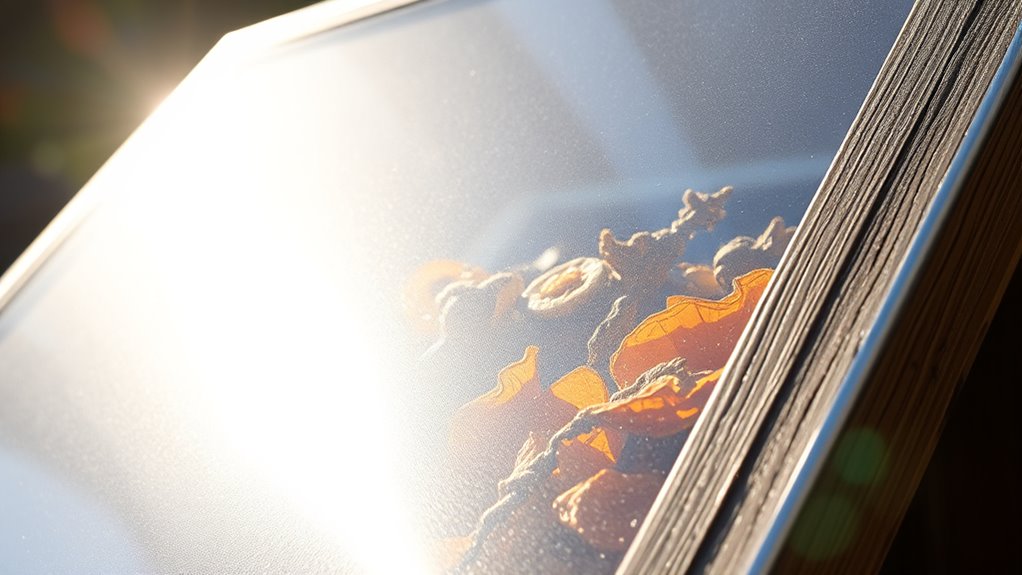
Adding Transparent Covering for Sunlight Entry

Adding a transparent covering is essential for maximizing sunlight entry and boosting your solar dehydrator’s efficiency. It allows sunlight to enter while offering UV protection, which helps preserve the quality of your produce. Additionally, a good cover promotes sunlight diffusion, ensuring even drying. To achieve this, consider these steps:
A clear, sealed, and slightly tinted cover enhances sunlight entry, UV protection, and even drying for your solar dehydrator.
- Choose clear acrylic or polycarbonate panels for durability and UV protection.
- Ensure the cover is tightly sealed to prevent heat loss and contaminants.
- Opt for slightly tinted panels to improve sunlight diffusion and reduce harsh UV rays.
- Secure the covering firmly to withstand wind and weather, maintaining consistent sunlight entry.
These adjustments help optimize sunlight exposure, enhance dehydration speed, and protect your produce from UV damage.
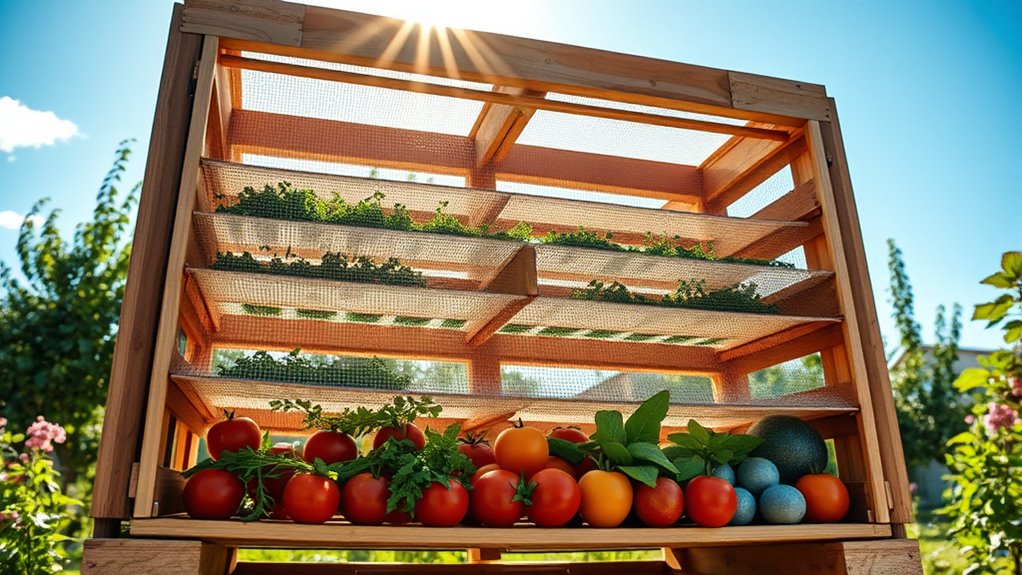
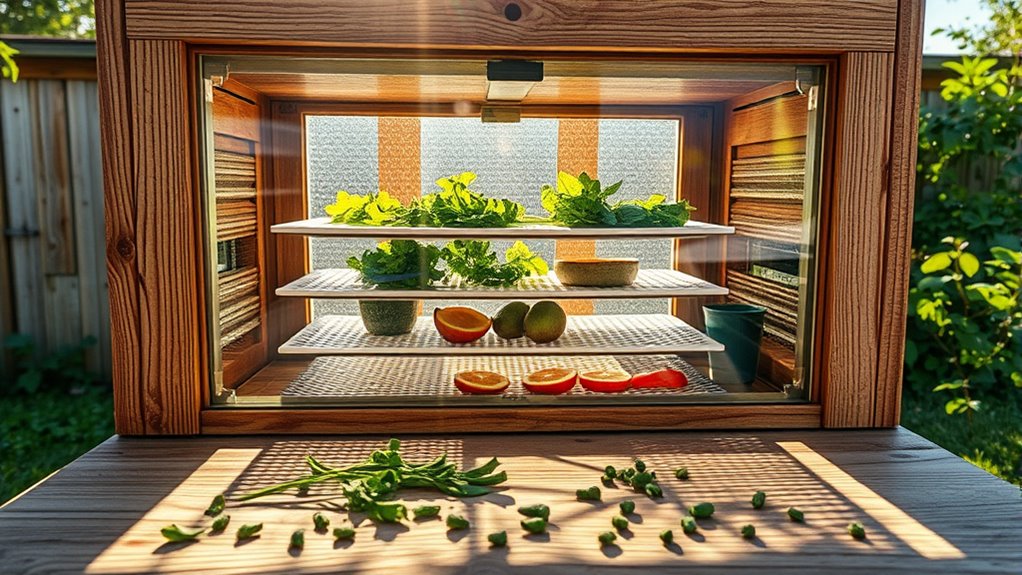
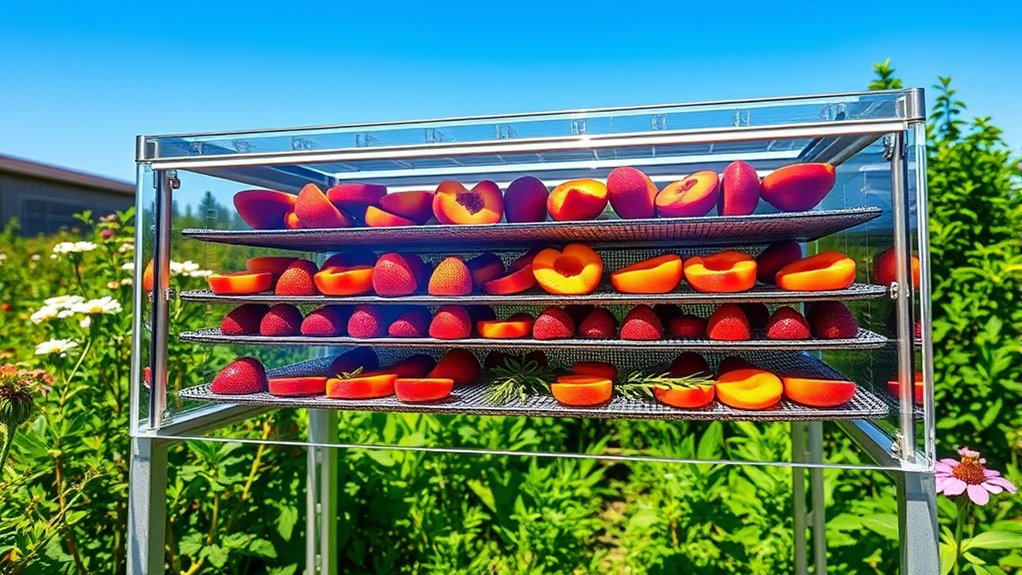
Setting Up the Interior Racks or Trays
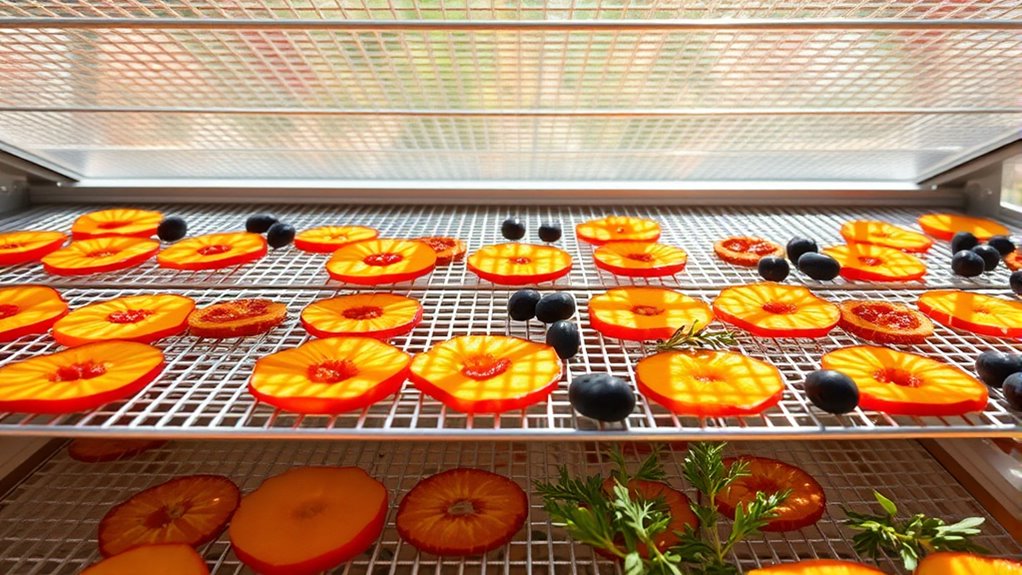
Once you’ve secured the transparent cover, the next step is to set up the interior racks or trays that will hold your produce. Proper rack arrangement ensures good airflow and even drying. Space the trays evenly, allowing at least 1-2 inches between them for ideal circulation. Use sturdy materials like wire or wood to support the produce without sagging. Arrange the trays in a way that sunlight can reach all surfaces, preventing mold or uneven dehydration.
| Tray Position | Spacing (inches) |
|---|---|
| Top Shelf | 1.5 |
| Second Shelf | 1.5 |
| Third Shelf | 1.5 |
| Bottom Shelf | 1.5 |
Adjust tray spacing based on produce thickness and airflow needs.
Securing the Dehydrator and Ensuring Weatherproofing
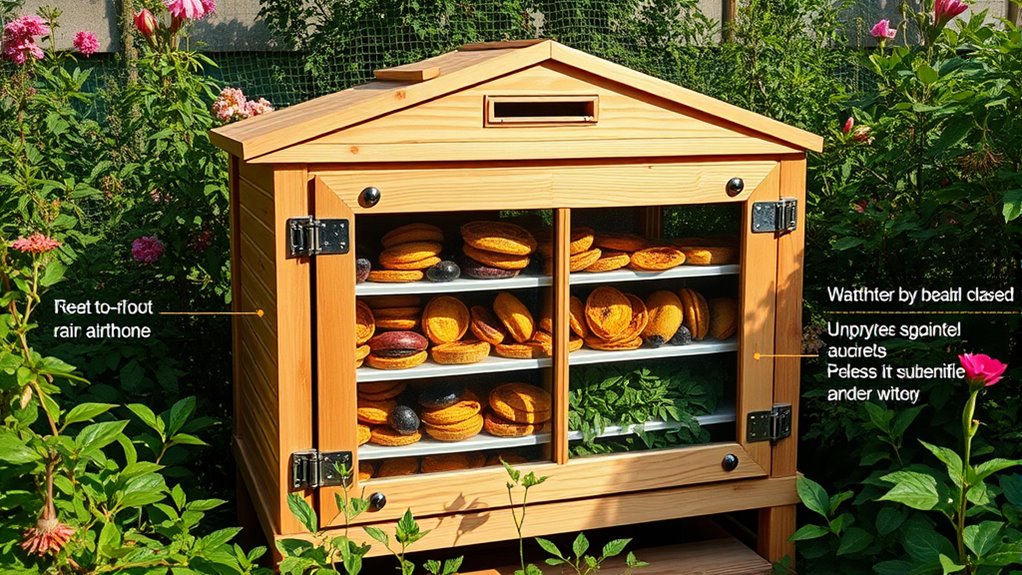
To guarantee your solar dehydrator functions effectively and withstands outdoor conditions, you need to secure it firmly and make it weatherproof. Proper securing methods prevent movement and damage from wind, while weatherproofing techniques protect against rain, humidity, and temperature fluctuations. Here are key steps:
- Use heavy-duty brackets or screws to anchor the dehydrator to a sturdy surface.
- Seal all joints and edges with weatherproof caulk or sealant to prevent leaks.
- Cover the structure with a weather-resistant tarp or roofing material for added protection.
- Apply a waterproof paint or sealant on exposed wood surfaces to resist moisture damage.
These weatherproofing techniques and securing methods ensure your solar dehydrator remains durable and efficient, ready for any outdoor weather.
Testing and Optimizing Your Solar Dryer
After securing and weatherproofing your solar dehydrator, it’s time to evaluate how well it performs and make any necessary adjustments. Focus on improving solar efficiency and moisture control to ensure maximum drying. Check if sunlight reaches all parts evenly and adjust angles or reflectors if needed. Monitor the internal temperature and humidity levels during operation. Use the table below to track performance and identify areas for improvement:
| Aspect | Adjustment Needed |
|---|---|
| Solar efficiency | Realign panels or add reflectors |
| Moisture control | Increase airflow or ventilation |
| Temperature | Adjust panel tilt for more heat |
| Humidity levels | Use desiccants or improve sealing |
Frequently Asked Questions
How Can I Maximize Dehydration Efficiency in Varying Sunlight Conditions?
To maximize dehydration efficiency in varying sunlight, focus on solar panel optimization by adjusting panel angles to capture the most sunlight throughout the day. Improve airflow management by ensuring vents are unobstructed and creating good circulation, which helps dry produce evenly. You can also use reflective surfaces to enhance sunlight exposure. Regularly monitor weather conditions and adapt your setup to maintain consistent dehydration, regardless of changing sunlight levels.
What Safety Precautions Should I Follow During Construction and Operation?
When building and operating your solar dehydrator, safety should be your top priority—think of it as playing it safe rather than sorry. You’ll want to maintain hazard awareness at all times and wear proper safety gear like gloves and goggles. Keep tools in good condition, work in a well-ventilated space, and handle glass or sharp components carefully. This approach guarantees a smooth process and keeps everyone safe during your project.
How Do I Clean and Maintain the Solar Dehydrator Regularly?
You should regularly perform dehydrator cleaning to keep it in top shape, removing dust and debris from vents and trays. For solar panel maintenance, check for dirt or obstructions that could block sunlight, and gently clean the panels with a soft cloth and water. Regular upkeep guarantees efficient drying and prolongs your dehydrator’s lifespan, making sure your preserved summer produce stays fresh and safe to eat.
Can I Customize the Size for Different Types of Produce?
Yes, you can tailor the size of your solar dehydrator for different types of produce. By adjusting the dimensions, you can create produce-specific adjustments that optimize drying efficiency. For larger fruits or vegetables, increase the height or width, while smaller items may need a more compact setup. This size customization ensures even dehydration, preserves quality, and makes the dehydrator more versatile for various produce types.
What Are Common Troubleshooting Issues and Their Solutions?
Think of your solar dehydrator as a gentle breeze guiding summer’s bounty to perfection. Common issues include poor airflow, which stalls dehydration, and temperature fluctuations that spoil the process. To fix airflow, ensure vents are clear and fans are unobstructed. Regulate temperature by adjusting vents or positioning for ideal sunlight. When you fine-tune these elements, your dehydrator transforms into a dependable partner, preserving flavors with precision and care.
Conclusion
Building your solar dehydrator is a rewarding way to preserve summer produce sustainably. Don’t worry if it takes a bit of effort at first; once set up, it requires minimal maintenance and saves you money. Plus, you’ll enjoy delicious, homemade dried goods anytime. With patience and some tinkering, you’ll have a reliable, eco-friendly appliance that keeps your harvest fresh and flavorful all year round. Give it a try—you’ll love the results!