
To create a DIY cooling mat for kennels, start by selecting high-conductivity materials like specific fabrics or gels that disperse heat quickly. Gather supplies such as gel packs, durable fabrics, and safety tools, and prepare a clutter-free workspace. Incorporate ice or frozen gel packs beneath or alongside the mat for extra cooling. Position everything securely and check regularly for safety and wear. Keep exploring for extra tips and detailed steps to make your pet’s comfort even better.
Key Takeaways
- Use high-thermal-conductivity materials like gel packs or metal sheets for effective heat transfer.
- Incorporate reusable, non-toxic gel packs positioned beneath or beside the mat for added cooling.
- Choose durable, washable fabrics resistant to wear and stains, suitable for frequent cleaning.
- Ensure proper placement of cooling elements to contact the pet’s resting area without direct skin contact.
- Secure all components with safe fasteners, and maintain a clutter-free, stable setup for pet safety.
Selecting the Right Materials for Your Cooling Mat
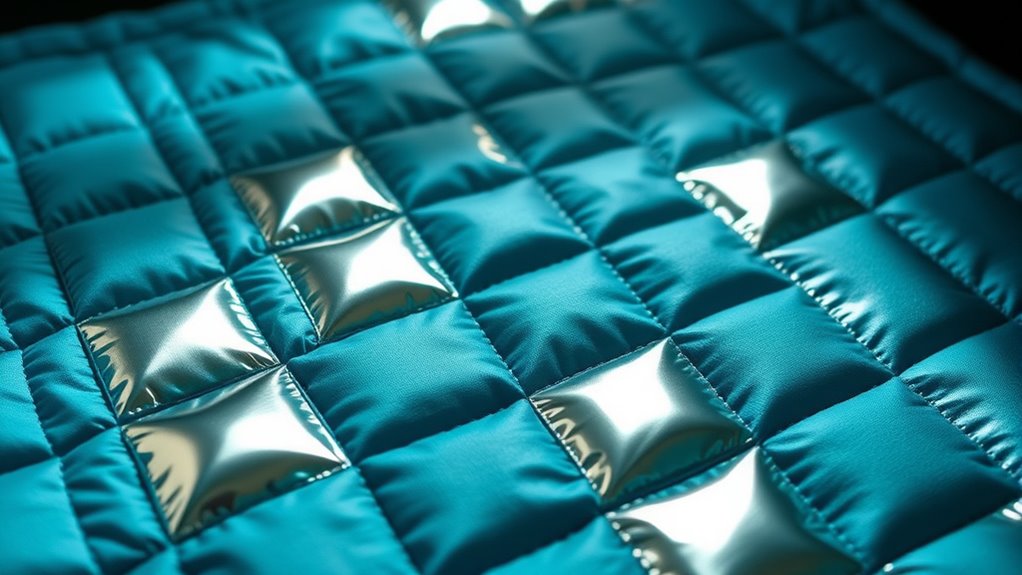
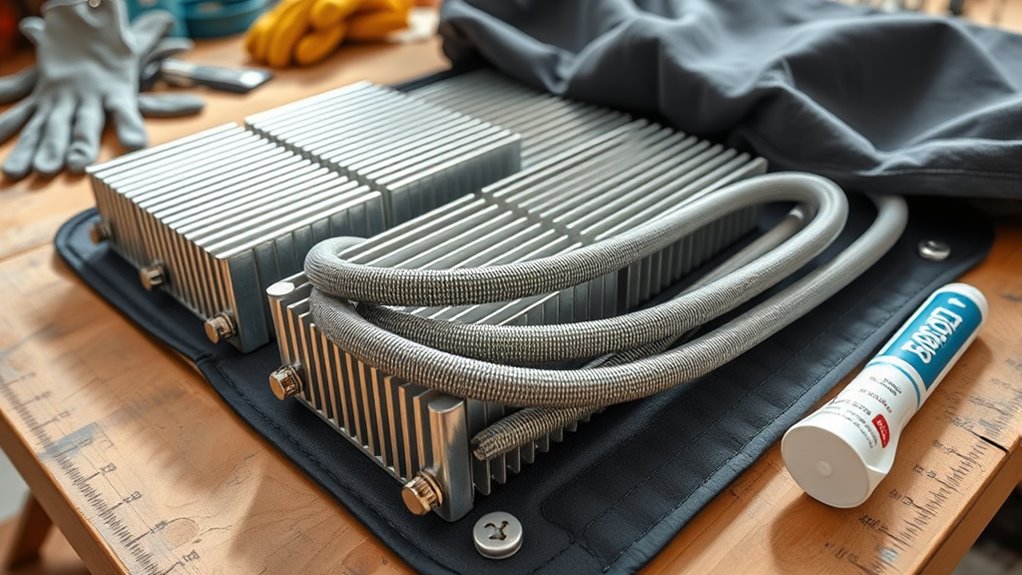
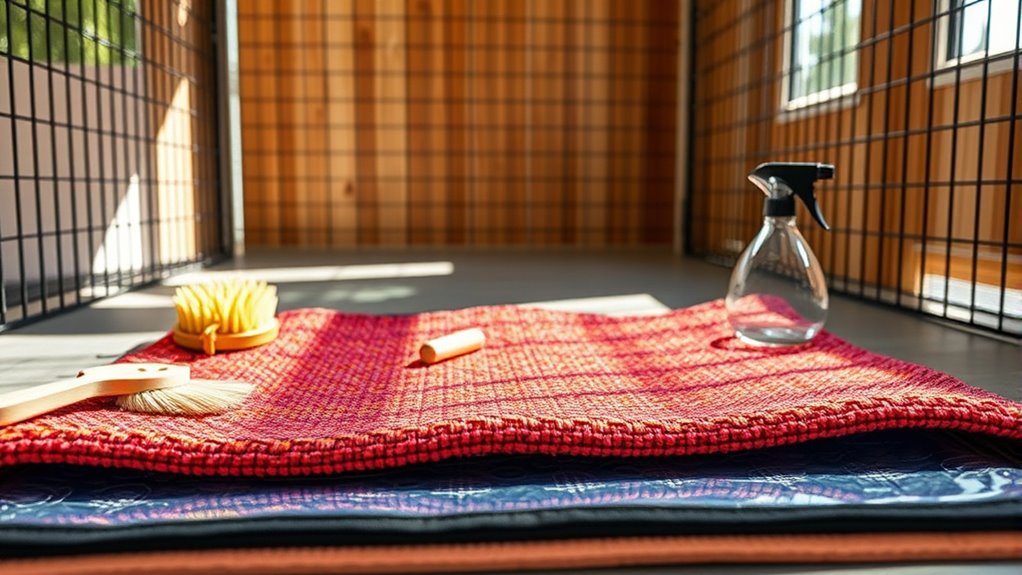
Choosing the right materials is essential to making an effective cooling mat. You want materials with high thermal conductivity to transfer heat away from your pet efficiently. Look for fabrics or gels that quickly absorb and disperse heat, keeping your pet comfortable. Material durability is also critical; select sturdy fabrics that resist tearing and wear over time, especially if your pet is active. Avoid flimsy or easily damaged materials that won’t last through multiple uses. The best options include tightly woven fabrics or specialized cooling gels with good thermal properties. Additionally, selecting safe and non-toxic materials ensures your pet’s safety during use. Using materials with proven cooling effectiveness can significantly enhance your pet’s comfort. Incorporating thermal transfer properties into your material choice will maximize heat dissipation. Ensuring the materials are also environmentally friendly can be an added benefit for eco-conscious pet owners. Prioritizing durability and thermal conductivity will help you create a cooling mat that’s effective, long-lasting, and safe for your furry friend.
Preparing Your Workspace and Gathering Supplies
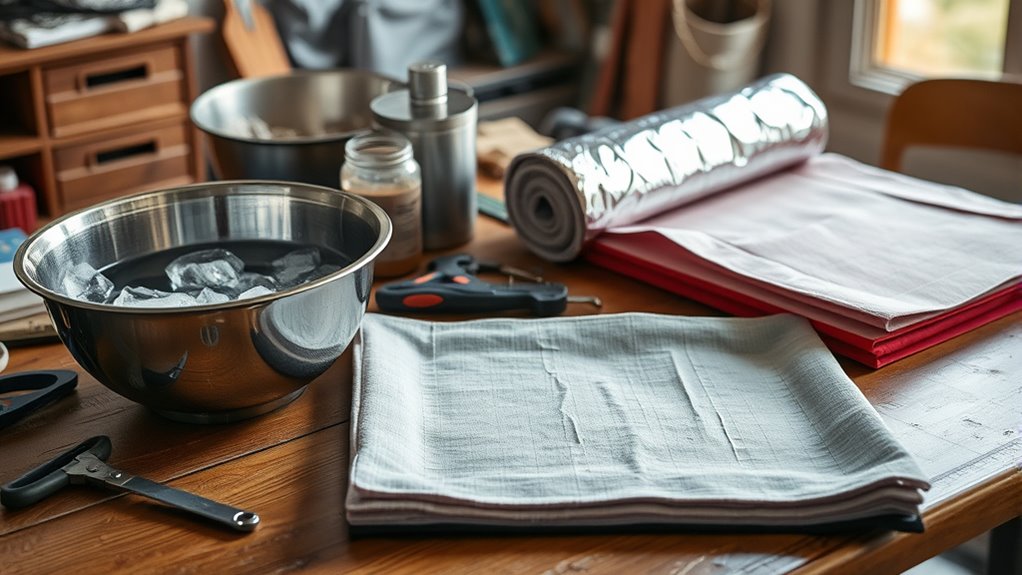
Start by clearing your workspace so you have plenty of room to work safely and efficiently. Gather all the necessary materials ahead of time to avoid interruptions later. Remember to set up safety measures, like wearing gloves and working in a well-ventilated area, to protect yourself throughout the process. Additionally, consider seasonal variations that might affect your supplies or workspace setup, ensuring a comfortable and safe environment for your project. To maximize your project’s success, explore options like participating in hackathons that focus on innovative solutions for outdoor and seasonal challenges. Incorporating tuning techniques for tools and materials can also help optimize your setup and results.
Organize Your Workspace
Before you begin assembling your DIY cooling mats, it’s essential to organize your workspace to guarantee a smooth process. Clear your area of clutter and set up a clean, flat surface to work on. Make sure you have enough space to lay out all supplies and tools needed for the project. Keeping your workspace tidy helps prevent accidents and keeps your supplies accessible. Consider how the cooling technology you’ll use will interact with other materials, making certain everything is prepared for easy assembly. Also, plan for pet hydration by keeping fresh water nearby, especially if your project involves materials that might heat up or need frequent handling. A well-organized space increases efficiency and ensures you can focus on creating a safe, effective cooling mat for your kennel. Additionally, understanding the essential oils that promote comfort and safety can enhance your project and ensure your pet’s well-being. Furthermore, reviewing paint application techniques can help you select the best materials for durability and safety in your cooling mats. Being aware of frozen treats and the importance of temperature regulation can inspire ideas for design features that keep your pet comfortable. Incorporating remote work principles such as dedicated work zones can help you maintain focus and productivity during your crafting process. Moreover, considering IRA investing strategies can inspire innovative approaches for funding or financing your DIY projects sustainably.
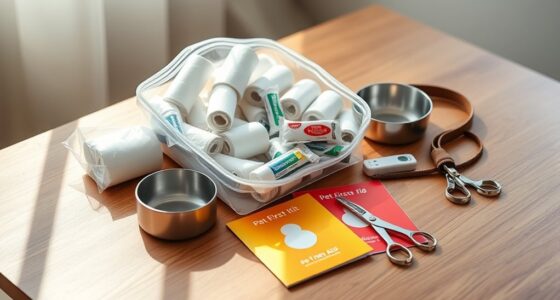
Collect Required Materials
To guarantee a smooth assembly process, gather all the materials you’ll need for your DIY cooling mats before you begin. Choose a durable fabric that resists wear and frequent washing, ensuring your mat lasts longer. Consider materials with good material durability, especially if your kennel sees active use. You’ll also want to select fabric in color choices that complement your space or hide stains, such as darker shades or patterned designs. Make sure to have enough fabric, a sturdy waterproof layer if needed, and any tools like scissors, sewing supplies, or adhesives. Having everything on hand prevents interruptions and keeps you focused. Proper preparation can also help you reduce waste and ensure you have all components for a successful project. Additionally, understanding aura color meanings can inspire creative design choices that reflect your pet’s personality. By preparing your supplies beforehand, you streamline the process and create a sturdy, attractive cooling mat tailored to your pet’s needs.
Set Up Safety Measures
Setting up safety measures is a vital step to guarantee your DIY cooling mat project proceeds smoothly and securely. Before starting, prepare your workspace by clearing clutter and ensuring good ventilation. Proper installation and venting are essential; ensure your area is free of obstructions that could interfere with safety. Gather all supplies in one place to avoid accidents and distractions. Keep pet hydration in mind—have fresh water nearby to prevent heatstroke and dehydration during the process. Use non-slip mats or towels on your work surface to prevent slipping. Always handle tools with care, and consider wearing gloves for safety. Make sure your workspace is well-lit so you can see small parts clearly. Additionally, understanding airless paint sprayers can inspire innovative features for your cooling mats, such as moisture control. This knowledge can help you design more efficient and safe products for your furry friend. Also, personal safety precautions such as wearing protective eyewear and masks can help prevent accidents and inhalation of fumes. By organizing your environment and prioritizing pet safety, you’ll reduce risks and create a cooling mat that’s both effective and safe for your furry friend.
Crafting a Basic DIY Cooling Mat Using Reusable Items
Creating a simple DIY cooling mat with reusable items is an easy and cost-effective way to keep your pet comfortable on hot days. You can repurpose materials like old towels, plastic containers, or fabric scraps to make a cooling surface. Fill a sturdy, resealable plastic bag with water or a damp cloth, then place it between layers of fabric or inside a container to create a cool, damp pad. Keep in mind that your pet’s breeding habits and veterinary considerations should influence your choice of materials, ensuring safety and comfort. Avoid using toxic substances or items that could pose a choking hazard. Regularly check the mat for leaks or wear, and always supervise your pet during use. Incorporating positive energy and a calm environment can help your pet feel more at ease with the new cooling mat. Additionally, choosing a dog breed with a suitable coat type can improve the effectiveness of the cooling solution. Proper ventilation and shade are also important factors for keeping your pet cool outdoors. This simple project offers relief without expensive equipment.
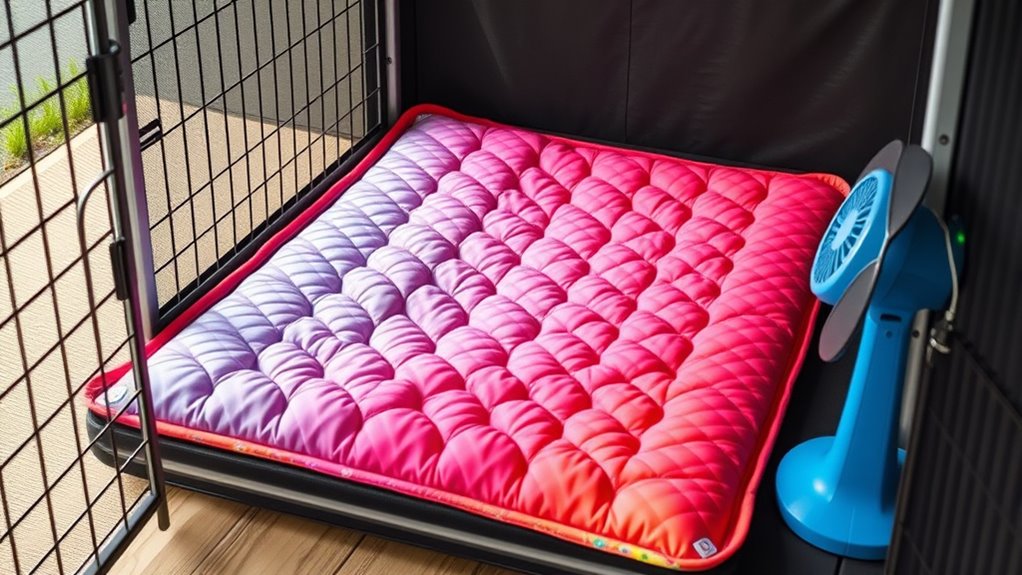
Incorporating Ice or Frozen Gel Packs for Extra Chill
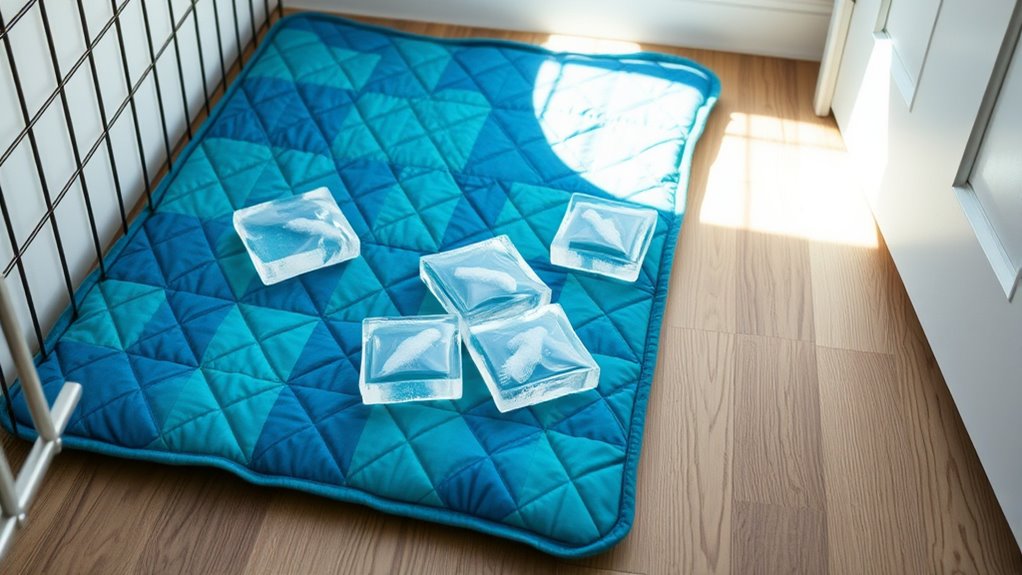
Adding ice or frozen gel packs can boost your cooling mat’s chill factor, but choosing the right ones is key. You’ll need to position them correctly for even cooling and to prevent leaks. Keep safety in mind by monitoring pack integrity and cleaning your mat regularly.
Selecting Suitable Ice Packs
To achieve the extra chill you desire, selecting the right ice packs is essential. Your goal is to find an ice pack that stays cold longer and fits comfortably in your DIY cooling mat. When considering ice pack selection, look for gel pack options that are flexible and durable. These packs mold easily around your pet and provide consistent cooling. Make sure to choose packs that are non-toxic and safe for pets. Reusable gel packs are convenient and cost-effective. Also, consider the size—larger packs offer more cooling, but smaller ones are easier to position. Finally, check for leak-proof designs to prevent messes. Properly selected ice packs ensure your homemade cooling mat remains effective and safe for your kennel.
Proper Placement Techniques
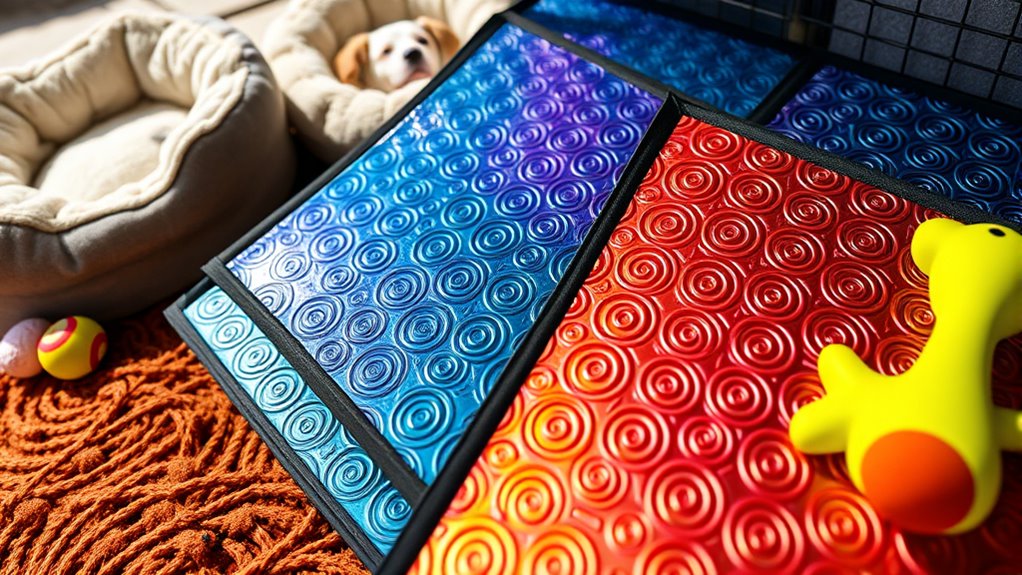
Proper placement of ice or frozen gel packs can considerably boost your DIY cooling mat’s effectiveness. To maximize cooling, position the packs beneath or alongside the cooling pad, ensuring they contact the surface where your dog rests. Proper cooling pad placement helps distribute the chill evenly, preventing hot spots. Always place the packs in a way that avoids direct contact with your pet’s skin to prevent discomfort. Additionally, kennel shading is essential; keep the kennel in a shaded area to maintain the coolness of the ice packs longer and prevent overheating. By strategically placing ice or gel packs and ensuring the kennel is shaded, you create a cooler, more comfortable environment for your dog. This simple step enhances your DIY cooling solution’s efficiency and your pet’s comfort.
Safety and Maintenance Tips
Ensuring safety when using ice or frozen gel packs in your DIY cooling mat is essential to prevent accidents and keep your pet comfortable. Always check that packs are securely sealed to avoid leaks that could harm your pet or damage the mat. Use high-quality, durable materials to withstand repeated freezing and thawing, which maintains material durability and prevents tears. Regularly inspect the packs and mat for signs of wear or damage. Keep the packs away from your pet’s teeth to prevent biting and ingestion. When placing ice or gel packs, ensure they don’t directly contact your pet’s skin to avoid frostbite.
- Check packs and mat for damage regularly
- Use leak-proof, pet-safe gel packs
- Avoid direct contact with your pet’s skin
- Store packs in a clean, dry place
- Follow manufacturer’s freezing and safety instructions
Securing the Components and Ensuring Safety for Your Pet
Have you thought about how to keep your pet safe while setting up your DIY cooling mat? Ensuring pet safety starts with properly securing all components. Make sure the cooling elements and any electrical parts are firmly fastened to prevent shifting or accidental disconnection. Use non-toxic, pet-safe adhesives or fasteners designed for household use. Avoid loose wires or small parts that your pet could swallow or chew on. Double-check that all elements are sealed or covered to prevent leaks or exposure to potentially harmful substances. Keep the setup stable and secure within the kennel to avoid tipping or falling. By paying attention to component securing, you protect your pet from injuries and ensure the cooling mat functions safely and effectively.
Tips for Maintaining and Cleaning Your DIY Cooling Mat
To keep your DIY cooling mat effective and safe for your pet, regular maintenance and cleaning are essential. Proper cleaning frequency helps prevent dirt, bacteria, and odors from building up, ensuring your pet stays comfortable. Pay attention to the material durability, as some fabrics or fillers may wear over time and need replacement.
Here are some tips to keep your mat in top shape:
- Clean the surface weekly with mild soap and water.
- Check for tears or damage and repair or replace as needed.
- Avoid harsh chemicals that could degrade the material.
- Store the mat in a dry, cool place when not in use.
- Regularly inspect for mold or mildew, especially if it gets wet.
Consistent care prolongs your mat’s lifespan and maintains its cooling effectiveness.
Creative Variations and Additional Features to Enhance Comfort
Adding creative variations and extra features to your DIY cooling mat can profoundly boost your pet’s comfort and enjoyment. One way to do this is by using custom fabric patterns that match your pet’s personality or your home decor, making the mat both functional and stylish. You can also add decorative edging around the mat’s borders, which not only enhances its appearance but also reinforces the edges for durability. Consider incorporating pockets or loops to attach toys or cooling packs, giving your pet extra stimulation. Using waterproof or breathable fabrics can improve comfort and longevity. These thoughtful touches make your DIY cooling mat more inviting, personalized, and practical, ensuring your pet stays cool and content during hot days.
Frequently Asked Questions
How Long Does a DIY Cooling Mat Typically Stay Cold?
You might wonder how long a cooling pad stays cold. Typically, the cooling duration depends on factors like ambient temperature and insulation quality. With good temperature retention, your DIY cooling mat can stay cool for several hours, usually between 2 to 4 hours. To maximize cooling, keep it in a shaded area and consider refrigerating it beforehand. This way, your pet stays comfortable longer without frequent re-cooling.
Can I Use Homemade Cooling Mats Outdoors Safely?
Imagine a gentle breeze guiding your pet through a summer day. When using homemade cooling mats outdoors, you’d want to prioritize outdoor safety by choosing durable, weather-resistant materials. Guarantee the mat can withstand sun, rain, and rough play without degrading or becoming unsafe. By selecting sturdy fabrics and avoiding harmful substances, you create a safe oasis where your pet stays cool and comfortable, even under the sun’s watchful eye.
Are There Any Safety Risks With DIY Cooling Mats?
When making your own cooling mats, safety is key. You should consider chemical safety, ensuring materials are non-toxic and pet-safe to prevent health issues. Durability concerns also matter; if the mat isn’t sturdy, it could break or leak, creating potential hazards. Always test your DIY solution thoroughly before use, and choose safe, durable materials to keep your pet comfortable and safe during hot weather.
How Often Should I Replace or Refresh the Cooling Elements?
Like a song that loses its tune, cooling elements have a lifespan that you should monitor. Typically, you should replace or refresh the cooling element every 1 to 3 months, depending on usage and quality. Regular checks ensure the best cooling and safety. Keep an eye on the effectiveness—if it feels less cool or shows signs of wear, it’s time for a replacement. This keeps your pet comfortable and safe.
What Are Eco-Friendly Alternatives for Cooling Materials?
When you’re seeking eco-friendly alternatives for cooling materials, you can consider using recyclable materials like certain plastics or fabrics that can be reused or repurposed. Biodegradable options, such as natural gel packs or organic cooling pads, break down safely in the environment. These choices help reduce waste and minimize your ecological footprint, making them a responsible and sustainable choice for cooling needs.
Conclusion
Creating your own cooling mat is a simple, cost-effective way to keep your pet comfortable. Sure, it might not be as fancy as store-bought options, but your love and effort make it special. Plus, you’ll always know what’s best for your furry friend’s safety and comfort. Don’t let doubts hold you back—your homemade cooling mat shows how much you care. Your pet will feel that warmth every time they rest on it.