To prevent off-flavors, you should follow a simple 3-step routine: first, prepare your separator and gather all tools, then disassemble all parts and rinse them thoroughly with warm water. Next, choose the right cleaning solutions to remove any residues cleanly, and make certain everything is dried completely before reassembling. Avoid common mistakes like using harsh chemicals, and keep your separator in top condition for fresh, high-quality dairy. Keep going to discover more tips!
Key Takeaways
- Rinse all parts with warm water immediately after use to prevent residue buildup.
- Use gentle, food-safe cleaners tailored to remove fats and proteins effectively.
- Dry all components thoroughly to prevent mold, bacteria, and off-flavor development.
- Disassemble and inspect the separator regularly to identify and address any clogs or corrosion.
- Follow a consistent cleaning schedule and store parts in a clean, dry environment to maintain optimal flavor and performance.
Why Regular Cleaning Keeps Your Cream Separator Fresh
Regular cleaning is essential to keep your cream separator functioning efficiently and producing fresh, pure cream. Maintaining good dairy hygiene prevents the buildup of bacteria, old milk residues, and other contaminants that can compromise quality. When your separator isn’t cleaned regularly, leftover milk fats and proteins can spoil, leading to off-flavors in your cream. Consistent cleaning helps preserve the natural flavor and aroma of the dairy, ensuring you enjoy high-quality cream every time. Neglecting this step can also cause mechanical issues over time, reducing the lifespan of your equipment. By establishing a routine cleaning process, you safeguard your dairy hygiene standards and keep your separator operating smoothly, so your cream stays fresh, flavorful, and free from unwanted tastes.
Getting Ready: Prepare Your Separator and Tools
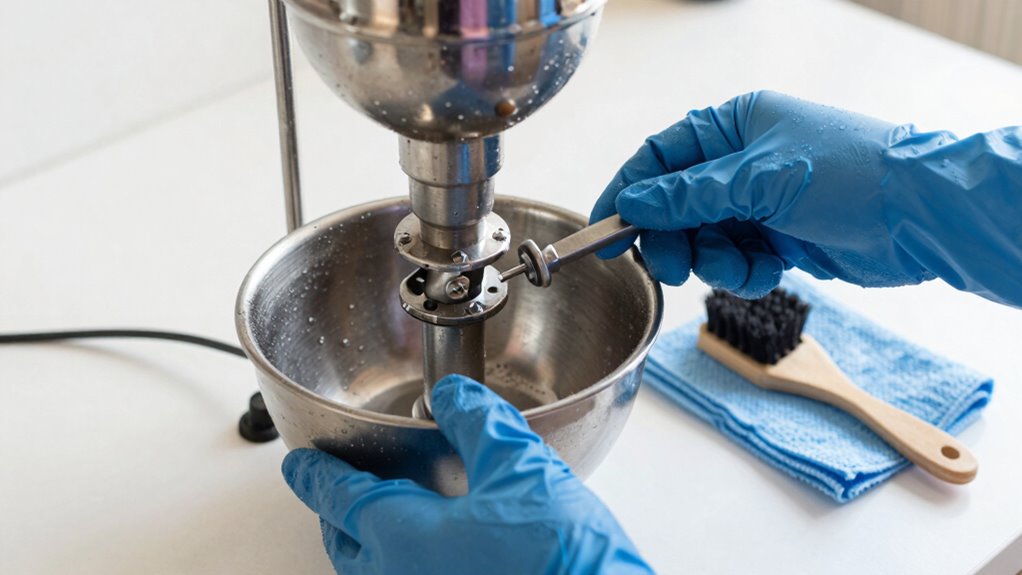
Before you start cleaning your cream separator, it’s important to gather all the necessary tools and make sure the equipment is turned off and unplugged. Check that everything is clean and ready for disassembly. Confirm the equipment calibration is accurate to prevent off-flavors caused by improper settings. Assess your storage environment; a cool, dry place reduces the risk of mold or bacteria buildup during cleaning. Prepare your brushes, cleaning solutions, and towels in advance, so you won’t have to search for them later. Verify that your workspace is clean and organized, making the process smoother. Proper preparation ensures your separator is ready for thorough cleaning, helping maintain color accuracy and flavor quality. Additionally, ensuring your workspace has good ventilation can help disperse any fumes from cleaning solutions and promote a safer environment. Taking steps to protect your equipment during cleaning can also extend its lifespan and performance. Incorporating preventative maintenance routines can further help in maintaining optimal operation and flavor consistency over time. Regular inspection and cleaning aligned with safety protocols can prevent potential hazards and ensure reliable operation.
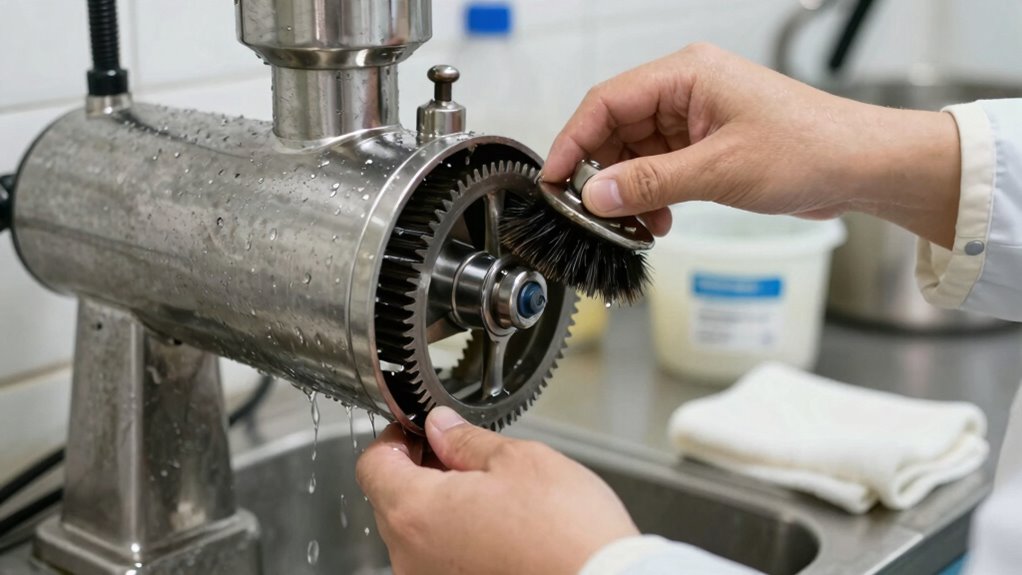
Take Apart and Rinse All Parts Thoroughly

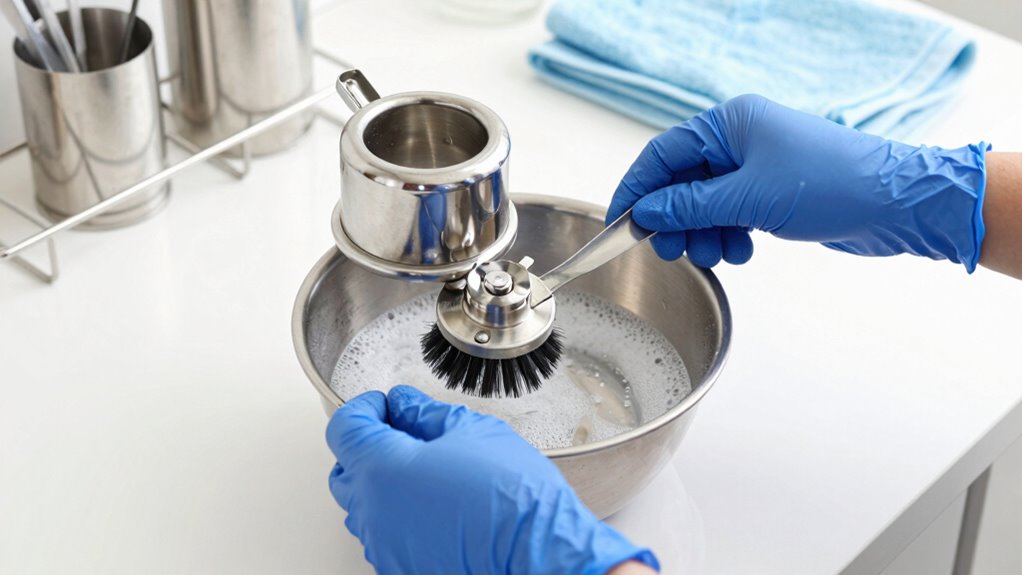
To guarantee a thorough clean, start by carefully disassembling your cream separator into all its removable parts. Proper parts disassembly ensures you can access every nook and cranny that may harbor residue or off-flavors. Once disassembled, rinse each part thoroughly with warm water to remove residual milk and debris. Focus on the following steps:
- Detach the drum, blades, and spouts carefully
- Remove any seals or gaskets for separate cleaning
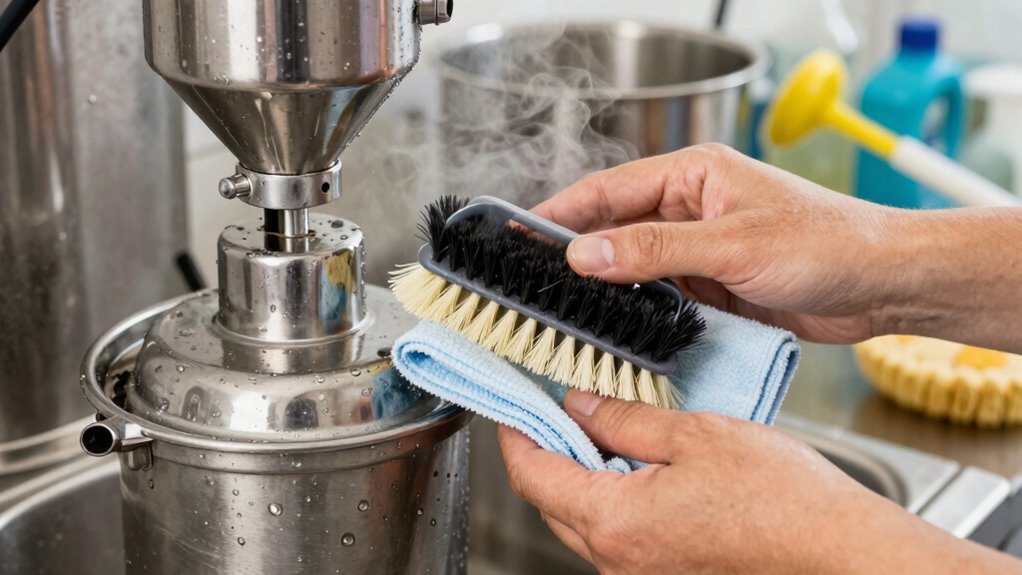
- Use a brush to scrub stubborn spots
- Rinse each piece thoroughly to eliminate all traces of residue
- Regular cleaning with vetted vacuum cleaner tips can help maintain hygiene and performance. Paying attention to machine maintenance routines is essential for preventing buildup that can lead to off-flavors. Additionally, ensuring a proper cleaning routine helps sustain the separator’s longevity and consistent results. Incorporating scheduled cleanings into your routine can further ensure thorough sanitation and prevent bacteria growth. Using appropriate cleaning agents can also enhance the effectiveness of your cleaning process.
Thorough rinsing is vital for preventing off-flavors and maintaining the separator’s performance. Take your time during this process to ensure every component is clean and free of milk residues that could affect future batches.
Choose the Best Cleaning Solutions for Residue Removal
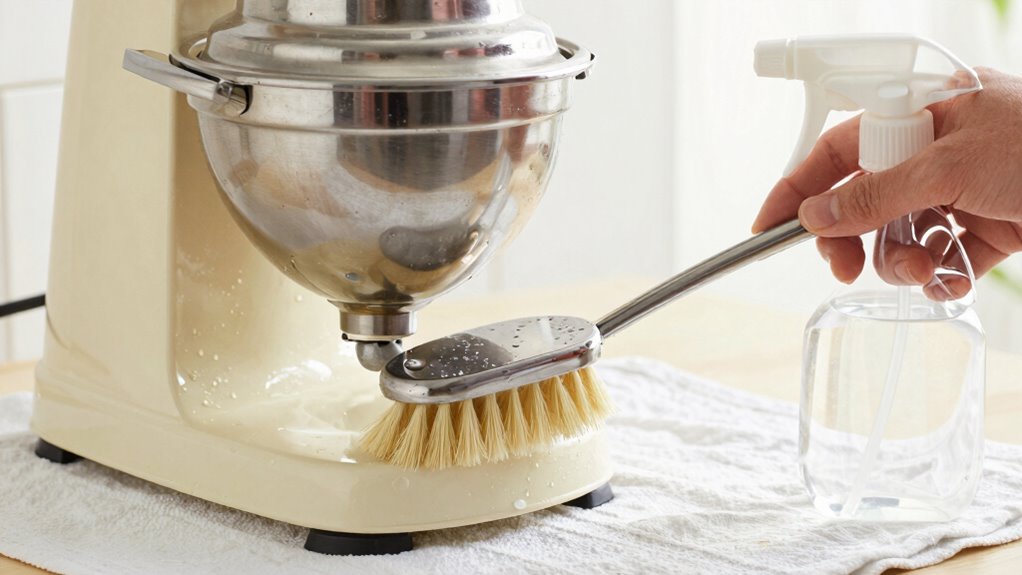
Selecting the right cleaning solutions is essential for effectively removing residue from your cream separator. You can opt for natural cleaning methods, such as vinegar or baking soda, which are eco-friendly and gentle on your equipment. These natural solutions work well for routine cleaning and help prevent off-flavors caused by residue buildup. Alternatively, commercial solutions designed specifically for dairy equipment can offer more powerful cleaning, especially for stubborn fats and proteins. When choosing between natural cleaning and commercial options, consider the level of residue and your equipment’s material. Always ensure that whichever solution you select is food-grade and safe for dairy equipment. Properly using the right cleaning solutions guarantees a thorough clean, maintaining the quality of your cream and preventing off-flavors. For optimal results, consider dog-friendly cleaning tips, which can also be useful in maintaining hygiene in household items.
Dry Everything and Reassemble Your Separator
Once you’ve thoroughly cleaned your cream separator, it’s essential to dry all parts completely before reassembling. Proper drying prevents mold, bacteria, and off-flavors. Use effective drying techniques to ensure no moisture remains. Air dry all components on a clean towel or rack. Use a soft cloth to wipe and remove any remaining water. Leave parts in a warm, dry space to promote thorough drying. Store disassembled parts separately to prevent moisture buildup. Proper drying is crucial for maintaining your separator’s cleanliness and preventing off-flavors from developing. Additionally, understanding the maintenance guidelines for your specific model can help prolong its lifespan and ensure consistent performance. Regularly inspecting your separator for signs of wear can also help catch issues early and maintain optimal hygiene standards. Implementing seasonal checklists and routine inspections can further support your efforts to keep your separator in top condition. Following these storage tips and drying techniques helps maintain your separator’s cleanliness and longevity, ensuring fresh, off-flavor-free cream every time. Proper drying isn’t just about cleanliness — it’s about preserving quality and preventing moisture-related issues.
Common Mistakes to Avoid When Cleaning
Avoid skipping regular maintenance, as it can lead to buildup and poor separator performance. Don’t use harsh cleaners that might damage parts or leave residues. Staying consistent and gentle guarantees your separator stays clean and functions well. Additionally, using appropriate cleaning agents can help maintain the quality of the milk and prevent off-flavors. Regular cleaning routines are also aligned with proper hygiene practices, ensuring the longevity and optimal performance of your equipment. Grocery savings strategies can be applied to purchasing cleaning supplies to keep costs down while maintaining proper hygiene.
Skipping Regular Maintenance
Skipping regular maintenance can lead to buildup and reduced efficiency in your cream separator. Neglecting maintenance causes residue to accumulate, which can harbor bacteria and produce off-flavors. Inconsistent cleaning increases the risk of clogging and wear on parts, ultimately shortening your equipment’s lifespan. To avoid these issues, don’t overlook routine upkeep. Make sure to:
- Clean all parts immediately after use
- Check for any residue or clogs regularly
- Follow a consistent cleaning schedule
- Address any signs of corrosion or damage promptly
- Stay informed about equipment maintenance best practices to ensure optimal performance
- Regular maintenance supports equipment longevity by preventing unnecessary repairs and downtime
- Incorporate preventive maintenance into your routine to catch issues early and maintain peak efficiency
Using Harsh Cleaners
Using harsh cleaners might seem like an effective way to remove stubborn residues, but it can do more harm than good. These strong chemicals can leave behind chemical residues that affect the taste of your cream and may damage your equipment over time. Harsh cleaners can also cause equipment corrosion, shortening the lifespan of your separator. Instead, opt for gentle, food-safe cleaning agents. Here’s a quick comparison:
| Cleaner Type | Risks |
|---|---|
| Harsh Cleaners | Residue buildup, equipment corrosion |
| Gentle Cleaners | Safely remove residues, protect equipment |
Choosing the right cleaner keeps your separator in top shape, prevents off-flavors, and ensures safe, clean dairy processing. Proper cleaning practices also involve understanding pool terminology, which helps you select the most suitable cleaning agents and techniques for your equipment. Being aware of cleaning techniques ensures you avoid common mistakes and maintain optimal equipment performance. Additionally, using the correct equipment maintenance routines can extend the lifespan of your separator and improve cleaning efficiency. Regularly inspecting your equipment and following recommended cleaning schedules can further prevent buildup and maintain product quality.
Tips to Keep Your Separator Clean and Your Milk Tasting Great

Keeping your cream separator clean is essential for ensuring fresh-tasting milk every time. Proper separator maintenance prevents off-flavors caused by residue buildup. To keep your milk tasting great, always rinse the parts immediately after use, avoiding milk residue that can sour. Store milk in a clean, airtight container to prevent contamination. Regularly inspect and clean the separator’s parts, focusing on the spouts and seals. Here are some tips:
- Rinse all parts with warm water after each use
- Use a gentle, food-safe cleaner for thorough cleaning
- Dry parts completely before reassembling
- Store the separator in a dry, dust-free area
Consistent separator maintenance and proper milk storage are key to maintaining quality and flavor.
Frequently Asked Questions
How Often Should I Deep-Clean My Cream Separator?
You should deep-clean your cream separator at least once a month to keep it in top shape. Follow a consistent cleaning schedule, especially after heavy use or if you notice off-flavors. Maintenance tips include disassembling parts thoroughly, using warm water and mild detergent, and drying all components completely. Regular deep cleaning prevents buildup and guarantees your separator operates efficiently, preserving the quality of your cream and milk.
Can I Use Household Cleaning Products on My Separator?
You shouldn’t use household cleaning products on your separator because they may contain chemicals that compromise cleaning safety and leave residues, affecting your dairy’s flavor. Stick to recommended cleaning solutions designed for dairy equipment, guaranteeing thorough rinsing afterward. Using proper products helps prevent off-flavors and maintains the separator’s performance. Always follow manufacturer instructions to ensure safe, effective cleaning and avoid any potential contamination.
What Signs Indicate My Separator Needs More Frequent Cleaning?
Think of your separator like a garden that needs regular watering. If you notice cream buildup or off-flavor detection in your milk, it’s a sign you need to clean it more often. These signs indicate your separator isn’t staying fresh, much like wilted plants need extra attention. Keep a close eye on the cream and flavor, and increase cleaning frequency to keep your milk tasting perfect.
Is It Necessary to Sterilize All Parts After Cleaning?
Yes, you should sterilize all parts after cleaning to guarantee proper sanitization protocols are followed. Regular cleaning frequency helps prevent off-flavors, but sterilizing adds an extra layer of safety by eliminating bacteria and residues. You need to sterilize especially if the separator has been used for raw milk or sits idle for a while. This ensures your dairy products stay fresh and safe, maintaining high-quality standards.
How Do Temperature and Humidity Affect Cleaning Frequency?
Temperature and humidity profoundly influence your cleaning frequency. Moisture impact causes faster buildup of mold and bacteria in humid environments, requiring more frequent cleaning. Higher temperature effects accelerate spoilage and off-flavors if parts aren’t cleaned promptly. By monitoring both, you can determine when to clean your cream separator, preventing problems before they start. Regular cleaning keeps it pristine, preventing persistent problems caused by climate fluctuations.
Conclusion
Regular cleaning is key to keeping your cream separator in top shape and ensuring fresh-tasting milk. Did you know that neglecting proper cleaning can lead to off-flavors in just 24 hours? By following the simple 3-step routine, you can prevent residue buildup and maintain the quality of your cream. Stay consistent with your cleaning, and your separator will serve you well for years to come, delivering the pure, delicious cream you love.