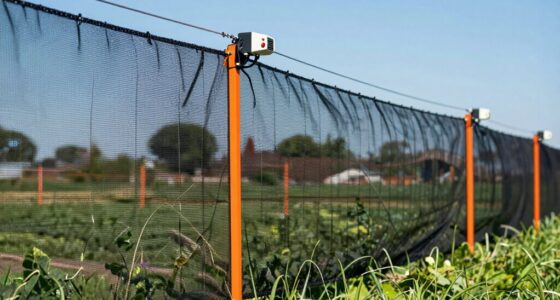
If your electric fence isn’t shocking properly, start by inspecting the entire line for damage, loose connections, or vegetation contact. Check your energizer and power source to verify they’re functioning correctly with a voltmeter. Test the fence at different points to identify drops or shorts. Confirm grounding is solid and repair any broken wires or insulators. For quick fixes and expert tips to restore voltage fast, keep exploring these troubleshooting steps.
Key Takeaways
- Use a digital voltmeter to quickly identify voltage drops and pinpoint weak spots along the fence.
- Check and verify the grounding system’s integrity with a grounding tester for effective shock delivery.
- Conduct visual inspections for broken wires, damage, or vegetation touching the fence to locate shorts or leaks.
- Test energizer operation and indicator lights to ensure the system is functioning properly.
- Keep spare insulators and connectors handy for rapid repairs to minimize downtime.
Is Your Electric Fence Shocking Properly?
If your electric fence isn’t delivering a strong shock, it might not be functioning properly. One common cause is grounding issues; if the ground connection isn’t solid, the shock won’t be effective. Check your ground rod to verify it’s properly driven into moist soil, as dry ground reduces conductivity. Additionally, consider your fence material—some materials, like wet wire or conductive tape, conduct electricity better than dry or corroded wire. Inspect for rust, corrosion, or damage that could weaken the electrical flow. Loose connections or broken strands also diminish shock strength. Ensuring your grounding system is solid and your fence material is in good condition helps maintain proper voltage and delivers the effective shock your animals need for safety and containment. Proper vetted materials like conductive wire and floating on water can improve overall fence performance. Regular testing with a voltage tester can help identify issues before they become serious. Incorporating proper grounding techniques can further enhance shock delivery and overall fence reliability. Additionally, using quality insulators prevents electrical leaks and maintains voltage levels across the entire fence line.
How to Check If Your Power Source and Energizer Are Working

Before troubleshooting your electric fence, it’s essential to verify that your power source and energizer are working correctly. First, check the power source—whether it’s a battery or mains. For batteries, ensure proper battery maintenance by testing voltage and replacing weak batteries. For mains, confirm the outlet has power. Next, inspect the energizer’s indicator lights; a blinking or dim light signals issues. Grounding problems can also affect performance, so verify the grounding system is solid. Use the table below to guide your checks:
| Check Area | What to Look For | Solution |
|---|---|---|
| Power source | Battery voltage, outlet power | Replace batteries, reset outlet |
| Energizer status | Indicator lights | Repair or replace energizer |
| Grounding system | Proper grounding connections | Tighten or improve grounding |
| Battery maintenance | Corrosion, charge level | Clean terminals, recharge |
Additionally, understanding the electrical system involved can help pinpoint issues more effectively. Proper testing of the voltage levels at various points ensures your system is functioning optimally. Conducting regular system checks can prevent future malfunctions and maintain the fence’s effectiveness. Regularly inspecting the electrical components helps identify potential problems before they cause system failure.
How to Inspect Your Fence Line for Breaks and Shorts
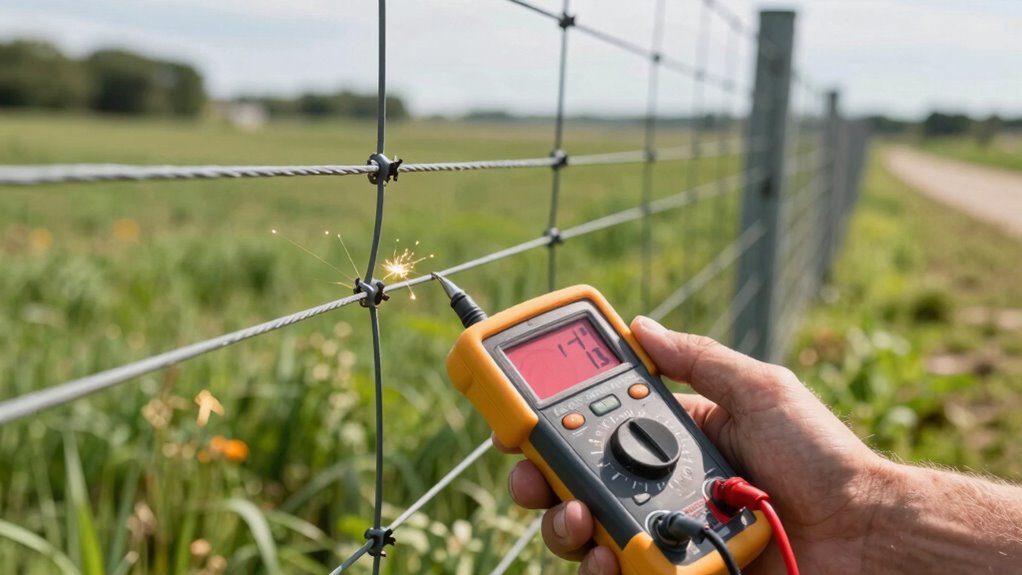
Start by visually examining your fence line for any obvious breaks, loose wires, or damaged sections. Next, use a voltage tester along different points of the fence to identify where the current drops or shorts out. These steps help pinpoint issues quickly and make certain your fence is functioning properly. Additionally, inspecting electrical connections ensures there are no loose or corroded terminals that could disrupt the voltage. To further troubleshoot, consider checking the fence energizer to confirm it is working at the correct output level. Regularly inspecting the entire fence line can also prevent future problems by catching issues early and maintaining optimal electric fence performance. Incorporating routine visual inspections keeps the system reliable and helps you spot potential problems before they affect the fence’s effectiveness.
Visual Fence Inspection
Inspecting your fence line visually is a straightforward way to identify breaks, shorts, and other issues that can affect voltage. Conduct a thorough visual inspection, focusing on both the physical condition and fence aesthetics. Look for obvious damage such as sagging wires, broken insulators, or areas where vegetation touches the fence. Check for rust, corrosion, or debris that could cause shorts. Pay attention to spots where the fence may be leaning or bent, as these can indicate underlying issues. To enhance your inspection, consider these points:
- Scan for signs of wear, rust, or corrosion
- Identify any sagging or loose wires
- Ensure no vegetation or objects are touching the fence
- Understanding electrical principles can help you interpret signs of shorts or voltage drops during inspection.
A careful visual inspection helps you spot problems early, saving time and maintaining ideal fence performance.
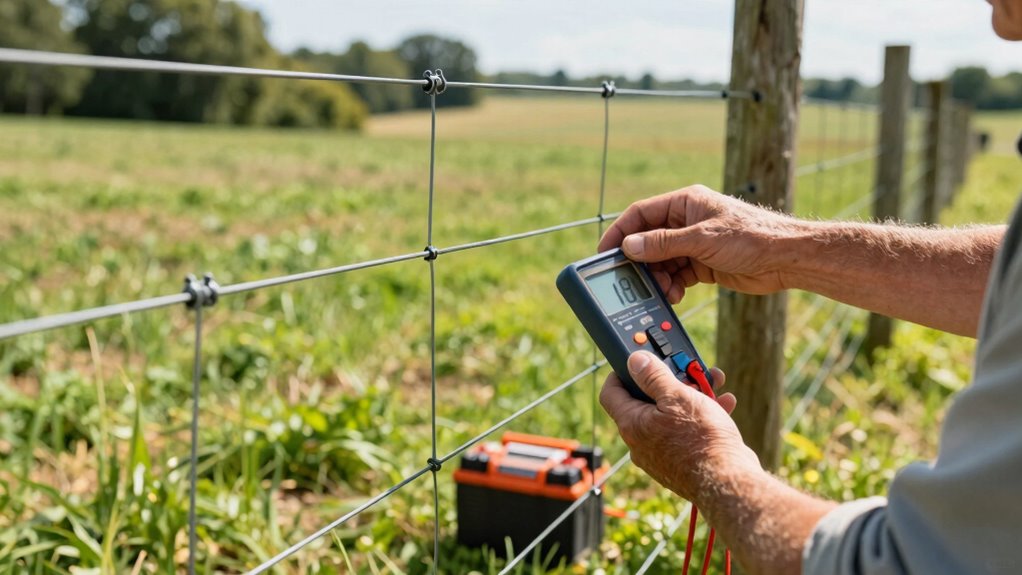
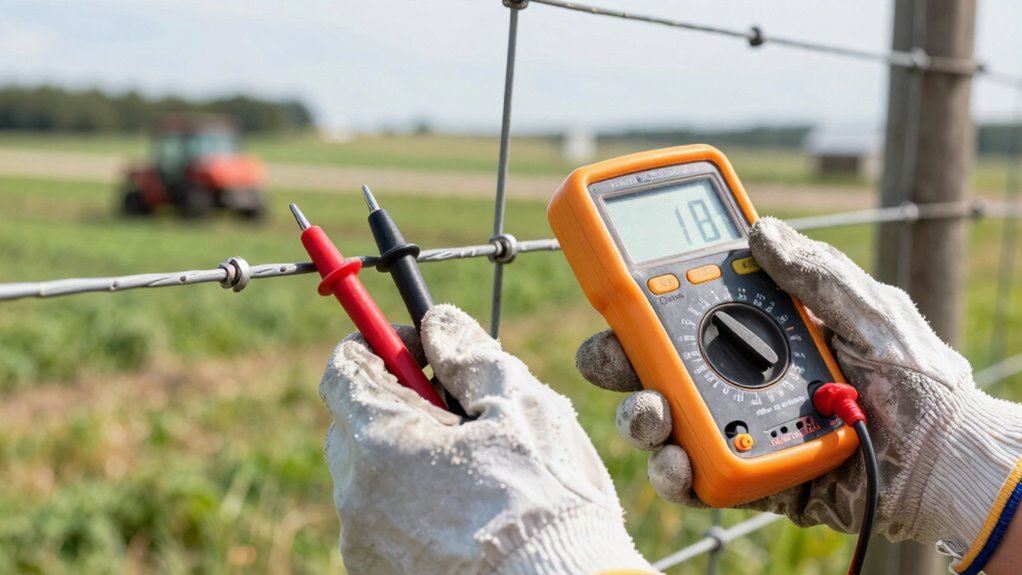
Use a Voltage Tester
Using a voltage tester is an effective way to pinpoint issues that aren’t visible during a visual inspection. It helps identify grounding issues and insulator problems that can cause voltage drops or shorts. To start, turn on the tester and check the fence at multiple points along the line. If you notice a significant voltage drop, it indicates a problem. For grounding issues, test the ground rod and ensure it’s properly connected and free of corrosion. When testing insulators, look for any that are cracked, broken, or dirty, and use the tester to see if voltage is leaking through. Proper affiliate disclosure ensures transparency during your troubleshooting process. Consistent voltage readings across the fence line confirm proper insulation, while irregular readings highlight where repairs are needed. This process saves you time and keeps your fence secure. Additionally, understanding the electric fence system components can help you better interpret your tester results and identify potential faults more accurately. Regularly inspecting your fence line with a voltage tester also helps prevent future issues by catching small problems before they become major repairs. Incorporating knowledge of auditory processing can enhance your troubleshooting by improving your attention to subtle voltage fluctuations and system behaviors, which is essential for long-term peace of mind.
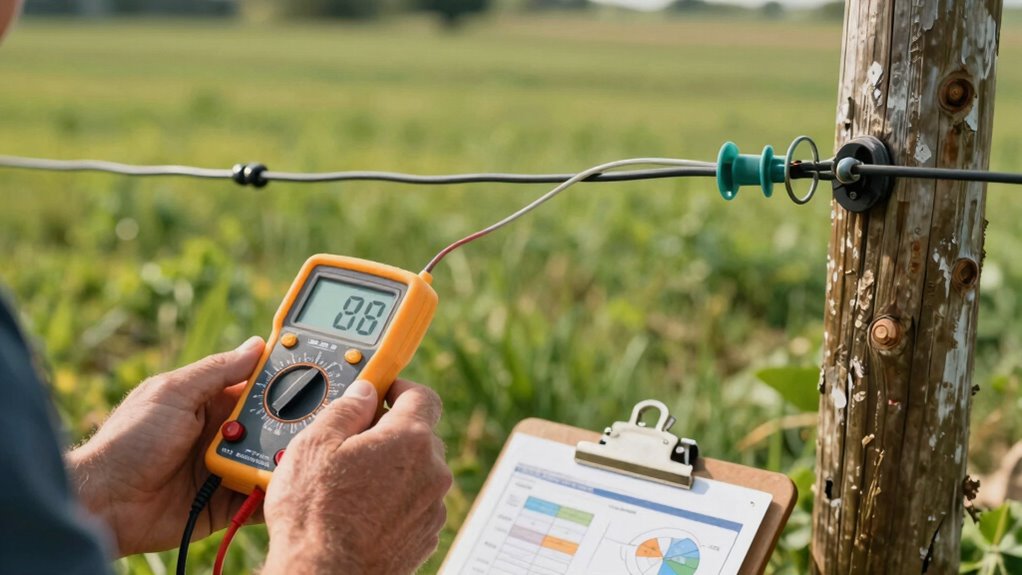
How to Test Your Fence Voltage at Different Points
To guarantee your fence is working properly, you need to test the voltage at different points along the line. Use a reliable voltage tester to get accurate readings quickly. Checking multiple fence points helps you identify where voltage drops or issues may be occurring. Be aware that fence voltage can fluctuate due to various factors, so consistent testing is essential for safety and effectiveness. Regularly inspecting your water-related systems can prevent unexpected malfunctions and ensure safety around water features, especially when integrating natural elements like biodiversity to promote ecological balance. Additionally, understanding the electric fence system components can help you troubleshoot more effectively and maintain optimal performance. Performing these tests with a clear understanding of your electrical system setup ensures accurate diagnostics and enhances overall safety.
Use a Voltage Tester
Wondering how to accurately measure your fence’s voltage? Using a reliable voltage tester is essential, especially when troubleshooting grounding issues. First, choose a tester suited for electric fences—look for one with appropriate voltage range and durability. To guarantee accurate readings:
- Verify proper grounding before testing to avoid false results
- Test at multiple points along the fence, focusing on areas with suspected issues
- Confirm the voltage drops across various sections to pinpoint trouble spots
- Regularly check your air purifier to ensure it is functioning properly and maintaining optimal air quality.
Check Multiple Fence Points
Testing your fence voltage at multiple points guarantees you get an accurate picture of overall performance. Walk along the fence line and test at different sections, especially near grounding points and areas prone to vegetation contact. Low voltage in one spot might indicate grounding issues or vegetation contact that’s shorting the fence out. Check areas where plants or branches brush against the wire, as they can drain voltage and cause inconsistent performance. If you notice voltage drops near grounding rods, it could signal poor grounding. By testing at various points, you pinpoint problem areas quickly, allowing you to address grounding issues or clear vegetation contact to restore proper fence operation. This method ensures your entire fence remains effective and secure.
What Common Problems Cause Voltage Drop and How to Fix Them
What are the typical causes behind voltage drops in an electric fence, and how can you fix them? Common problems include grounding issues, vegetation contact, and damaged or loose wiring. Poor grounding creates resistance, reducing voltage, so ensure your grounding system is solid and properly connected. Vegetation contact, such as weeds or branches touching the wire, can drain voltage; trim or clear nearby vegetation regularly. Damaged wires or loose connections can also cause voltage drops—inspect your entire fencing line and repair any breaks or loose fittings. Regular maintenance helps prevent these issues. Keep your fence energized and effective by addressing these common causes promptly, ensuring your animals stay secure and your system performs reliably.
Address voltage drops by checking grounding, trimming vegetation, and repairing wiring for a reliable electric fence.
- Check grounding connections and improve if necessary
- Clear vegetation that contacts the wire
- Inspect and repair damaged or loose wiring
Tools and Tips to Quickly Fix Electric Fence Voltage Issues
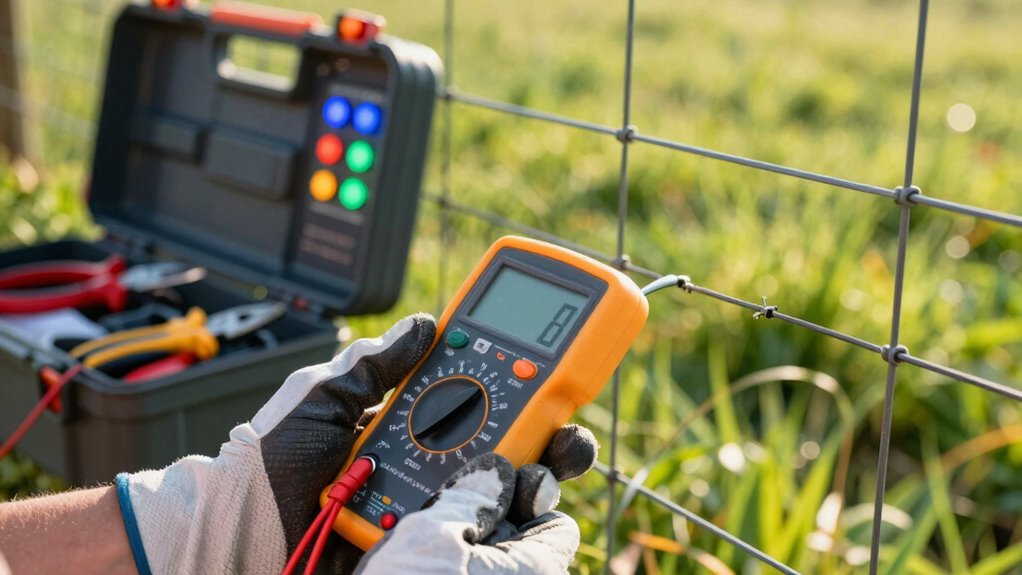
Having the right tools on hand makes quickly diagnosing and fixing electric fence voltage problems much easier. Start with a digital voltmeter to check voltage levels along the fence line and identify weak spots. Use a grounding tester to ensure your grounding system is solid, as grounding issues often cause voltage drops. Keep a set of replacement insulators and connectors handy to quickly repair damaged fence material without delays. A fence tester or livestock probe can help pinpoint shorts or leaks caused by damaged or improper fencing. Remember, understanding your fence material helps you choose the right tools and repairs. Regularly inspecting your equipment and maintaining proper grounding minimizes voltage issues, saving you time and effort during troubleshooting.
Frequently Asked Questions
How Often Should I Perform Electric Fence Voltage Tests?
You should perform electric fence voltage tests weekly to guarantee ideal performance. Use a voltage meter to check for grounding issues and verify the voltage level. Regular testing helps you catch problems early, preventing animals from escaping or short circuits. If you notice low voltage, inspect grounding and connections promptly. Consistent testing keeps your electric fence reliable, so make it a routine part of your maintenance schedule.
Can Weather Conditions Affect Fence Voltage Performance?
Don’t let weather impact your fence’s performance. Yes, environmental factors like rain, snow, or humidity can lower voltage, making your fence less effective. Heavy storms or freezing temperatures might cause voltage drops or shorts. You’ll want to regularly check your fence’s voltage, especially after severe weather, to make certain it’s working properly. Staying vigilant helps you catch issues early and keeps your animals safe, no matter the weather conditions.
What Safety Precautions Are Recommended During Troubleshooting?
When troubleshooting your electric fence, always wear safety gear like insulated gloves and boots to protect against shocks. Maintain hazard awareness by turning off the energizer before inspecting components. Keep clear of live wires and avoid touching conductive parts. Use insulated tools and make sure children or pets are away. These precautions help prevent accidents, ensuring your safety while you identify and fix voltage issues efficiently.
How Long Does It Typically Take to Identify a Voltage Problem?
It usually takes just a few minutes to identify a voltage problem if you use a good fence energizer and a reliable voltage meter. Start by selecting the right voltage meter for your fence system, then check the energizer’s output quickly. With proper tools and a systematic approach, you can pinpoint issues fast, often within 10 to 15 minutes, ensuring your electric fence stays effective and safe.
Are There Specific Signs Indicating a Fence Is Not Shocking Properly?
Like a silent alarm, signs of a weak shock include animals touching the fence without recoil or hesitation. You might notice grounding issues causing inconsistent voltage or charger malfunctions that leave your fence powerless. If the shock isn’t strong enough, check for these clues—fence not delivering a proper jolt often signals a problem with grounding or the charger. Addressing these issues quickly restores your fence’s reliability and keeps your animals safe.
Conclusion
By following these simple steps, you’ll turn your electric fence into a vigilant guardian, ensuring every wire hums with just the right amount of energy. With a keen eye and the right tools, you can swiftly navigate past hidden glitches, like a gentle breeze guiding you through a quiet orchard. Soon, your fence will stand tall and steady, quietly whispering its protection—peace of mind just a few quick checks away.