To install a drip irrigation system, start by mapping your garden and grouping plants by their water needs. Gather essential tools like a tubing cutter and hole punch. Lay out your main tubing and secure it with stakes, then punch holes to insert emitters. Connect everything to a water source, ensuring proper slope for drainage. Regularly maintain your system by checking for clogs and leaks to keep it efficient. There's much more to optimizing your setup!
Key Takeaways
- Map your garden layout and group plants by watering needs for efficient emitter placement.
- Gather essential tools and components, including main tubing, emitters, and a backflow preventer.
- Secure main tubing along the planned path and connect it to the water source, ensuring proper drainage slope.
- Use a hole punch to create openings in the main line, then insert emitters to deliver water directly to plants.
- Regularly inspect and maintain the system by cleaning filters and emitters to prevent clogging and ensure optimal performance.
Project Details
When planning to install a drip irrigation system, you'll find the project both cost-effective and manageable. The typical cost ranges from $50 to $100 per 100 square feet, making it an affordable choice for your garden.
You can complete the installation in about two hours, even if you're a beginner. Essential tools include a tubing cutter and a hole punch for creating openings for emitters.
Key components of your system will be main tubing, emitters, connectors, a backflow preventer, and a pressure regulator. Don't forget to include a filter to maintain efficiency.
Regular maintenance is vital, so plan for monthly inspections and cleaning of any clogged emitters to guarantee your drip irrigation systems work effectively over time.
Benefits of Drip Irrigation
Drip irrigation systems offer numerous advantages that can transform your gardening experience. They provide targeted watering directly to your plant roots, enhancing plant health and growth. By using a drip irrigation system, you can conserve water effectively—about 90% is absorbed by plants, compared to only 65%-75% with traditional methods. This not only helps the environment but can also lead to lower water bills. Plus, the system minimizes fungal diseases and weed growth by keeping foliage dry. With automated operation, you'll save time, requiring minimal oversight once installed.
| Benefit | Description |
|---|---|
| Water Conservation | 90% water absorption by plants |
| Improved Plant Health | Direct watering to roots |
| Cost-Effective | Lower water bills due to reduced waste |
| Minimal Maintenance | Automated operation saves time |
Components of a Drip Irrigation System
To set up an effective drip irrigation system, you need to understand its essential components and how each part functions.
You'll rely on mainline tubing, emitters, and a few other key elements to guarantee your plants receive the right amount of water.
Let's break down what each component does and why it matters for your garden.
Essential System Components
A successful drip irrigation system relies on several essential components that work together to deliver efficient and targeted watering.
First, the backflow prevention device is important for keeping your drinking water safe from contamination, as required by local codes.
Next, an irrigation clock regulates your watering schedules, with smart models that can adjust based on weather conditions.
Electric control valves manage the water flow, opening and closing according to the programming you set.
Filters are also critical; they trap particles to prevent clogging of emitters, so aim for a mesh size of at least 150 mesh.
Finally, emitters deliver water directly to your plants' roots, available in various types with flow rates from 0.5 to 20 gallons per hour.
Function of Each Part
Understanding the function of each component in your drip irrigation system helps guarantee efficient watering for your garden.
Here's a quick overview of the essential parts:
- Irrigation Clock: Automatically regulates your watering schedule, with smart models adjusting based on weather conditions.
- Backflow Prevention Device: Safeguards irrigation water from contaminating your drinking supply, typically using a pressure vacuum breaker (PVB).
- Filter: Installed after the control valve, it traps debris to prevent clogging of your system, ideally with a mesh size of at least 150.
- Drip Emitters: Deliver water directly to plant roots, available in various flow rates, with pressure-compensating options for uniform distribution.
Planning Your Drip Irrigation Layout
To plan your drip irrigation layout, start by mapping out your garden to pinpoint where your plants and hardscaping are located.
Group your plants according to their watering needs and sun exposure to select the right emitters.
Finally, identify the closest water source and sketch a route for the main tubing to keep everything efficient.
Mapping Your Garden Layout
Mapping your garden layout is essential for planning an effective drip irrigation system. Start by sketching the positions of all plants, beds, and hardscaping features. This visual representation helps you design a layout that maximizes efficiency.
Here are key points to evaluate:
- Identify your nearest water source to determine the main line route.
- Group plants based on their similar watering needs for better water distribution.
- Plan the mainline route to minimize bends and kinks.
- Allow flexibility in your design for future expansions or layout changes.
Grouping Plant Water Needs
Grouping plants by their water needs is vital for creating an efficient drip irrigation system. Start by placing plants with similar watering requirements together, like drought-tolerant varieties separate from those needing consistent moisture.
Consider sun and shade exposure, as plants in full sun may require more frequent watering than those in shaded areas. Map out your garden, noting the specific needs of trees, shrubs, and flowerbeds.
Analyzing your soil type is important too; sandy soils might require higher flow emitters, while clay soils benefit from slower rates. Conduct a soil test to help you choose the right emitters and guarantee you deliver water effectively to each grouped plant, promoting ideal health and growth.
Identifying Water Source Location
Planning your drip irrigation layout starts with identifying the best water source location. You'll want to guarantee easy access to your water source, like an outdoor faucet or irrigation valve.
Here are some key points to reflect on:
- Measure the distance from the water source to the furthest point in your garden to determine tubing length.
- Check that the water source has adequate pressure; aim for 15-30 PSI for ideal irrigation performance.
- Look into local regulations regarding backflow prevention devices to keep potable water safe.
- Take into account any elevation changes in your garden, as these can impact water flow and pressure.
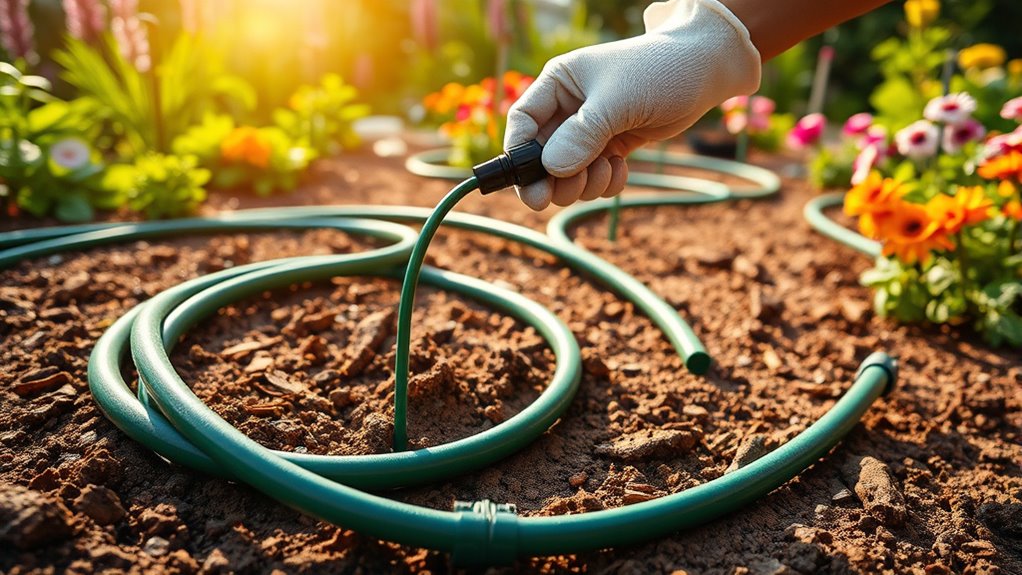
Gathering Tools and Materials for Your Drip Irrigation System

Installing a drip irrigation system requires a few essential tools and materials to guarantee success. Start by gathering a tubing cutter and hole punch to make precise cuts and openings in your main tubing.
You'll need to purchase main components, including main tubing, emitters, connectors, a backflow preventer, a pressure regulator, and a filter to confirm efficient water delivery. Don't forget stakes to secure the tubing and emitters in place for proper watering distribution.
When budgeting, aim for a total DIY cost of $50 to $100 per 100 square feet of your garden area. Prepare to spend about 2 hours for the entire process, including gathering materials, setting up the system, and testing for leaks.
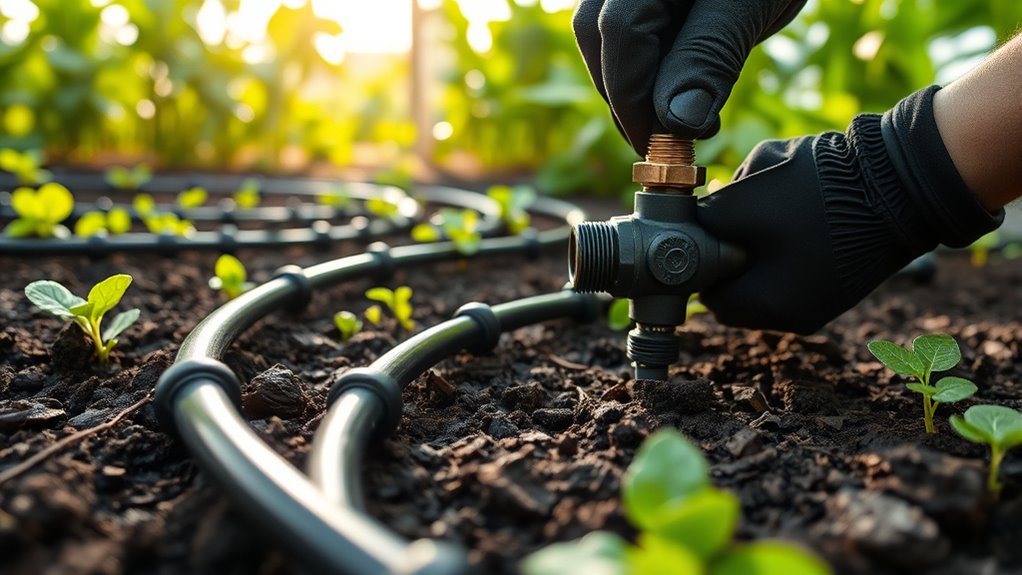
Connecting to Your Water Source

Before you connect to your water source, it's crucial to guarantee that your system meets safety and efficiency standards.
Start by ensuring you have the necessary components installed to prevent contamination and maintain peak performance:
- Install a backflow preventer to protect your drinking water supply, complying with local codes.
- Attach a pressure regulator after the backflow preventer to keep water pressure consistent throughout the system.
- Connect a filter to remove debris and particles, preventing clogging of emitters.
- Use a hose swivel to easily connect the filter's threaded opening to the main tubing for hassle-free cleaning and maintenance.
Following these steps will help you create an efficient and compliant drip irrigation system.
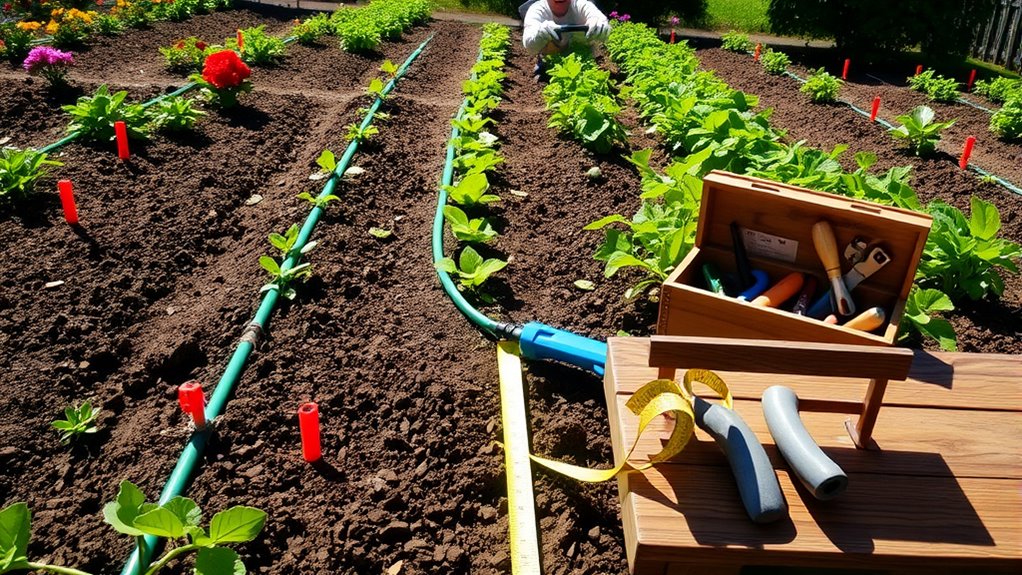
Laying Out the Main Tubing
To guarantee your drip irrigation system functions efficiently, start by mapping out your garden layout, identifying where the main hose will run and how to best distribute water to all your plants.
Use stakes to secure the main tubing in place, preventing movement and making sure it follows your designed path. Cut the main tubing to desired lengths with a tubing cutter, making straight cuts for proper connections.
Connect the main tubing to your water source using appropriate fittings, making certain of a proper slope for drainage to prevent pooling.
Also, consider future garden expansions during this process to accommodate potential changes in plant placements or additional water needs. This planning will help guarantee ideal water distribution throughout your garden.
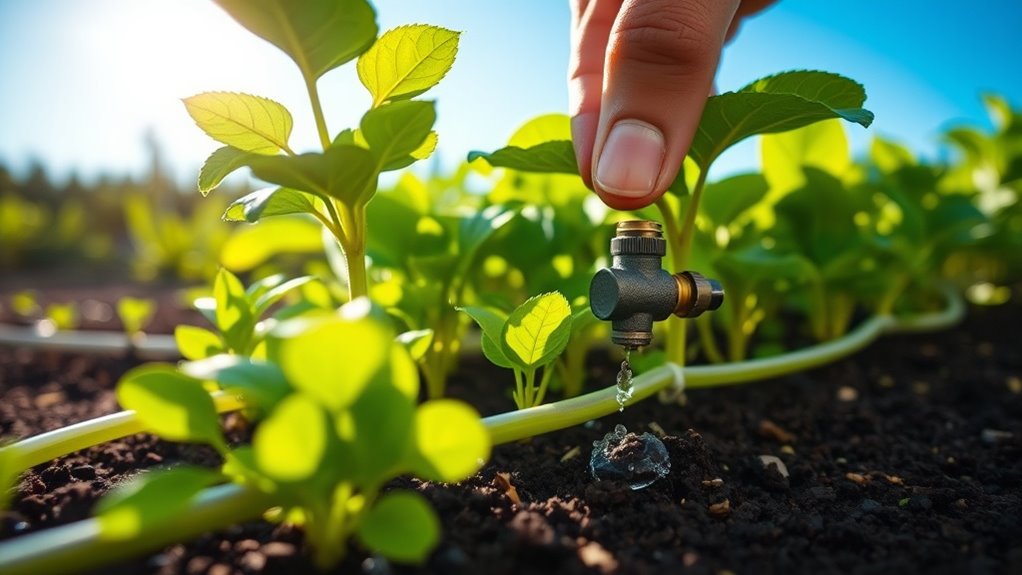
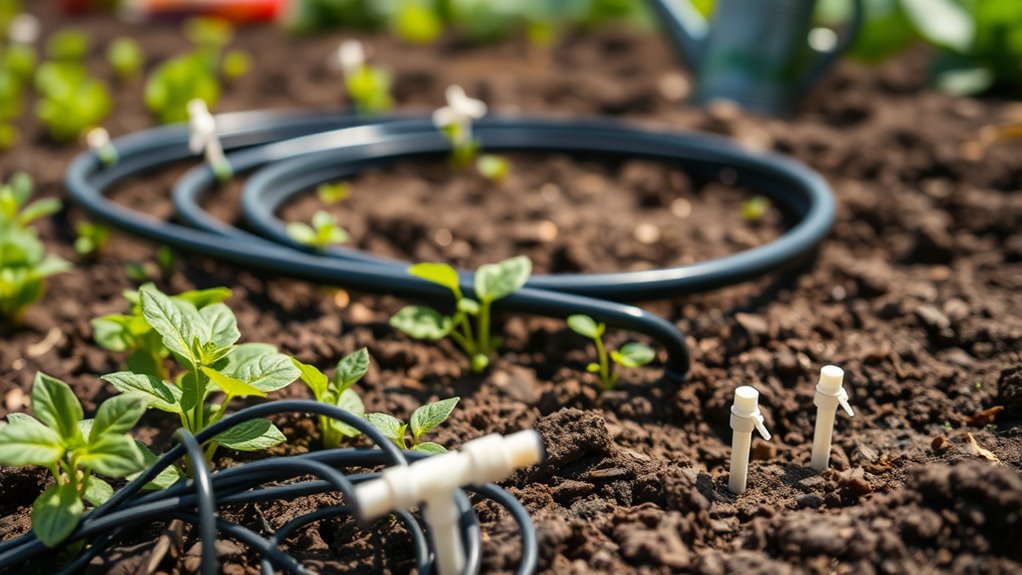
Installing Emitters and Micro-Sprayers

With the main tubing securely in place, you can now focus on installing emitters and micro-sprayers to deliver water directly to your plants.
Follow these steps for ideal water delivery:
- Use a hole punch tool to create openings in the main line tubing about 6-12 inches from each plant stem.
- Insert barbed emitters into the punched holes, ensuring they're securely fitted to prevent leaks.
- For micro-sprayers, attach ¼-inch tubing to the main line using tee connectors and position the sprayers using stakes.
- Adjust the placement of emitters and micro-sprayers to target the plant's root zone and canopy spread.
Regularly check and clean emitters and micro-sprayers to prevent clogging and maintain efficient water distribution.
Securing and Fine-Tuning Your Drip Irrigation System
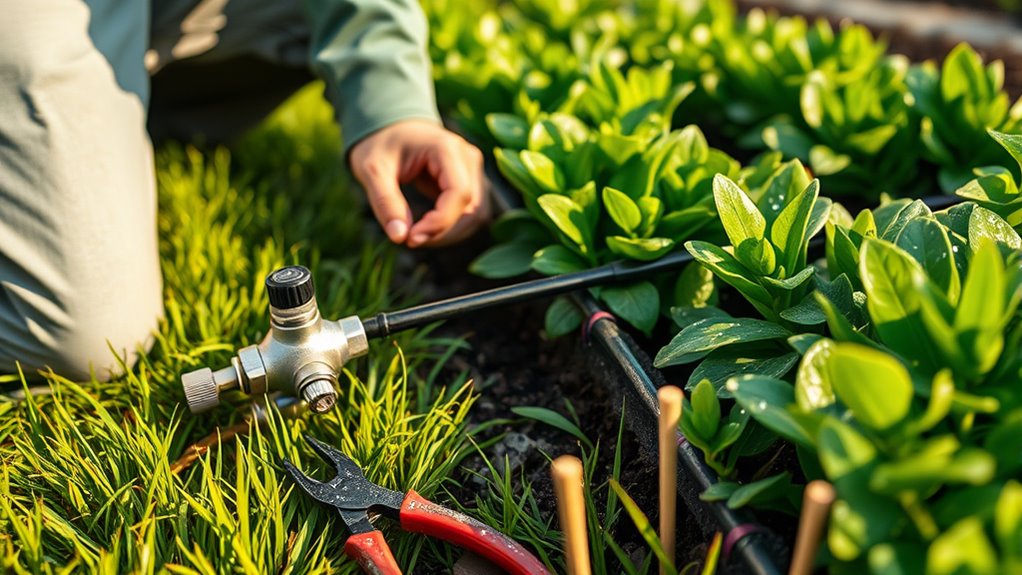
Securing your drip irrigation system is essential for ideal performance and water efficiency. Start by securing the mainline tubing and feeder lines with stakes to prevent movement. This guarantees proper water distribution to your plants. Fine-tune your emitter placements by positioning them 6-12 inches from plant stems, minimizing evaporation loss. Adjust emitter flow rates based on your plants' needs, typically ranging from 0.5 to 20 gallons per hour, depending on soil type and plant size. Regularly inspect and clean filters and emitters to avoid clogging and guarantee even watering.
| Action | Description |
|---|---|
| Secure | Use stakes to anchor tubing |
| Inspect | Check for leaks and system functionality |
| Adjust | Modify emitter flow rates as needed |
| Fine-tune | Position emitters close to plants |
| Clean | Clear filters and emitters regularly |
Maintaining Your Drip Irrigation System

Maintaining your drip irrigation system is essential for ensuring your plants receive consistent and adequate water. Regular upkeep keeps your system efficient and helps prevent plant stress.
Here are some key maintenance tasks to follow:
- Inspect your system monthly for damaged tubing or fittings, ensuring proper water pressure.
- Clean filters at least once a month to prevent clogging and maintain ideal water flow.
- Flush the system periodically to remove dirt and debris that can accumulate over time.
- Repair any leaks promptly by cutting out damaged sections and using repair fittings to maintain efficiency.
Frequently Asked Questions
Can You Install Drip Irrigation Yourself?
Yes, you can definitely install a drip irrigation system yourself!
It's an easy DIY project that requires minimal tools and has a low skill level rating. In just about two hours, you can set up an efficient watering system for your garden.
You'll need some basic tools and materials, but once you're done, you'll enjoy healthier plants and save water.
Just remember to maintain it regularly to keep everything running smoothly.
What Is the 30/30 Rule for Drip Irrigation?
The 30/30 Rule for drip irrigation suggests that when temperatures exceed 30 degrees Celsius (86 degrees Fahrenheit), you should water your plants for about 30 minutes.
This method guarantees they absorb enough moisture without becoming over-saturated. By following this rule, you promote deeper root growth and reduce water waste.
How to Install a Drip Irrigation System Step by Step?
You've got a garden that needs watering, but you're unsure where to start. First, plan your layout by mapping out your plants and their water needs.
Gather all your materials, including tubing and emitters. Next, install the backflow preventer and pressure regulator to your water source.
Lay out the mainline tubing, punch holes for emitters, and connect everything. Finally, turn on the water, check for leaks, and adjust the flow for ideal irrigation.
How Deep Should Drip Irrigation Lines Be Buried?
You should bury drip irrigation lines about 6 inches deep to protect them from damage and environmental factors.
If you're using PVC pipes, aim for a depth of 12 inches to meet local codes and prevent freeze damage in colder areas.
Just make sure not to bury them too deep, as this can hinder water flow.
Consistent depth is key, especially on slopes, to avoid pooling or erosion issues.
Conclusion
Installing a drip irrigation system can be as rewarding as nurturing a garden from seed to bloom. With careful planning and the right tools, you can create a system that efficiently delivers water where it's needed most, saving time and resources. Don't forget to maintain your setup regularly to guarantee it functions at its best. By doing so, you'll enjoy lush plants and a thriving garden, all while conserving water and reducing waste. Happy gardening!