
To set up a drip irrigation system in one weekend, start by planning your garden layout and dividing it into zones based on plant needs. Gather materials like hoses, emitters, filters, and timers. Prepare the site, install the main line, and connect the drip lines and emitters securely. Test the system, adjust flow as needed, then conceal hoses with mulch for a neat look. Keep these steps in mind, and you’ll improve your garden’s watering efficiency swiftly and effectively.
Key Takeaways
- Plan and map garden zones based on plant water needs, ensuring proper coverage and efficient water distribution.
- Gather all necessary materials, prepare the site by clearing obstacles, and test water pressure before installation.
- Design zones, connect main lines, emitters, and fittings, securing components to prevent leaks and ensure even watering.
- Test the system thoroughly, adjust flow rates, and fix any leaks or blockages before completing setup.
- Cover hoses with mulch, perform regular maintenance, and monitor system performance for long-term efficiency.
Planning Your Drip Irrigation Layout
Before you begin installing your drip irrigation system, it’s essential to plan your layout carefully. A well-designed plan maximizes drip system efficiency and guarantees your plants receive consistent watering. Start by mapping out your garden beds and noting the location of each plant’s root zone. Consider the water needs of different plants to create an effective watering schedule, avoiding over- or under-watering. Use this plan to determine where to place main lines, emitters, and connectors. Keep in mind that spacing emitters properly helps distribute water evenly. Planning ahead prevents the need for major adjustments later, saving you time and effort. Additionally, understanding state tax implications can be beneficial if you’re purchasing supplies in states with different tax policies, potentially saving money on your project. Incorporating creative storytelling into your planning process can also help visualize the benefits of a well-designed irrigation system and motivate ongoing maintenance. Reviewing local water regulations can ensure your system complies with legal requirements and conserves water effectively. Furthermore, considering water pressure dynamics can help optimize emitter placement and prevent issues like uneven watering. Conducting a thorough site assessment can reveal hidden obstacles and water flow issues that might affect your layout. With a clear layout, you’ll set yourself up for a more efficient, reliable watering system that keeps your garden healthy.
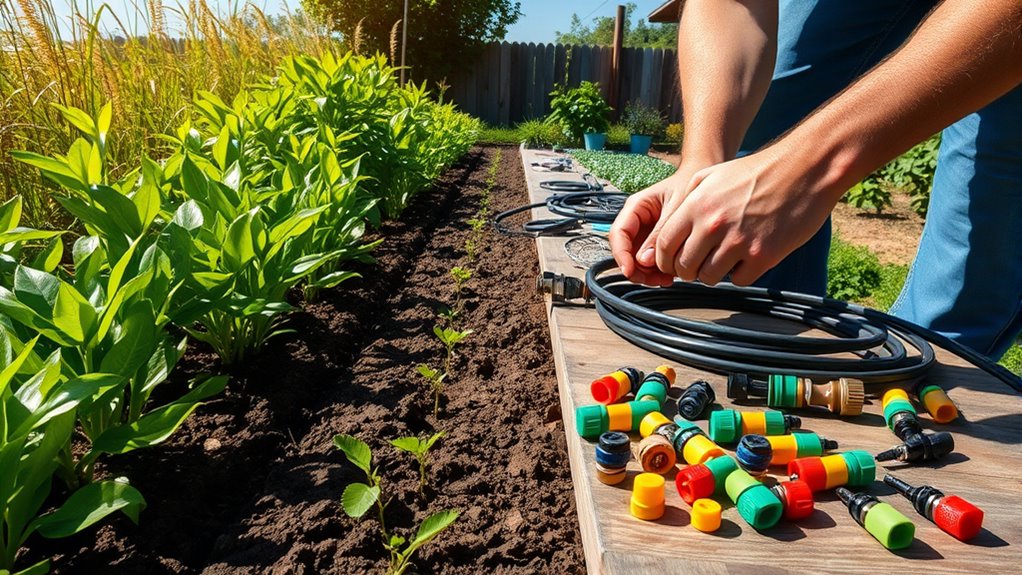
Gathering Materials and Tools Needed
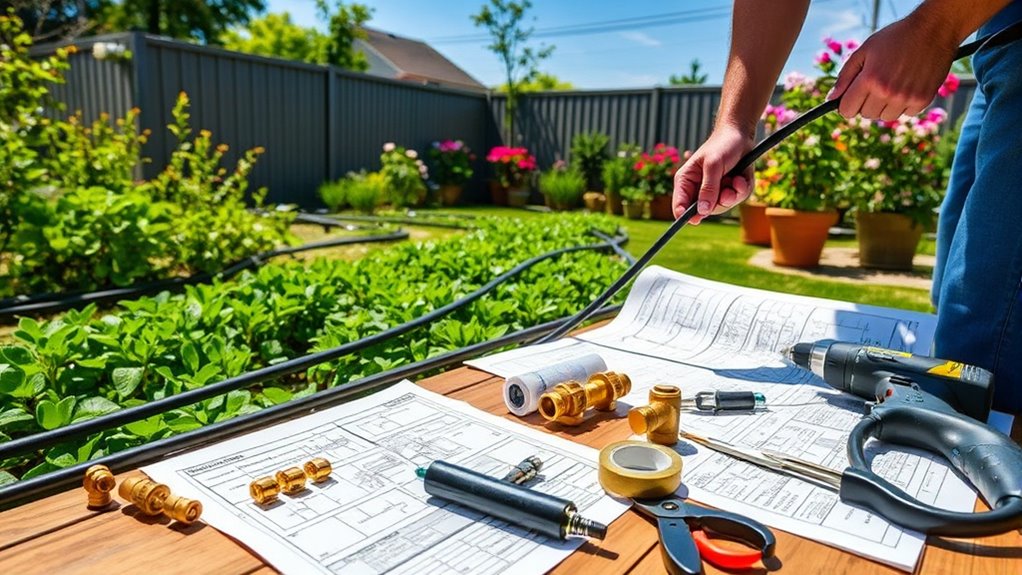
Before you start, gather all the essential equipment and tools you’ll need for your drip irrigation system. Make a checklist to guarantee you have everything from hoses to connectors on hand. Proper tool preparation will make the setup process smoother and more efficient. Additionally, reviewing watering system components in advance can help ensure you select the right parts for your garden’s needs. Understanding Kia Tuning options can also inspire modifications to optimize your garden equipment’s performance and longevity. It’s also beneficial to familiarize yourself with garden layout considerations to plan an effective irrigation setup, especially as integrating technology in gardening is becoming increasingly popular for efficient water management. Being aware of current health and nutrition choices can guide you in selecting eco-friendly and sustainable materials for your irrigation system, promoting healthier garden growth.
Essential Equipment List
To set up your drip irrigation system efficiently, you’ll need to gather all the essential materials and tools beforehand. Start with plant selection to determine water needs and spacing. For soil conditioning, have amendments like compost or soil looseners ready to improve water absorption and prevent clogs. Essential equipment includes drip tubing, connectors, filters, and emitters suited for your plants. You’ll also need a timer, a pressure regulator, and stakes to secure the lines. Sharp scissors or a knife will help cut tubing precisely. Make sure to have a water source with adequate pressure. Having these items on hand streamlines the process, ensuring your system is tailored to your garden’s needs and soil conditions, leading to a more efficient setup. Additionally, understanding watering requirements can help you optimize your irrigation schedule for better plant health.
Tool Preparation Tips
Gathering all the necessary tools and materials before starting your drip irrigation project can save you time and prevent interruptions. Make sure you have essential garden tools like scissors, pliers, and a utility knife for cutting tubing and fittings. Check your irrigation supplies, including hoses, drip emitters, connectors, and stakes, to ensure nothing is missing. Organize these items in a designated workspace so you can easily access them during installation. Having everything ready helps streamline the process and reduces the risk of delays. Double-check your list to confirm you have the correct fittings and tools for your specific setup. Proper preparation with the right garden tools and irrigation supplies sets you up for a smooth, efficient installation. Additionally, understanding the types of drip emitters available can help you choose the best options for your garden’s watering needs. Knowing how to select the appropriate pressure regulation devices can also improve the efficiency and longevity of your system. Being aware of the beneficial ingredients in eye patches can help you pick products that best suit your skin’s needs. For outdoor projects like drip irrigation, considering top-rated tools can further enhance your installation process and ensure durability. Incorporating safety tips for installation can further ensure your system operates safely and effectively.
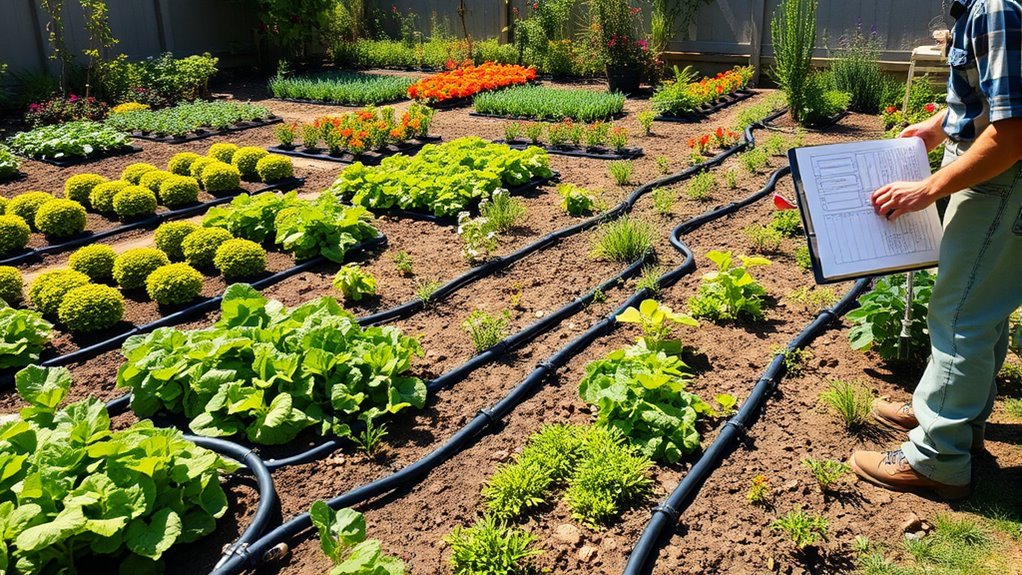
Designing Your Watering Zones

Start by planning your zone layout to guarantee each area gets proper coverage without overlaps. Keep in mind water pressure balance so your system operates efficiently and uniformly. Adjustments during design help prevent water wastage and ensure healthy plant growth. Incorporating professional equipment can further optimize your system’s performance and durability. Considering water flow rate during planning can help you achieve consistent watering across different zones. Understanding how self watering planters work can inform your decisions on zone sizes and placement for optimal results. Additionally, paying attention to relationship dynamics can help you address potential issues early and foster a more harmonious watering setup. Monitoring system pressure throughout your zones ensures even distribution and prevents under- or over-watering issues.
Zone Layout Planning
Have you considered how dividing your garden into specific zones can optimize your drip irrigation system? Proper zone layout guarantees efficient watering and healthier plants. Start by grouping plants with similar water needs, soil moisture levels, and plant spacing. This minimizes water waste and maintains even soil moisture across each zone. To plan effectively, think about:
- Plant types and their watering requirements
- Soil differences affecting moisture retention
- The size and shape of each zone for even coverage
- Recognizing emotional impacts that can arise if watering is inconsistent and how a well-designed system can prevent relationship stress or dissatisfaction among garden helpers
- Incorporating efficient irrigation practices can further enhance water conservation and system performance
Designing your zones with these factors in mind helps prevent over- or underwatering. It also simplifies system adjustments later. Clear, logical zones ensure your drip system operates smoothly and keeps your garden thriving. Proper layout is the foundation for a successful, efficient watering setup.
Water Pressure Balance
When designing your watering zones, balancing water pressure is essential to guarantee each area receives adequate and consistent moisture. Proper pressure regulation guarantees that no zone is over- or under-watered, which can happen if pressure varies across the system. To achieve this, you need to focus on flow balancing by adjusting flow restrictors or pressure regulators at different zones. These devices help maintain uniform pressure, preventing water from rushing through some areas while others get little. Keep in mind that longer runs or high elevation points may require additional pressure regulation to keep flow steady. By carefully managing pressure and flow, you ensure your drip system functions efficiently, delivering consistent moisture and avoiding water waste or plant stress.
Preparing the Site and Installing the Main Line
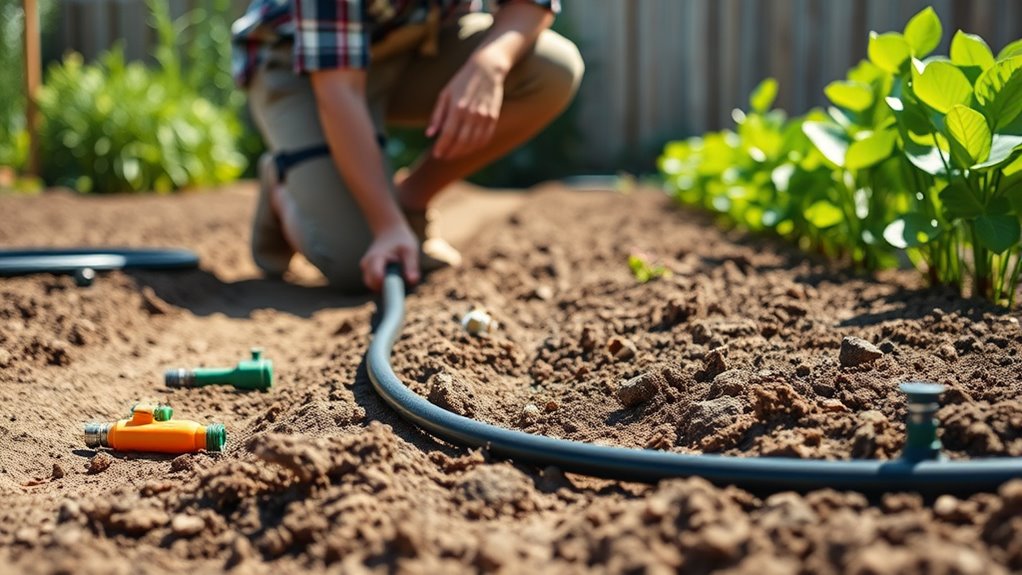
Before installing the main line, you need to prepare the site by clearing away weeds, debris, and any obstacles that could interfere with the system’s flow. Proper site prep guarantees efficient water delivery and longevity. Start by conducting soil testing to determine drainage and nutrient levels, which influence pipe placement and pressure needs. Weather considerations are also vital; avoid installation during heavy rain or extreme heat to prevent issues later. To streamline this step, focus on these key actions:
Preparing your site by clearing debris and leveling ensures efficient, long-lasting drip irrigation installation.
- Clear the area of weeds and debris
- Level the ground for even water distribution
- Identify shaded or exposed spots based on weather patterns
Taking these steps helps create a stable foundation for your main line, reducing future maintenance and guaranteeing your drip system functions smoothly.
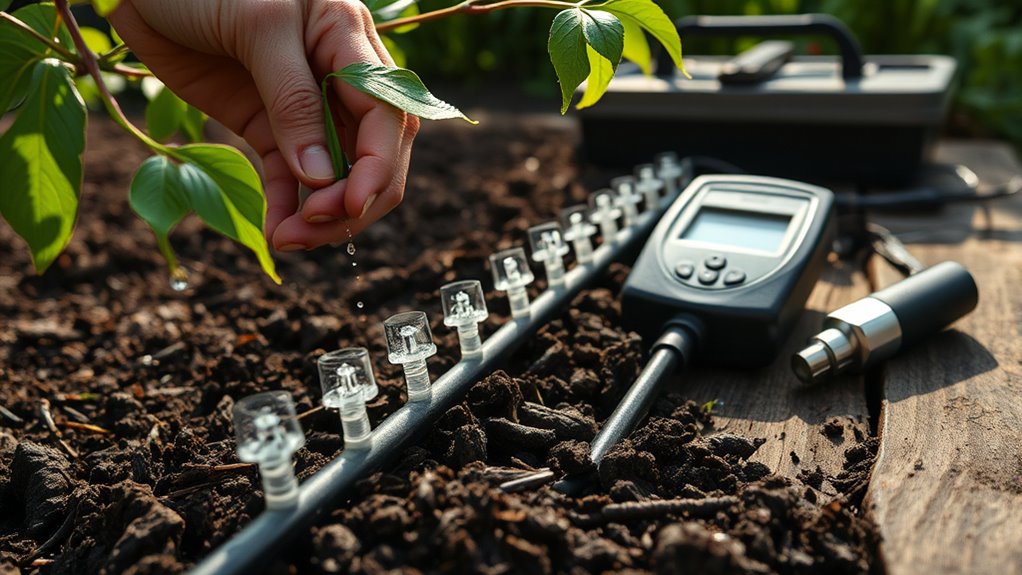
Connecting the Drip Lines and Emitters
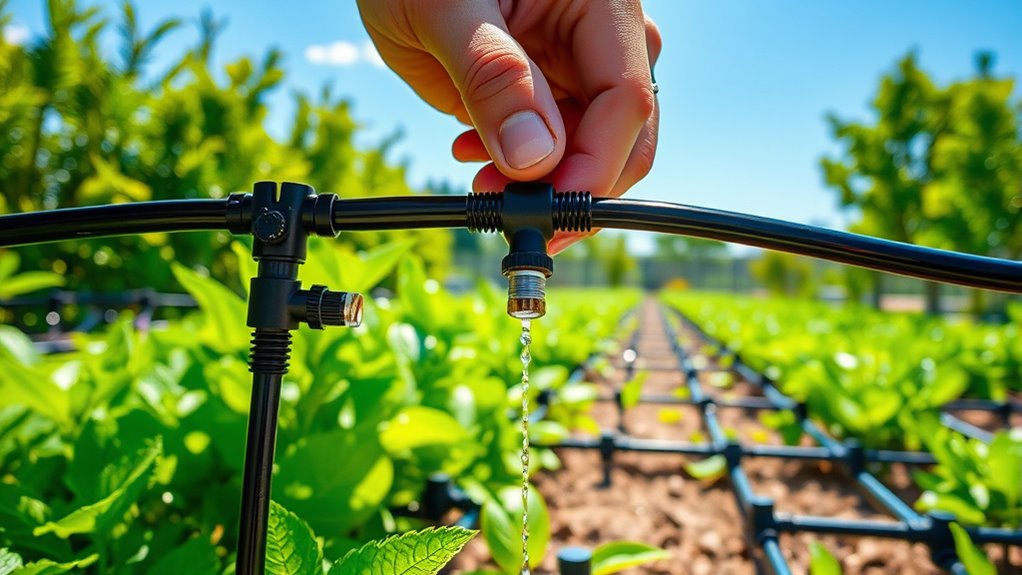
To guarantee your plants receive consistent watering, start by connecting the drip lines to the main supply line. Choose the appropriate drip emitter types based on your plant’s needs, such as adjustable or fixed flow emitters. When connecting, make sure each emitter is securely attached to prevent leaks. Keep fertilizer compatibility in mind; some emitters are designed to handle fertilizers and supplements, while others are not. If you plan to fertilize through your system, select emitters labeled as fertilizer-compatible. Lay out the drip lines evenly, making sure each plant gets adequate coverage. Check all connections for tightness and proper placement, avoiding kinks or blockages. Properly connecting the lines and emitters now guarantees an efficient system that delivers precise watering and supports healthy plant growth.
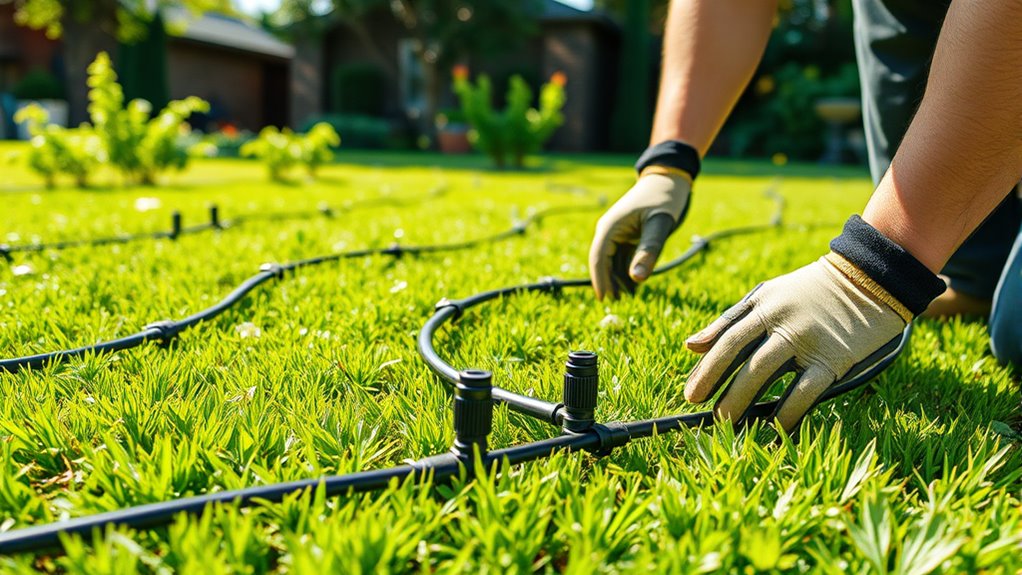
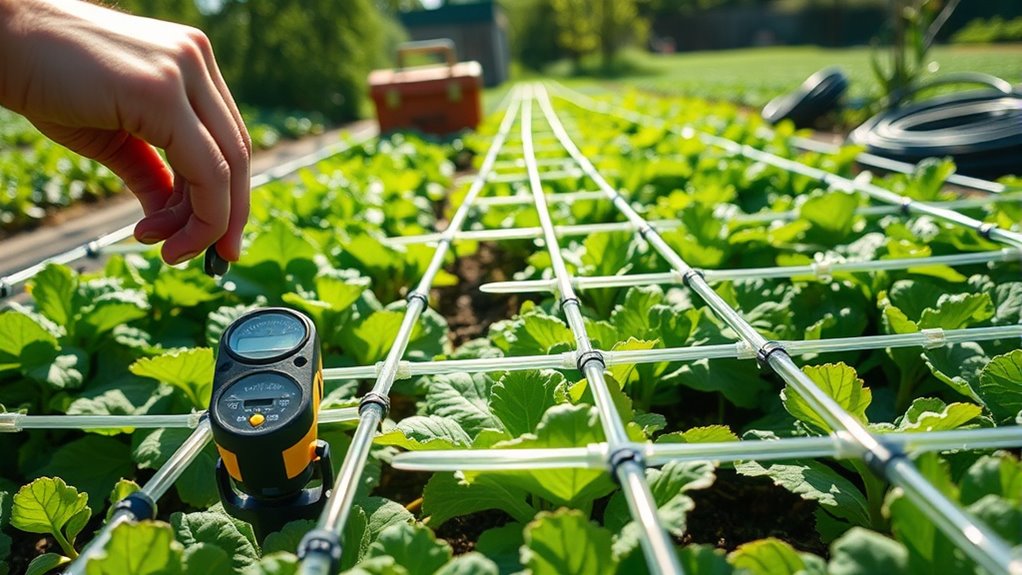
Securing and Arranging the Drip System Components
Securing and arranging your drip system components guarantees reliable operation and easy maintenance. Properly securing system parts ensures they stay in place during operation, preventing leaks and disconnections. To achieve this, check component compatibility before connecting parts, ensuring fittings and tubing match perfectly. Use clamps or stakes to secure tubing along plant rows, avoiding movement or damage. When arranging components:
- Confirm all fittings are tight and secure
- Position emitters and hoses to minimize stress and tangling
- Use stakes or clips to keep lines organized and in place
This careful arrangement simplifies troubleshooting and future adjustments. Securing system parts not only prevents failures but also prolongs the lifespan of your drip irrigation system. Take your time to arrange and secure everything properly for consistent watering performance.
Testing and Adjusting the Water Flow
After securing and arranging your drip system components, it’s time to test the water flow to make sure everything works properly. Turn on the main valve and observe each emitter. Adjust flow rates by tweaking the drip emitters or pressure regulators if needed. Consistent flow ensures plants receive the right amount of water, preventing over- or under-watering. Keep a close eye for leaks or clogs that may require system troubleshooting. Use this chart as a reference:
| Area to Check | Issue | Solution |
|---|---|---|
| Emitters | Weak flow | Clean or replace emitters |
| Tubing | Leaks | Seal with connectors or tape |
| Pressure | Fluctuations | Adjust pressure regulator |
| Zones | Uneven watering | Balance water distribution |
| Timer | Improper schedule | Reconfigure watering schedule |
Testing helps you fine-tune your system for ideal performance.
Covering and Concealing the System for Aesthetics

Once your drip irrigation system is tested and functioning properly, the next step is to conceal and cover the components to enhance your landscape’s appearance. You want your garden aesthetics to look natural and tidy, so hiding hoses, emitters, and tubing is essential. Use a mulch cover around the plants and system parts to achieve this. Mulch not only conceals the system but also retains soil moisture and suppresses weeds. Consider these options:
- Bury tubing under decorative gravel or mulch
- Plant ground cover or low-growing plants over exposed parts
- Use landscape fabric beneath mulch to keep everything neat
These methods help your system blend seamlessly into your garden, making it both functional and visually appealing. Covering the system with mulch creates a clean, professional look while supporting healthy plant growth.
Final Checks and Maintenance Tips
Before fully relying on your drip irrigation system, it’s important to perform final checks to guarantee everything operates smoothly. Start by inspecting all connections, emitters, and filters for leaks or blockages. Clear any debris that could impede water flow, ensuring uniform distribution. Test the system to confirm that water reaches all plants evenly. Regularly check for signs of wear or damage, which can affect system longevity. Make seasonal adjustments by modifying run times based on weather changes and plant needs. This proactive maintenance helps prevent issues before they escalate, extending the life of your system. Keep an eye on pressure levels and clean filters periodically to maintain ideal performance. These simple steps ensure your irrigation system stays efficient and reliable throughout the seasons.
Frequently Asked Questions
How Do I Prevent Clogs in My Drip Emitters?
To prevent clogs in your drip emitters, you should regularly perform filter maintenance to keep debris out of the system. Choose emitter selection carefully, opting for high-quality emitters that resist clogging. Also, flush your system periodically to clear out any buildup. These steps guarantee consistent water flow and help avoid costly repairs, making your drip irrigation more efficient and reliable over time.
What’S the Best Way to Extend the System Later?
Did you know that over 60% of gardeners extend their irrigation systems within the first year? To do this effectively, you should plan your watering schedule carefully and choose flexible tubing and connectors. When extending, guarantee you’re maintaining your emitters regularly to prevent clogs. Using quick-connect fittings makes future expansions easier, so you can add zones or plants as your garden grows without hassle.
How Often Should I Run the Irrigation System?
You should tailor your watering schedule to your plants’ needs and soil moisture levels. Check the soil regularly; if it feels dry a few inches down, it’s time to water. Typically, running your system early in the morning or late in the evening helps water properly without evaporation. Adjust frequency based on weather conditions, ensuring your soil stays consistently moist without oversaturating.
Can I Use a Timer With My Drip System?
Yes, you can definitely use a timer with your drip system. It makes drip system maintenance easier by automating watering schedules, ensuring consistent watering, and preventing overwatering. Plus, timers help conserve water, aligning with water conservation tips. Just choose a timer compatible with your system, set it according to your plants’ needs, and regularly check it to keep everything running smoothly and efficiently.
How Do I Winterize the Drip Irrigation Setup?
To winterize your drip irrigation setup, you should start by removing all timers and filters to prevent freezing damage. Use winterization tips like draining the lines completely and blowing out remaining water with compressed air. Protect outdoor components with insulation or weatherproof covers. This prevents freezing and cracking, ensuring your system stays in good shape for spring. Proper outdoor protection keeps everything functional year-round.
Conclusion
With a little planning, you can set up a drip irrigation system in just a weekend. Did you know that drip irrigation can save up to 30% more water compared to traditional watering methods? By following these steps, you’ll enjoy healthier plants and less time spent watering. Once installed, regular checks guarantee your system runs smoothly. In just two days, you’ll have an efficient, cost-effective way to keep your garden thriving all season long.