
To start a worm farm for compost, choose a suitable bin like a Rubbermaid container. Prepare bedding using moistened shredded paper and some soil. Introduce beneficial microbes with aged horse manure, then add worms like red wigglers under bright light. Feed your worms a mix of green waste and brown materials, keeping the bedding moist but not soggy. Regular monitoring and maintenance are key to success. There's more to discover about caring for your worms and harvesting castings!
Key Takeaways
- Select a suitable worm bin, such as a DIY Rubbermaid or a commercial option, ensuring it has ventilation and drainage holes.
- Prepare bedding using a mix of moistened shredded paper, aged horse manure, and carbon-rich materials, maintaining 60-70% moisture.
- Introduce beneficial microbes before adding worms, using aged manure and decomposing food to enhance microbial activity.
- Feed worms a balanced diet of 70% nitrogen-rich green waste and 30% brown waste, burying scraps under bedding.
- Regularly monitor moisture levels and worm health by checking for cocoons and adjusting food and bedding as needed.

The Original VermiHut® Plus 5-Tray Worm Compost Bin – Indoor & Outdoor Vermicomposting System, Continuous Flow Food Waste Recycler for Organic Composting & Gardening – Dark Green
- Compact Design: Maximizes capacity in small space
- Odor-Reducing System: Controls odors with improved lid and airflow
- Moisture Management: Maintains optimal moisture for worms
As an affiliate, we earn on qualifying purchases.
As an affiliate, we earn on qualifying purchases.
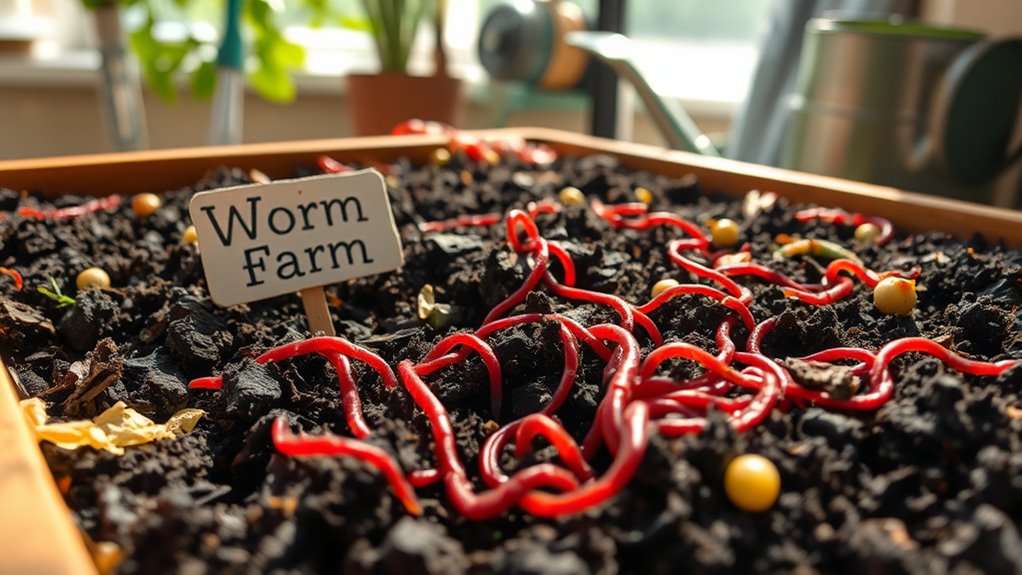
Selecting Your Worm Bin
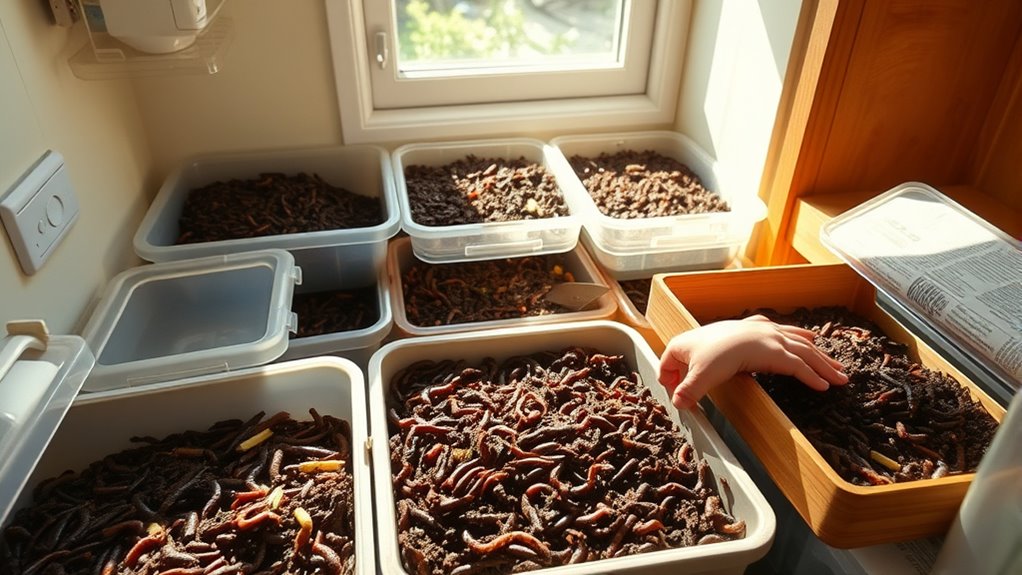
When you're ready to start your worm farm, selecting the right worm bin is vital for success. You can choose from commercial options like the Urban Worm Bag or DIY alternatives, such as a 10-to-18 gallon Rubbermaid bin or a 5-gallon bucket.
Guarantee proper air circulation by drilling holes for ventilation. The ideal bin size should be about 16 x 24 x 8 inches or around 10 gallons, providing ample space for your worms.
Cleaning the bin with tap water before use is essential to eliminate harmful residues. Also, make sure your bin has sufficient drainage holes at the bottom to prevent waterlogging, which can suffocate your worms and create unpleasant odors.
Preparing the Bedding
To create a comfy home for your worms, you'll need to choose the right bedding materials.
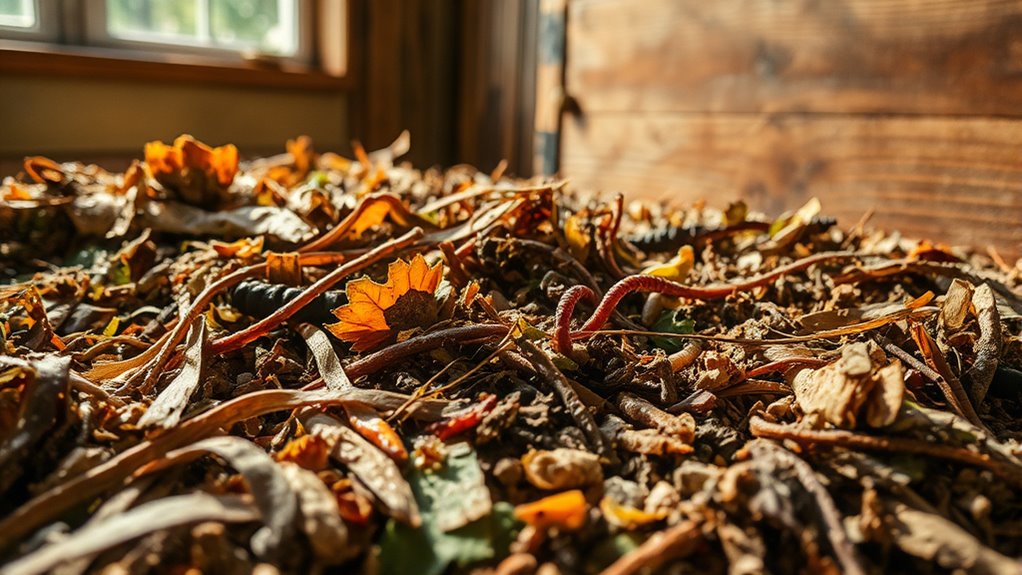
Mix moistened shredded paper, aged horse manure, or carbon-rich materials like peat moss and dry leaves for the best results.
Don't forget to keep an eye on the moisture levels, aiming for that sweet spot of 60-70% to keep your worms happy and healthy.
Choosing Bedding Materials
Choosing the right bedding materials is essential for creating a thriving worm farm.
You'll want to use carbon-rich materials to guarantee your worms have a comfortable environment. Here are some effective options for worm bedding:
- Shredded newspaper: Tear 50 pages into 1/2 to 1-inch strips and moisten until they're like a damp sponge.
- Peat moss: Provides excellent moisture retention and aeration.
- Dead leaves: A natural source of carbon, they break down slowly while adding texture.
- Cardboard: Shredded cardboard is also a good choice, adding structure to the bedding mix.
Don't forget to add 2-4 cups of soil for microorganisms that aid digestion.
This mix maintains proper aeration and moisture, guaranteeing your worms thrive.
Moisture Level Maintenance
Maintaining the right moisture level in your worm bedding is essential for keeping your worms healthy and active. Aim for a moisture level of about 60-70%, ensuring the bedding feels like a damp sponge.
Use moist newspaper strips or shredded paper for bedding, making sure they're soaked but not dripping wet before adding them to the bin. Regularly check the moisture level by squeezing a handful of bedding—it should hold its shape without excess water dripping out.
Cover the bin with a full sheet of dry newspaper to help retain moisture. Additionally, periodically fluff the bedding to enhance aeration and evenly distribute moisture throughout the worm bin.
This care keeps your worms thriving in a balanced environment.
Introducing Microbes and Worms

To kickstart your worm farm, you need to create a thriving microbial environment before introducing the worms.
Select quality worms from reputable suppliers to guarantee they arrive healthy and ready to work.
Once they're in, give them some time to acclimate and settle into their new home.
Importance of Microbial Activity
Microbial activity plays an essential role in the success of your worm farm, as it helps break down organic matter and creates a nurturing environment for worms.
To guarantee ideal conditions, consider the following:
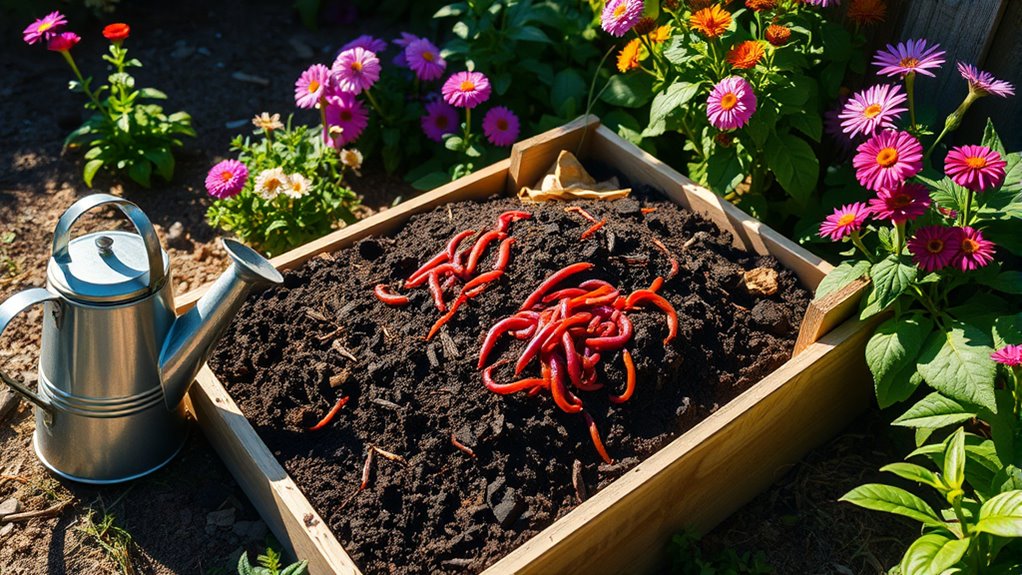
- Introduce aged horse manure as bedding for its rich microbial content.
- Add decomposing food, like banana peels, to kickstart microbial activity.
- Allow microbial populations to establish before introducing worms, providing them with necessary support.
- Use a diverse mix of textures and decomposition states, including soil and composted leaves, to enhance microbial diversity.
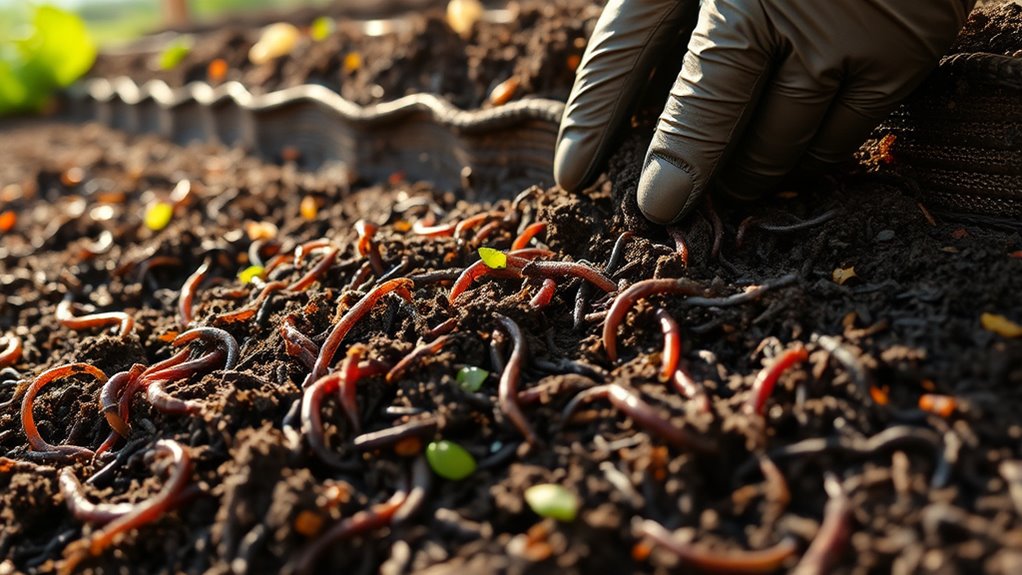
Selecting Quality Worms
Choosing the right worms is essential for a successful worm farm, especially since red wigglers (Eisenia fetida) are your best bet for composting. They thrive on food scraps and can consume half their weight in organic matter daily. To create a healthy environment, introduce microbes by adding a small amount of aged soil or composted material to your worm bin. Allow the microbial population to develop for about a week before introducing worms.
| Worm Type | Benefits | Best Use |
|---|---|---|
| Red Wigglers | Efficient composters | Composting food scraps |
| European Nightcrawlers | Great for aeration | Garden beds |
| African Nightcrawlers | Fast reproduction | Large-scale composting |
Introduce worms under bright light to encourage burrowing into the bedding quickly.
Shipping and Acclimation Process
Once you've selected your quality worms, the next step is guaranteeing they arrive safely and adapt smoothly to their new home.
Follow these guidelines for a successful shipping and acclimation process:
- Choose a trusted supplier who ships on Mondays or Tuesdays to guarantee your worms arrive healthy.
- Before introducing the worms, add decomposing food scraps, like banana peels, to develop the microbial population in your bin.
- Introduce the worms under bright light to encourage quick burrowing and minimize escape.
- For the first week, monitor the bin conditions without disturbing the worms, allowing them to acclimate to their environment before you start feeding them slowly.
Patience is key to a thriving worm farm!
Feeding Your Worms
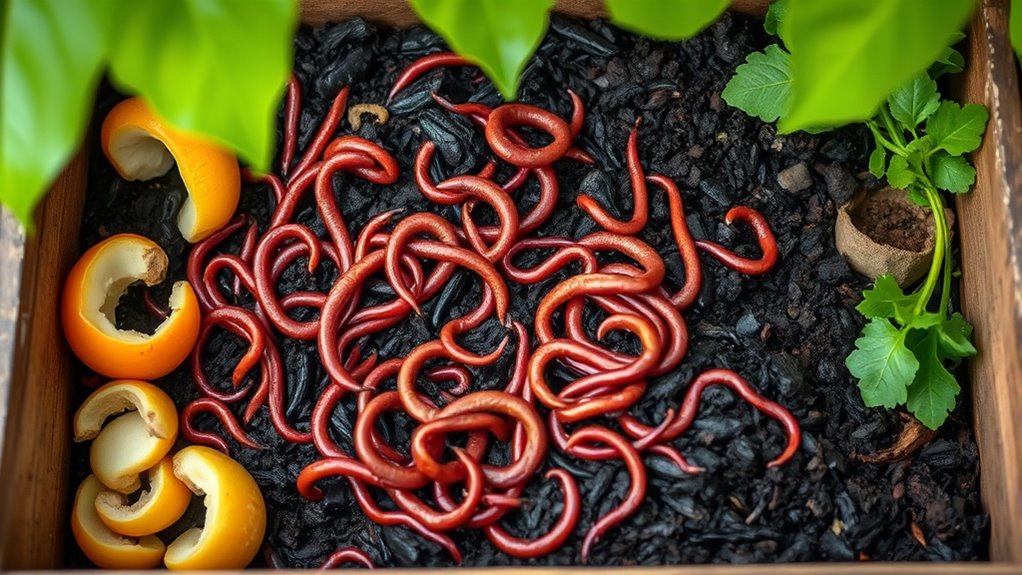
Feeding your worms is essential for their health and productivity, and a well-balanced diet can make all the difference. In your worm bin, aim for a mix of 70% nitrogen-rich green waste, like kitchen scraps, and 30% brown waste, such as shredded paper. Chop food scraps into small amounts and bury them about 2 inches under bedding to minimize odors and deter pests. Monitor their consumption weekly, as worms can eat about half their body weight in food daily. Avoid harmful foods like meat and dairy. Regularly add bedding to maintain moisture and create a stable environment.
| Food Type | Proportion |
|---|---|
| Green Waste | 70% |
| Brown Waste | 30% |
| Kitchen Scraps | Small amounts |
| Nitrogen Rich | Yes |
| Food to Avoid | Meat, Dairy |
Maintaining Your Worm Bin
Maintaining a healthy worm bin is just as important as providing a balanced diet. To guarantee your worms thrive, keep these tips in mind:
- Monitor moisture levels: Aim for 60-70% moisture; the bedding should feel like a damp sponge.
- Feed the worms properly: Add food scraps gradually, with a mix of 70% green waste and 30% cardboard or paper.
- Cover food scraps: Use damp bedding to maintain moisture and minimize odors while letting worms access their food.
- Fluff the bedding: Periodically aerate to encourage even worm distribution and healthy composting.
Harvesting Worm Castings
As your worm bin fills up and layers of castings start to resemble fine, dark compost, it's time to think about harvesting those nutrient-rich castings.
When the bin is two-thirds full, you can create cone-shaped piles of castings on plastic sheets. This method encourages your worms to migrate down, making it easier to collect the top layers.
Create cone-shaped piles of castings on plastic sheets to encourage worm migration and simplify collection of the top layers.
Regularly check for worm cocoons; their presence indicates a healthy amount of worms.
Remember, don't use fresh worm castings directly as soil. Instead, mix them into existing soil or improve your garden beds.
Also, drain the worm tea at the bottom of the bin, diluting it at a 1:10 ratio for fertilizing your plants every 2-4 weeks.
Frequently Asked Questions
How to Start a Worm Farm for Beginners?
Starting a worm farm for beginners is exciting!
First, pick a suitable bin that allows for drainage and airflow.
Next, prepare bedding using moist materials like shredded newspaper or aged manure.
Choose composting worms, like red wigglers, and start with around 2000 worms.
Feed them kitchen scraps, burying the scraps to keep odors down.
Keep an eye on moisture and temperature, adjusting as needed to guarantee your worms thrive and multiply.
What Are the 5 Mistakes That People Commonly Make When Composting With Worms?
You might think composting with worms is simple, but many stumble over common mistakes.
First, you can easily overfeed them, leading to odors and pests. Next, if you don't maintain the right moisture level, your worms could suffocate. Ignoring temperature can also harm them.
Using unsuitable food scraps attracts unwelcome visitors, and inadequate bedding disrupts their habitat.
Avoid these pitfalls, and your worm composting journey will be much smoother!
How Much Compost Will 1000 Worms Make?
If you have 1,000 worms, they can produce about 1-2 pounds of compost each week under ideal conditions.
You can expect them to consume around a pound of kitchen scraps daily, potentially leading to significant compost output.
Over a month, you might see 4-8 pounds of compost, depending on how well you manage their feeding and environment.
Regular harvesting will help maintain quality and guarantee a steady compost supply.
How Many Worms Can Live in a 5 Gallon Bucket?
"Too many cooks spoil the broth," and that's true for worms, too.
In a 5-gallon bucket, you can comfortably house around 400 red wigglers, given the space constraints. Starting with about 500 worms is wise, allowing you to monitor their health and the environment.
Keep an eye on moisture and food levels, as conditions can change quickly. This way, your worm population can thrive without overcrowding issues!
Conclusion
Starting a worm farm for composting is a rewarding venture that'll pay off in spades. By selecting the right bin, preparing quality bedding, and keeping your worms fed and happy, you're setting the stage for a thriving ecosystem. Remember to maintain your bin and harvest those valuable worm castings regularly. With a little patience and care, you'll turn kitchen scraps into black gold, enriching your garden and reducing waste at the same time.