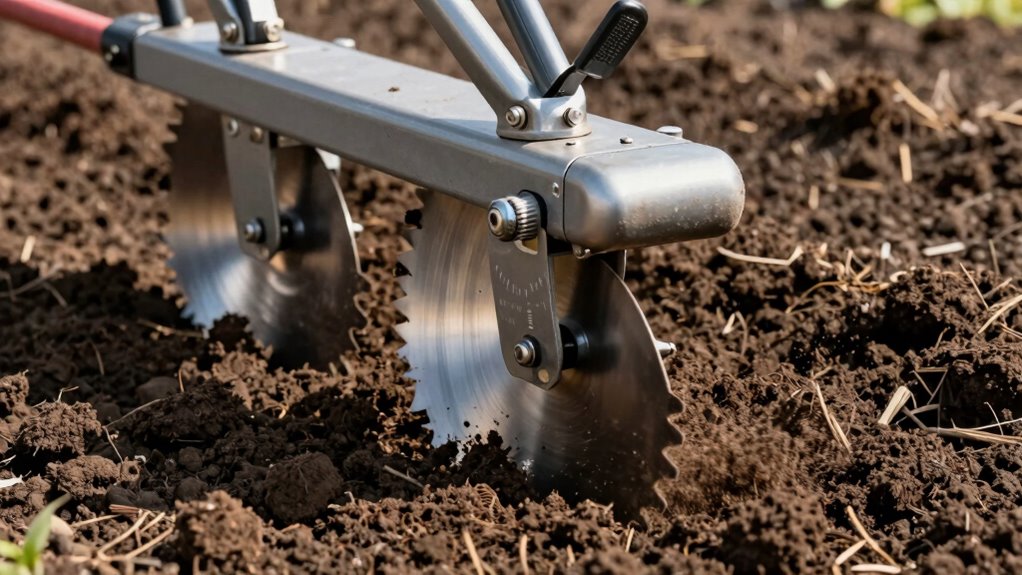
To prevent turning soil into dust, start by setting your rototiller to a shallow depth and adjust based on soil type and moisture. Avoid digging too deep, which can cause moisture loss and dust, especially in dry conditions. Keep the blades sharp and monitor how the soil responds—fine-tuning the depth as needed. For more tips on optimizing your tilling process and avoiding dust, continue exploring key strategies.
Key Takeaways
- Start with shallow depth settings and gradually increase until soil is properly loosened without excessive dust.
- Use the tiller’s depth control lever to set consistently shallow to moderate depths based on soil conditions.
- Maintain sharp blades and clean parts to improve penetration and reduce dust creation.
- Adjust the depth according to soil type: shallower for sandy or loose soils, deeper for compacted soils.
- Monitor soil moisture; till when slightly moist to prevent dust and ensure effective tilling.

TOOGOND Digital Depth Caliper Electronic Depth Gauge Caliper Depth Rule for Accurate Depth Measurement and DIY Use 0-150mm 0.01mm
- Material: Premium stainless steel construction
- Measurement Accuracy: Precise 0.01mm readings
- Zero Setting: Zero at any position for convenience
As an affiliate, we earn on qualifying purchases.
As an affiliate, we earn on qualifying purchases.
Why Proper Rototiller Depth Settings Are Key to Healthy Soil
Proper rototiller depth settings are vital because they directly influence soil health and plant growth. When set correctly, your tiller improves soil aeration, allowing air, water, and roots to penetrate deeply. This enhances the soil ecosystem, promoting microbial activity, supporting healthy soil ecosystems. Additionally, appropriate depth guarantees effective nutrient mixing, distributing fertilizers evenly and making nutrients accessible to plant roots. Setting the tiller too shallow may leave the soil compacted, limiting aeration and nutrient distribution. Conversely, going too deep can disturb existing roots and cause unnecessary soil disturbance. Finding the right depth strikes a balance that optimizes soil structure, promotes healthy root development, and prepares your garden for vigorous growth. Proper settings are a simple yet essential step toward achieving a thriving, fertile garden bed. Adjusting the depth properly ensures optimal tilling performance and minimizes soil disruption, while understanding the soil composition can help you choose the ideal depth. Additionally, being aware of tilling best practices can further enhance your soil management techniques. Recognizing the importance of soil testing can guide you in selecting the most appropriate tilling depth for your specific soil conditions.
Common Mistakes That Turn Your Soil to Dust (And How to Avoid Them)

One common mistake that turns your soil to dust is setting the rototiller too deep, which can break apart soil structure and cause excessive moisture loss. When soil becomes overly loose, it leads to soil compaction beneath the surface, reducing airflow and water retention. To avoid this, be mindful of these pitfalls:
- Tilling too deeply, disrupting soil layers and organic matter.
- Overworking the soil, causing it to dry out and become dusty.
- Ignoring moisture levels, tilling when the soil is too dry, leading to dust.
- Failing to adjust depth based on soil type, risking damage to roots and soil health.
- Neglecting soil health principles, which are essential for maintaining fertility and moisture retention.
- Additionally, improper depth settings can interfere with soil structure, impacting the overall health of your garden or field.
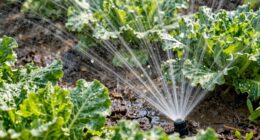
- Monitoring soil moisture levels regularly can help prevent over-drying and dust formation during tilling. Proper depth control is crucial for maintaining soil fertility, which supports healthy plant growth and sustainable gardening practices.
Pay attention to moisture levels and soil structure to maintain proper tilth. Proper depth control prevents turning your soil into dust, preserving its fertility and moisture.
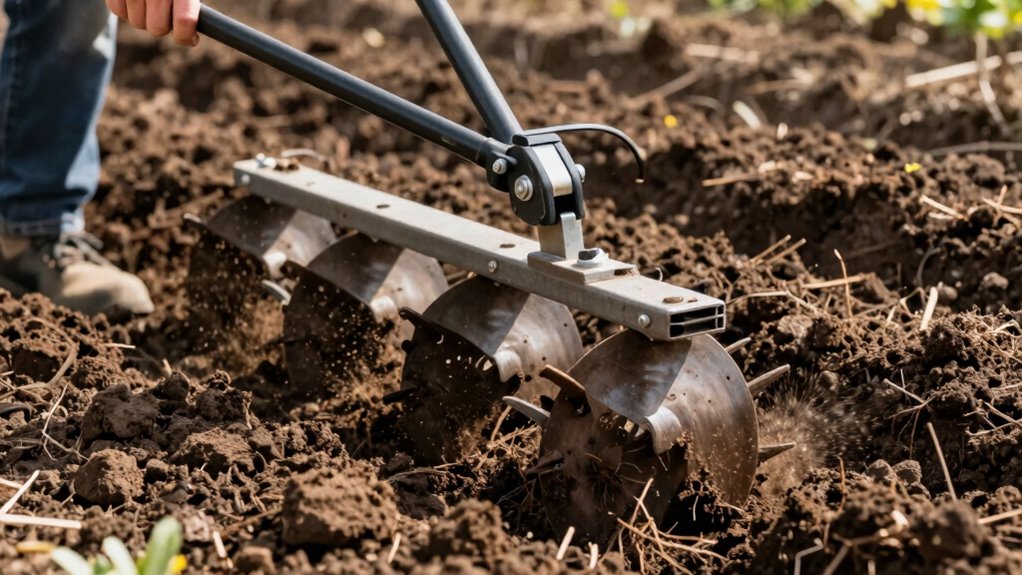
Step-by-Step: How to Adjust Your Tiller for the Best Soil Penetration
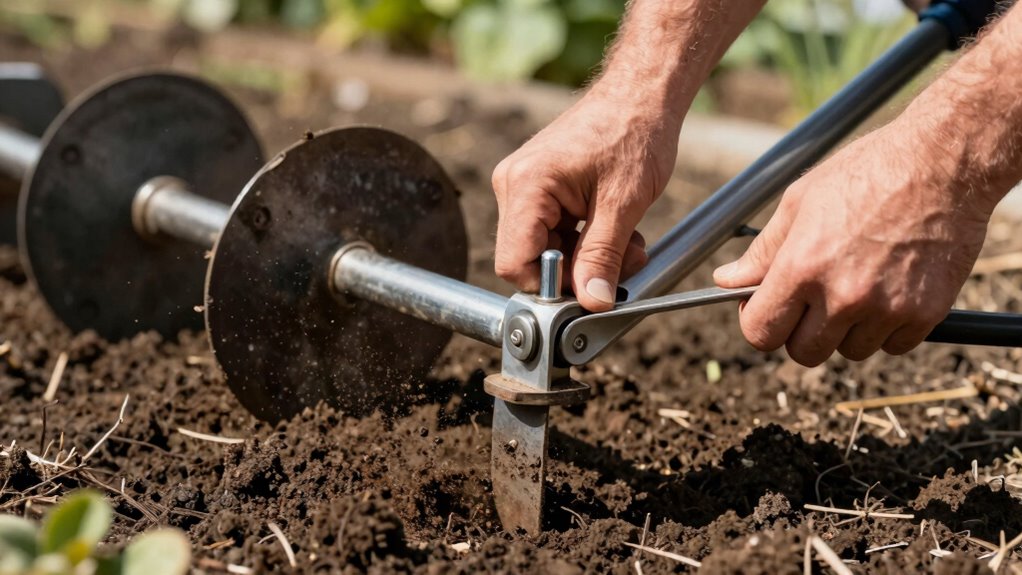
Adjusting your tiller for ideal soil penetration is straightforward once you understand the steps involved. First, ensure your tiller is well-maintained; sharp blades and clean parts optimize soil aeration. Next, set the depth control lever to your desired level—start shallow to prevent excessive disturbance. Run the tiller and observe how it penetrates the soil; adjust the depth accordingly for better aeration and looseness. Use the following table to help guide your adjustments:
| Soil Type | Recommended Depth Setting |
|---|---|
| Compact, clay-rich | Slightly shallower |
| Loamy, well-drained | Deeper for better aeration |
| Sandy soil | Moderate depth |
| Wet soil | Shallow to avoid clumping |
Regular tiller maintenance ensures consistent performance, leading to healthy soil and ideal aeration. Proper depth adjustment helps prevent turning soil into dust, which can harm plant roots and reduce soil fertility. Additionally, understanding soil characteristics can improve your tilling results and support healthy plant growth. Recognizing soil texture is essential for selecting the correct depth setting and achieving optimal results, especially since different soil conditions require tailored approaches for effective tilling.
How to Choose the Right Depth Based on Soil Type and Garden Goals
Choosing the right tiller depth depends on your soil type and your gardening goals. If your soil is heavily compacted, you’ll need to set the tiller deeper to break it up effectively, allowing roots to penetrate easily. For soils rich in organic amendments, a shallower depth helps mix nutrients without disturbing delicate layers. Sandy soils require less depth since they drain quickly, while clay soils benefit from deeper tilling to loosen compacted layers. Consider your end goal: planting seeds might need a shallow, gentle tilling, whereas preparing a new bed could require deeper cultivation. Keep in mind that over-tilling can harm soil health, so adjust the depth accordingly to optimize aeration, nutrient mixing, and root growth without turning soil into dust. Additionally, understanding the soil composition can guide you in selecting the appropriate depth to maintain soil structure and health, especially since soil health impacts plant growth and overall garden success. Being aware of soil structure can help prevent issues like soil erosion and compaction over time. Recognizing the impact of tilling depth on soil organisms can further aid in maintaining a balanced and sustainable garden environment.
Troubleshooting Your Tiller: Fine-Tuning for Perfect Soil
Even after selecting the right tiller depth, issues can still arise that prevent your soil from being perfectly prepared. Soil compaction might be resisting tilling efforts, making it difficult for the tiller to break through effectively. To troubleshoot, first check your tiller’s maintenance; dull blades or loose parts can reduce performance. Adjust the depth slightly or go over the area multiple times, ensuring even coverage. If soil remains compacted, consider aerating first or adding organic matter to loosen it. Proper tiller maintenance is key—regularly sharpen blades and inspect belts. Additionally, understanding the importance of soil preparation fundamentals can help you better diagnose and address issues. These steps help you fine-tune your equipment for ideal soil turnover, preventing dust and ensuring your garden beds are properly prepared for planting. Paying attention to soil testing results can also guide you in making the necessary amendments for optimal soil health. Incorporating soil amendments based on test results can significantly improve tilling efficiency and soil structure. Moreover, adopting soil moisture management techniques can assist in achieving better tillage results under varying conditions.
Frequently Asked Questions
How Often Should I Adjust Tiller Depth During a Project?
You should adjust your tiller depth as needed during your project to address soil compaction and guarantee proper tillage. Typically, check and modify the depth every 15-20 minutes or after hitting tough spots. Regular tiller maintenance, including cleaning and inspecting parts, helps maintain consistent depth control. Keep an eye on soil texture and compaction levels, and make adjustments to prevent turning soil into dust and damaging your equipment.
Can Incorrect Depth Settings Damage My Tiller?
Yes, incorrect depth settings can damage your tiller. If you set it too deep, it can cause excessive soil compaction and strain the equipment, leading to faster wear and tear. Conversely, setting it too shallow may reduce efficiency and put unnecessary stress on the motor. Proper depth settings promote better soil aeration, prevent damage, and guarantee proper equipment maintenance. Always adjust the tiller to match your soil and project needs.
What Signs Indicate I Need to Change the Tiller’s Depth?
You notice the tiller struggling to break through dense soil or clear crop residue, signaling you need to change the depth. If the soil remains compacted or uneven, it’s a clue that your current setting isn’t adequate. Pay attention to how the tiller interacts with the ground—if it stalls or leaves unturned patches, increase the depth carefully. Proper adjustment ensures efficient tilling without damaging your equipment or soil structure.
How Do Weather Conditions Affect Tiller Depth Choices?
Weather conditions, especially soil moisture and wind effects, influence your tiller depth choices. If the soil is wet, you should set the tiller shallower to prevent clumping and soil compaction. On windy days, loose soil dries faster, so adjusting to a slightly deeper setting helps. Always check moisture levels first, and avoid deep tilling in overly dry or muddy conditions to maintain soil health and prevent dust.
Is There a Recommended Depth for Organic Gardening?
For organic gardening, you should set your rototiller to a depth of about 8 to 10 inches. This allows you to incorporate compost application effectively and break up soil compaction without damaging the soil structure. Adjust the depth based on your specific plants’ needs and soil conditions. Proper tilling helps improve aeration and nutrient access, ultimately creating a healthier environment for your garden to thrive.
Conclusion
By mastering your rototiller’s depth, you’re nurturing the foundation of a thriving garden. Think of your soil as a blank canvas, ready to embrace life beneath the surface. When you set the right depth, you reveal its full potential—rich, moist, and alive. Avoid turning your soil into dust by tuning your tiller with care. With each careful pass, you’re planting the seeds for a lush, vibrant garden that will flourish with patience and precision.