
To catch problems early during calving and foaling, place your barn cameras strategically in key areas like bedding zones, feeding spots, and near birthing stalls. Use high-resolution cameras with night vision and adjustable mounts to get clear, thorough views without blind spots. guarantee they’re powered reliably and connected securely for continuous monitoring. Proper placement helps you spot signs of distress quickly, and if you continue exploring, you’ll discover how to optimize your setup for early problem detection.
Key Takeaways
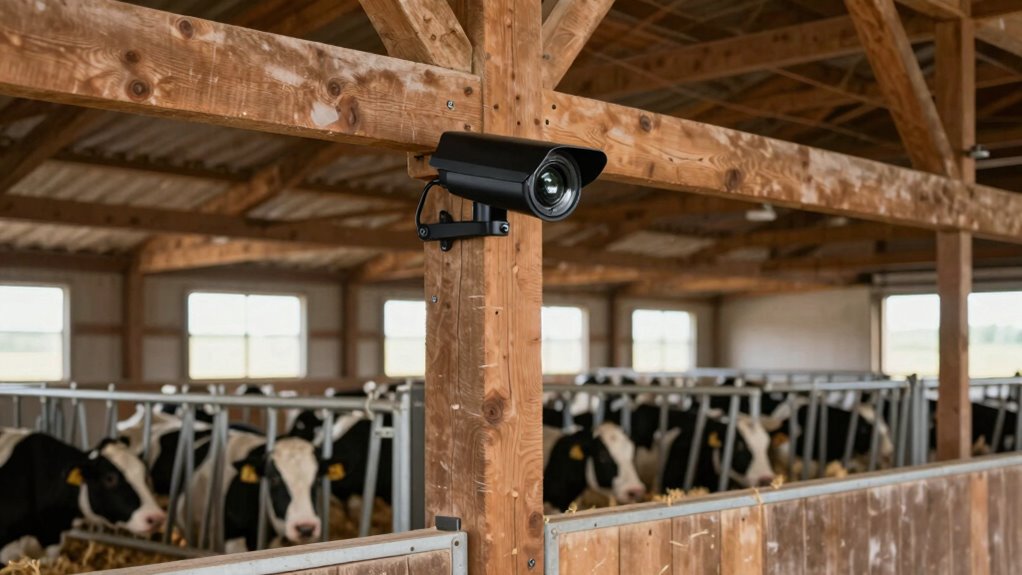
- Mount cameras high on walls or rafters to reduce blind spots and capture the entire birthing area.
- Position cameras near bedding zones and feeding stations to monitor signs of discomfort and early behavioral cues.
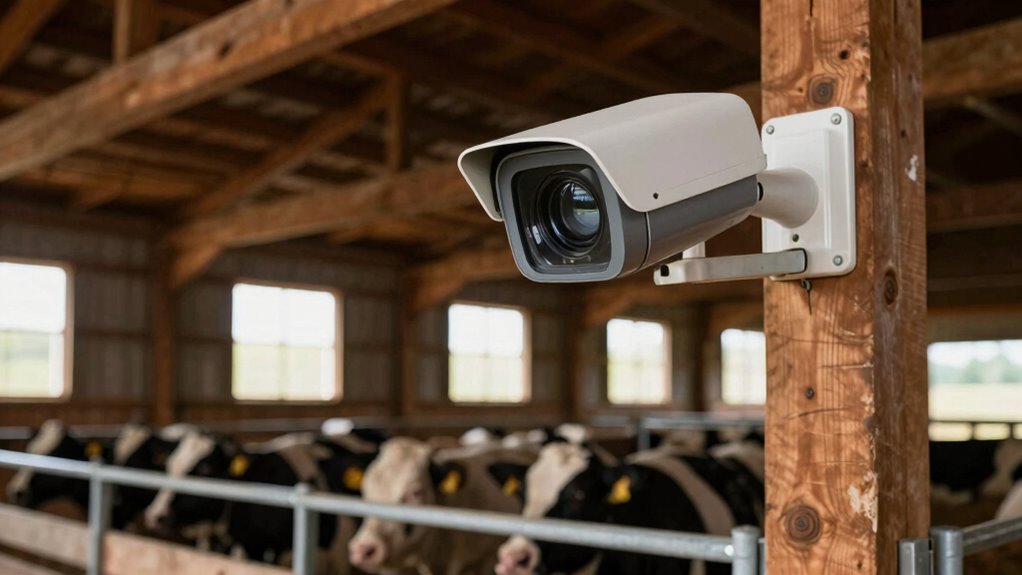
- Use adjustable mounts for fine-tuning angles to ensure comprehensive coverage of multiple animals.
- Avoid obstructions like bedding, equipment, or feed troughs that could block critical views.
- Regularly check and adjust camera angles to optimize visibility of calving and foaling events.

Video Camera Camcorder Full HD 1080P 30FPS 24.0 MP IR Night Vision Vlogging Camera Recorder 3.0 Inch IPS Screen 16X Zoom Camcorders Remote Control with 2 Batteries
♥24MP & 1080P FHD CAMCORDER – This digital video camera for YouTube supports shooting of Full HD 1080p(30FPS)…
As an affiliate, we earn on qualifying purchases.
As an affiliate, we earn on qualifying purchases.
Why Proper Barn Camera Placement Is Key for Calving and Foaling
Proper barn camera placement is essential because it allows you to closely monitor calving and foaling events in real-time. Getting the right camera angles ensures you have a clear view of the animals during critical moments, so you can respond quickly if issues arise. Position cameras to cover the birthing area without blind spots, ideally at angles that capture the entire process. Lighting conditions also matter—adequate, consistent lighting helps you see details clearly, especially in low-light or nighttime situations. Avoid placing cameras where shadows or glare could obscure important activities. By carefully considering camera angles and lighting, you’ll ensure constant, high-quality surveillance, enabling you to catch problems early and provide prompt assistance during these crucial events. Optimizing camera placement and integrating energy-efficient solutions can further enhance your monitoring system’s reliability and sustainability.

Meidase P70 (Non-Cellular,Non-WiFi) Trail Camera, 64MP 1296p, Game Cameras with No-Glow IR Night Vision, Motion Activated, Waterproof for Wildlife Deer Cams, Hunting
Crystal-Clear 64MP Photos & 1296p HD Video – Stunning detail day or night, thanks to advanced image tech…
As an affiliate, we earn on qualifying purchases.
As an affiliate, we earn on qualifying purchases.
How to Choose the Right Cameras for Livestock Monitoring
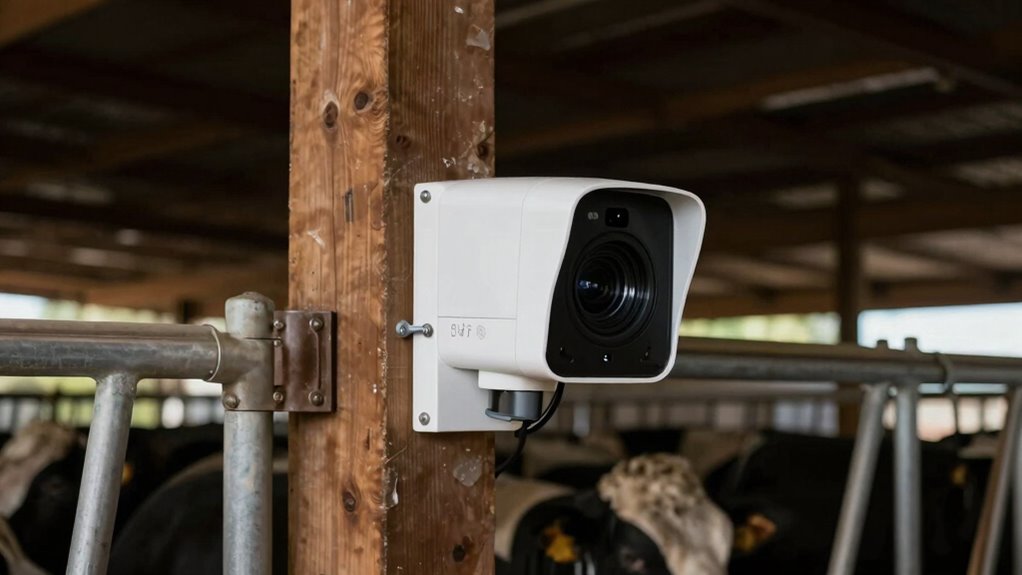
When selecting cameras for livestock monitoring, focus on resolution and clarity to guarantee you can see details clearly. Night vision capabilities are essential for monitoring animals in low light or darkness without disturbance. By choosing the right features, you’ll get reliable footage to protect and care for your animals effectively. Additionally, considering color accuracy can help ensure that visual cues indicating health issues are easily identifiable in recordings. A visual detail is crucial for detecting subtle signs of distress or illness early on. Ensuring the camera has water resistance is also important if the setup is exposed to outdoor weather conditions. Incorporating monitoring technology can further enhance your ability to detect problems promptly and take swift action, especially when paired with livestock behavior analysis systems to identify early signs of distress.
Camera Resolution and Clarity
Choosing the right camera resolution and clarity is essential for effective livestock monitoring, especially during sensitive events like calving and foaling. High camera resolution ensures you capture detailed images, making it easier to spot subtle signs of distress or abnormal behavior early. Image clarity is equally important, as clear footage reduces the chances of misinterpretation and helps you assess situations quickly. When selecting cameras, opt for those with at least 1080p resolution to get sharp, detailed images. Avoid cameras with low resolution, which can produce blurry footage and hinder your ability to make timely decisions. Remember, clear visuals allow you to monitor your animals accurately, providing peace of mind and enabling prompt action when needed. Additionally, understanding net worth can give insight into the investment behind quality livestock monitoring equipment. Investing in high-quality cameras can also be justified by the value of early detection, which can prevent costly complications and improve animal welfare. Recognizing the importance of technology integration can further enhance your monitoring system, allowing for seamless data management and alerts. Moreover, selecting cameras with good optical zoom capabilities can help you focus on specific areas or animals without losing image quality. Ensuring your system includes reliable connectivity is vital to maintain continuous monitoring and avoid blind spots.
Night Vision Capabilities
How well can you see your livestock during the night? Good night vision capabilities are essential for monitoring calving and foaling in low light. Look for cameras with infrared (IR) night vision, which use IR LEDs to illuminate dark areas without disturbing animals. These cameras ensure clear images even in complete darkness. When choosing, consider the range of night vision—some cameras see only a few meters, while others cover larger areas. Also, check if the night vision automatically switches on when lighting dims. To help you compare options, here’s a quick overview:
| Feature | Description | Best For |
|---|---|---|
| IR Range | Distance IR LEDs can illuminate | Larger barns or fields |
| Automatic Switch | Detects low light & activates IR | Seamless night monitoring |
| Image Clarity | Sharpness of night vision images | Identifying calving or foaling issues |
| Power Source | Battery or wired options | Flexibility in placement |
Choose a camera with strong night vision to catch problems early. Additionally, considering camera placement carefully can maximize coverage and effectiveness. Proper placement ensures optimal coverage and reduces blind spots, which is crucial for effective livestock monitoring during calving and foaling. Understanding cloud connectivity options can also improve remote monitoring and data access, enhancing early problem detection.

Universal Adjustable Stainless Mount Bracket Outdoor Security Camera 360 Degree Hoop Hose Clamp Pipe Poles Mount No-Drill Holes Compatible with Reolink/Nest/Arlo/Eufy/Wyze and Other Camera (Black)
1. Universal Compatibility: Designed to fit a wide range of outdoor security cameras ,it is a 1/4-inch threaded…
As an affiliate, we earn on qualifying purchases.
As an affiliate, we earn on qualifying purchases.
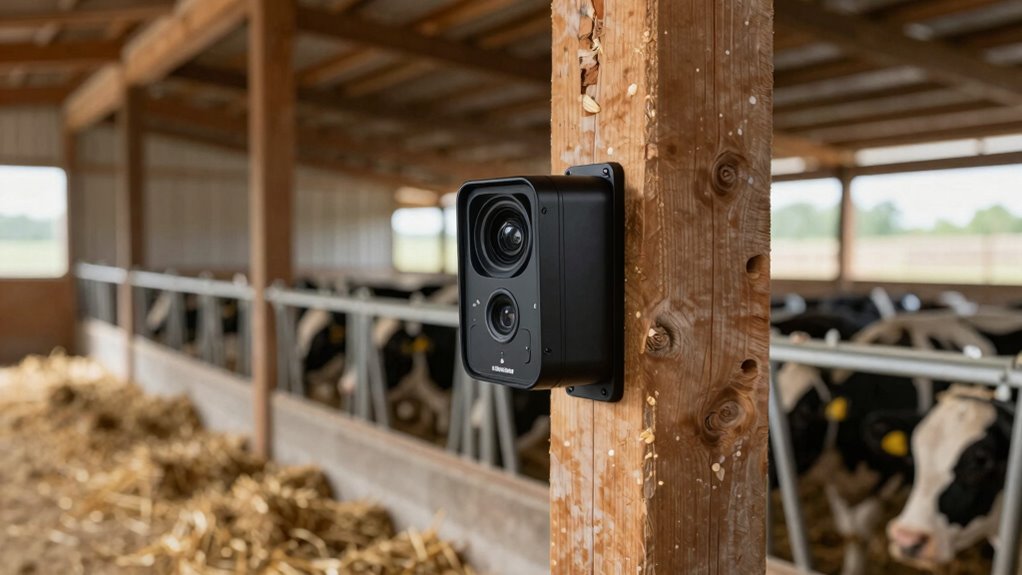
Where to Place Cameras in Your Barn for Best Coverage

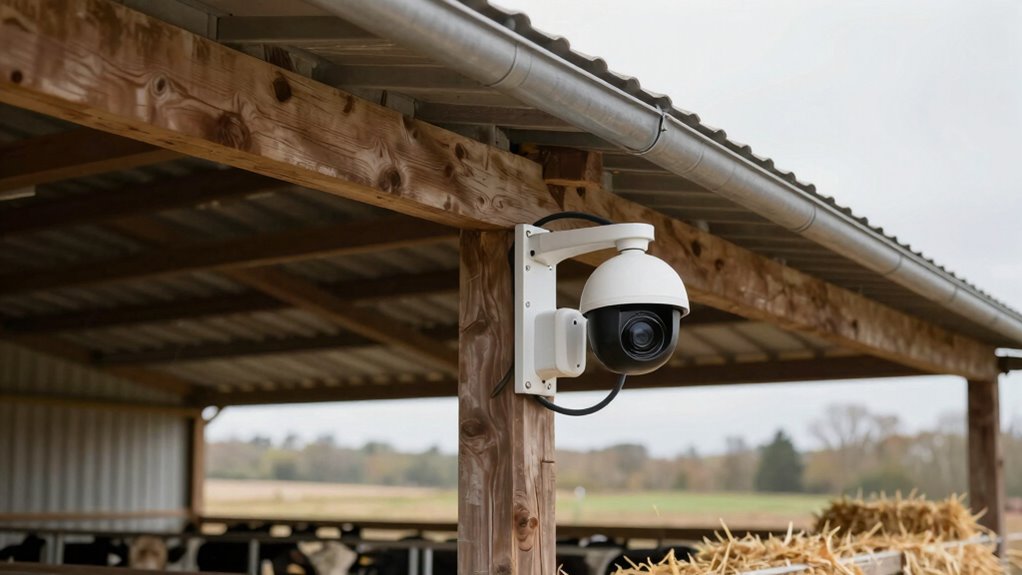
To guarantee you get the best coverage in your barn, placing cameras strategically is essential. Position cameras where they can monitor the calving or foaling areas without obstructing barn ventilation or feed management. Place cameras high on walls or rafters to reduce blind spots and prevent interference with daily barn activities. Focus on areas where animals are most likely to show early signs of labor, like bedding zones or feeding stations. Ensure the camera angles minimize glare and shadows for clear viewing. Consider these key points:
Strategically position cameras high on walls to monitor calving areas without disrupting barn airflow or feed routines.
- Keep cameras away from direct airflow to avoid dust and condensation
- Position near feeding and watering areas for quick access to activity
- Mount where barn ventilation doesn’t disrupt camera operation or image quality
This setup guarantees optimal coverage while respecting barn airflow and feeding routines.

ELYSOO 4G LTE Cellular Security Camera, 2 Pack Solar Powered Outdoor Cameras No WiFi Needed for Farm&Ranch, 360° View, 2K Night Vision, Includes SIM Card(Support Verizon/AT&T/T-Mobile) – White
No WiFi Needed – Ideal for Remote Farm & Ranch Monitoring: 2 pack 4G LTE cellular security cameras…
As an affiliate, we earn on qualifying purchases.
As an affiliate, we earn on qualifying purchases.
How to Position Cameras for Clear Views of Calving and Foaling Areas

Positioning your cameras for clear views of calving and foaling areas requires careful attention to angles and mounting locations. Good camera placement ensures you capture crucial moments without blind spots, making livestock monitoring more effective. Mount cameras high enough to oversee the entire area but not so high that details are lost. Use adjustable mounts to fine-tune angles and avoid obstructions like bedding, equipment, or feed troughs. Focus on capturing the birthing area from multiple perspectives, including entry points and the stall itself. Properly positioned cameras reduce the need for frequent adjustments and help you monitor animals remotely 24/7. Keep in mind that clear views are essential for early problem detection, ensuring you can respond quickly and provide the best care possible.
Tips for Setting Up Cameras to Detect Early Problems

Setting up your cameras with the goal of early problem detection means paying close attention to specific behaviors and signs that indicate distress or complications. Proper camera placement is vital; position cameras to monitor key areas where abnormalities often appear. To improve early detection, consider these tips:
- Place cameras high enough to capture the entire animal’s body, avoiding blind spots.
- Focus on areas where the animal tends to rest or show signs of discomfort.
- Guarantee good lighting and clear visibility during both day and night.
- Regularly check and adjust camera angles to ensure optimal coverage of behavioral cues, which are essential for recognizing early signs of issues.
- Incorporate specialized monitoring equipment to enhance the ability to detect subtle changes in behavior or health.
- Understanding animal behavior patterns can significantly improve the effectiveness of your monitoring setup by highlighting which cues are most indicative of potential problems.
- Familiarity with early warning signs allows for quicker responses and better management of emerging issues.
- Additionally, knowing how normal vs. abnormal behaviors manifest helps in promptly identifying when intervention is needed.
Managing Camera Angles to Cover Multiple Animals Effectively

Managing camera angles effectively is essential when monitoring multiple animals simultaneously. To achieve ideal multi animal coverage, focus on camera angle optimization by positioning cameras high enough to capture broad views while maintaining clear lines of sight. Use adjustable mounts to fine-tune angles, ensuring you can monitor different areas without blind spots. Place cameras near key activity zones, such as feeding or bedding areas, where animals tend to gather or show early signs of distress. Avoid overlapping coverage that causes confusion or missed details. Regularly review footage to identify weak spots and adjust angles accordingly. Proper camera angle management allows you to observe multiple animals at once, catching early problems before they escalate, and ensures thorough coverage of your barn environment.
Ensuring Your Barn Cameras Stay Powered and Connected
To keep your barn cameras reliable, you’ll need to choose the right power sources and guarantee they stay connected. Consider options like plug-in outlets, batteries, or solar power, depending on your setup. Regularly checking signal strength helps prevent interruptions during critical moments. Additionally, using smart energy management devices can help optimize power use and ensure continuous operation. Incorporating wireless connectivity solutions can further enhance the reliability of your camera system, especially in remote locations. Monitoring connectivity stability can help identify issues early before they impact camera performance. Moreover, selecting reliable backup power solutions can provide peace of mind during outages and ensure your cameras remain operational when it matters most. Ensuring proper installation practices can also contribute to consistent power and connection reliability.
Power Source Options
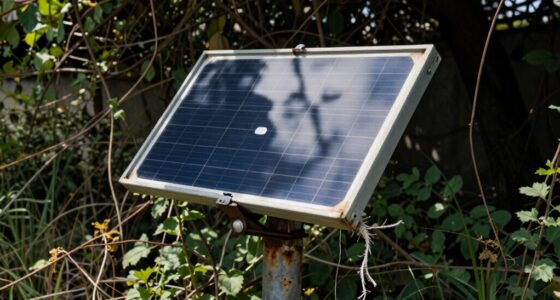
Ensuring your barn cameras stay powered and connected is crucial for reliable monitoring during calving and foaling. You have several power source options to keep your system running smoothly. Solar power is an eco-friendly choice that works well if your barn receives adequate sunlight, reducing electricity costs. Battery backups provide a reliable fail-safe during power outages, ensuring constant surveillance. You might also consider traditional AC power if your barn is near an outlet for a steady connection. When choosing a power source, keep in mind:
- Solar power reduces ongoing costs
- Battery backups ensure continuous operation during outages
- Combining both offers maximum reliability and flexibility
Using appropriate wiring and connectors can help maintain a secure and stable connection for your power sources. Selecting the right option depends on your barn’s setup and location, but prioritizing dependable power keeps your cameras active when you need them most.
Maintaining Signal Strength
Maintaining a strong signal is vital to keep your barn cameras reliably connected during calving and foaling. Poor wireless connectivity can lead to dropped feeds and missed moments. To improve signal strength, consider installing signal boosters or range extenders designed for outdoor use. Position these devices strategically, such as near barn entrances or open areas, to maximize coverage. It’s also helpful to minimize physical obstructions like thick walls or metal structures that can weaken wireless signals. Regularly check your camera’s connection and adjust the placement of boosters if needed. A stable connection ensures you receive real-time footage, allowing you to catch problems early and respond quickly to your animals’ needs. Strong wireless connectivity is vital for effective monitoring during critical times.
Common Mistakes to Avoid When Installing Livestock Cameras

Installing livestock cameras might seem straightforward, but overlooking common pitfalls can compromise their effectiveness. One mistake is placing cameras where they’re easily accessible, making them vulnerable to camera vandalism or equipment theft. Be sure to secure cameras out of reach and use tamper-proof mounts. Another error is neglecting proper wiring or power sources, risking signal loss or damage. Finally, avoid pointing cameras at areas with harsh lighting or reflections, which can distort images and hinder monitoring. Always assess the environment for potential hazards and plan camera placement carefully. Keep in mind that improper installation can lead to unnecessary repairs or replacements, increasing costs and reducing security. Taking these precautions helps guarantee your cameras provide reliable, continuous coverage, catching issues early and protecting your livestock.
Using Technology and Alerts to Stay Informed During Calving and Foaling
Effective camera placement is just the first step in safeguarding livestock during calving and foaling. To stay truly informed, use technology and alerts that monitor animal behavior continuously. Modern systems can detect signs of distress or unusual activity, alerting you immediately via smartphone or computer. This allows you to respond swiftly before problems escalate. Regular camera maintenance ensures clear images and reliable alerts, so you don’t miss critical cues in animal behavior. Combining visual monitoring with automated alerts keeps you engaged without constant physical checks. This proactive approach reduces stress for the animals and improves calf or foal survival rates. By leveraging technology and staying attentive to the data, you can catch issues early and provide timely care.
Frequently Asked Questions
How Often Should Barn Camera Footage Be Reviewed During Calving Season?
You should review barn camera footage at least every 30 minutes during calving season to catch calving alerts promptly. Regular footage review permits you to monitor signs of labor and respond quickly if complications arise. During active calving, consider checking more frequently, like every 15-20 minutes, to ensure you catch early signs and provide timely assistance. Consistent monitoring helps prevent issues and ensures a smoother calving process.
Can Cameras Detect Health Issues Besides Calving or Foaling Problems?
Cameras can definitely help with behavior monitoring and injury detection beyond calving or foaling issues. By keeping an eye on your animals, you can spot signs of discomfort, unusual activity, or injuries early. This proactive approach allows you to respond quickly, preventing minor issues from worsening. Regular footage review helps you stay aware of your animals’ overall health, ensuring they remain healthy and comfortable throughout the season.
What Backup Options Exist if Camera Systems Fail Unexpectedly?
If your camera system suddenly fails, you might feel like losing your eyes on your animals! To prevent this chaos, have backup options ready. Use alternative power sources like generators or battery backups to keep monitoring devices running. Additionally, manual monitoring is essential—regular checks ensure you catch issues early. Combining these strategies keeps your herd safe, even when technology lets you down unexpectedly.
Are There Specific Camera Features Ideal for Low-Light or Nighttime Monitoring?
For low-light or nighttime monitoring, you should look for cameras with night vision and infrared technology. These features enable clear visibility in darkness without disturbing the animals. Infrared technology allows the camera to operate silently and capture detailed images even in total darkness. Night vision guarantees you can monitor calving or foaling events accurately, helping you catch problems early and respond promptly, ensuring the health and safety of the animals.
How Can I Train Staff to Interpret Camera Footage Accurately?
Think of staff training like sharpening a sword; precision is key. You should provide hands-on sessions focused on footage interpretation, highlighting normal versus abnormal behaviors. Use real examples to build their confidence, and encourage questions. Regular refreshers keep skills sharp. By fostering a vigilant mindset, your team learns to catch issues early, ensuring prompt intervention. Continuous practice and clear guidelines turn camera footage into a crucial tool for early problem detection.
Conclusion
Think of your barn camera system as the vigilant lighthouse guiding you through the night. By placing and managing your cameras wisely, you’ll catch problems early and keep your livestock safe. Proper setup is the steady beam that prevents surprises and ensures smooth calving and foaling. Invest in good coverage, stay connected, and let technology be your trusted lighthouse—guiding you safely through every birth, no matter how dark the night.